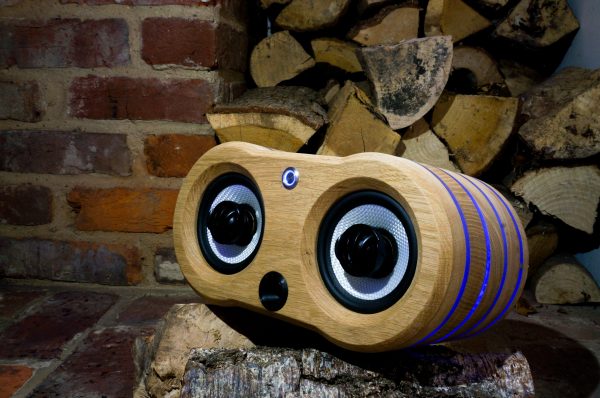
Besides being common tools available to most hackers and makers out there, 3D printing, CNC machines, and cheap Chinese electronics have one more things in common: they were all used by [Nick] to build a bluetooth speaker system that has some interesting LED effects built into the case.
This is fresh on the heels of another hack that used similar construction methods to build a “magic” wood lamp. [Nick] takes it a step further, though. His case is precisely machined in white oak and stuffed with the latest China has to offer: a bank of lithium-ion batteries, a DC-DC converter to power the amplifier, and a Bluetooth module. After some sanding, the speakers look professional alongside the blue light features hiding behind the polycarbonate rings.
Of course you’ll want to visit the project site for all the details of how [Nick] built his speaker case. He does admit, however, that the electronics are fairly inefficient and need a little work. All in all though, it’s a very refined set of speakers that’ll look great on a bookshelf or on a beach, workshop bench, or anyplace else that you could take them.
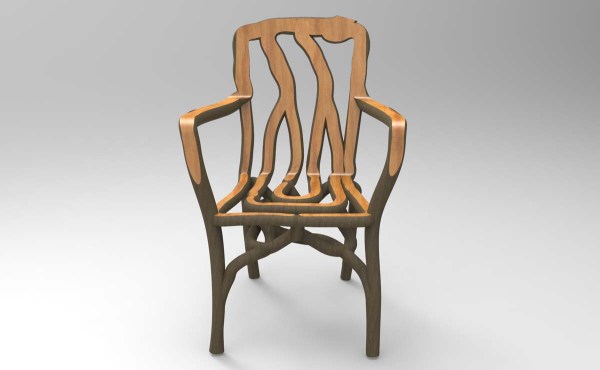
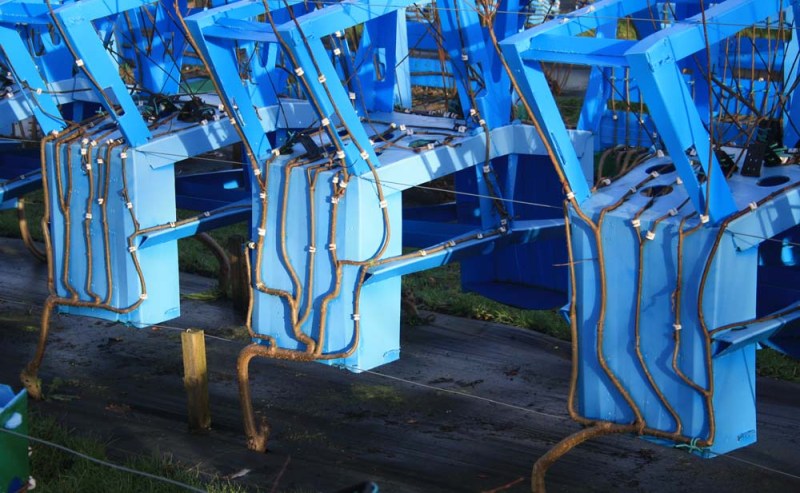 together to continue growing into one solid piece. When the chair is mature, the leaves are removed, the chair is cut free from the ground, and with a little seasoning and finishing, you’ve got a unique and functional chair. And what’s more, since it’s a solid piece of wood, there are no joints to loosen over time.
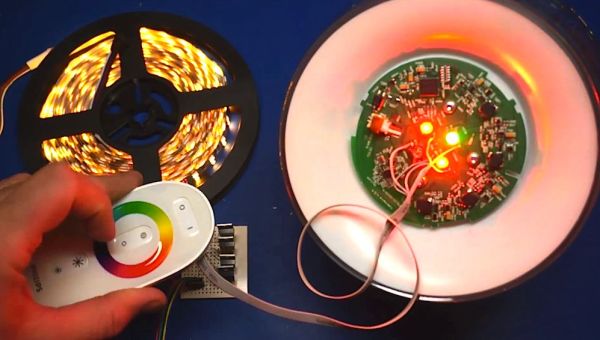
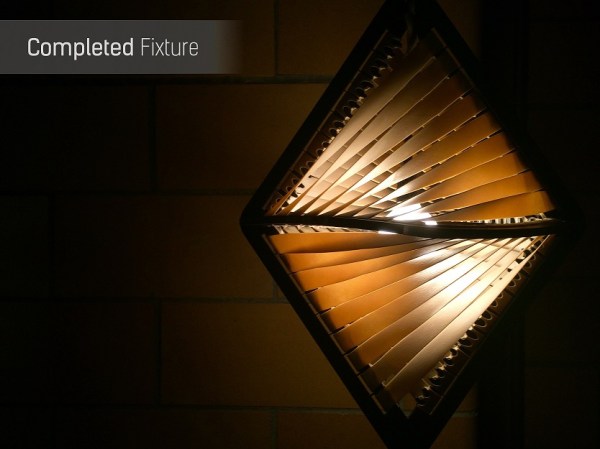
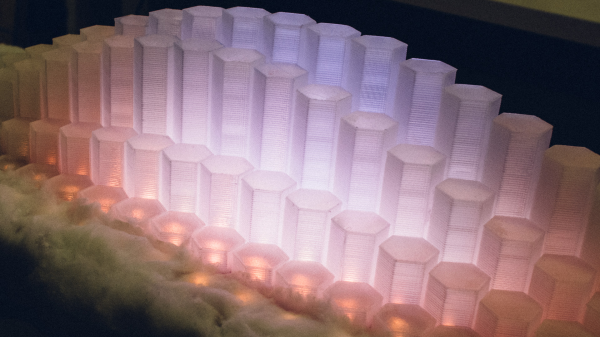
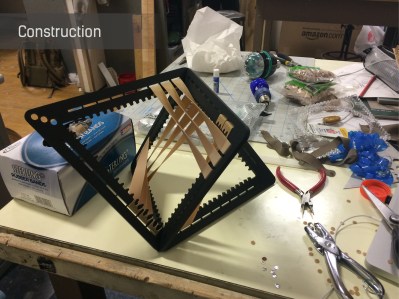 Having access to a laser cutter made the job much easier than it could have been and allowed [Matt] to go through many designs for the lamp frame. The two main pieces were cut from acrylic and include mounting pegs for the elastic bands. The two plastic pieces are designed to slot together, forming a sort of diamond shape.


