Mini Sumo seems like one of those hobbies that starts out innocently enough, and ends up with a special room in the house dedicated to it. One day you’re excitedly opening up your first Basic Stamp kit, and the next you’re milling out mini molds on a mini lathe to make mini extra sticky tires.
[Dave] started out trying to find a part from the local big box store that was just a little bigger than the wheel he wanted to rubberize. He set the wheel inside a plumbing cap and poured the urethane in. It worked, but it required a lot of time with a sharp knife to carve away the excess rubber.
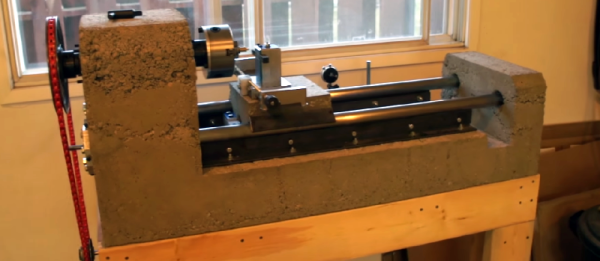
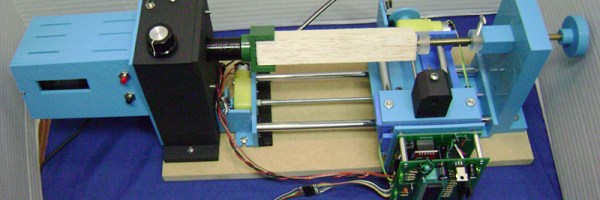
In the meantime he acquired a Sherline Mini Mill and Lathe. With the new tools available to him, he made a new mold out of a bit of purple UHMW and some acrylic. This one produced much nicer results. Using a syringe he squeezed resin into the mold through a hole in the acrylic. Much less cleanup was needed.
He later applied these methods to smaller, wider wheels as his mini sumo addiction took a stronger hold on his life.


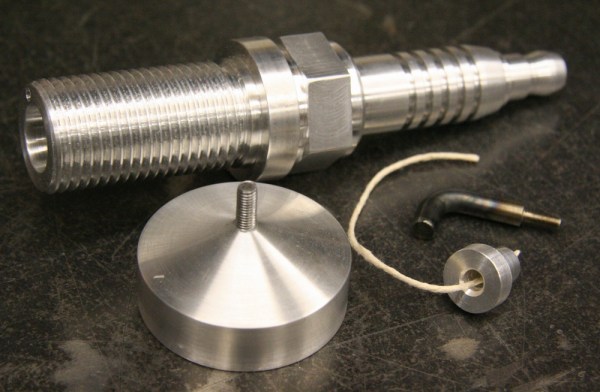
 The spark plug candle was fashioned out of a single piece of 6061 aluminum. To create the scale model, first the stock metal hit the lathe to create the “insulator” section of the plug. From there, he milled in the hex bolt section, then it hit the lathe again to create the threaded section. The inside was bored out to create space for the wick and oil, and then the electrode was installed just above the flame.