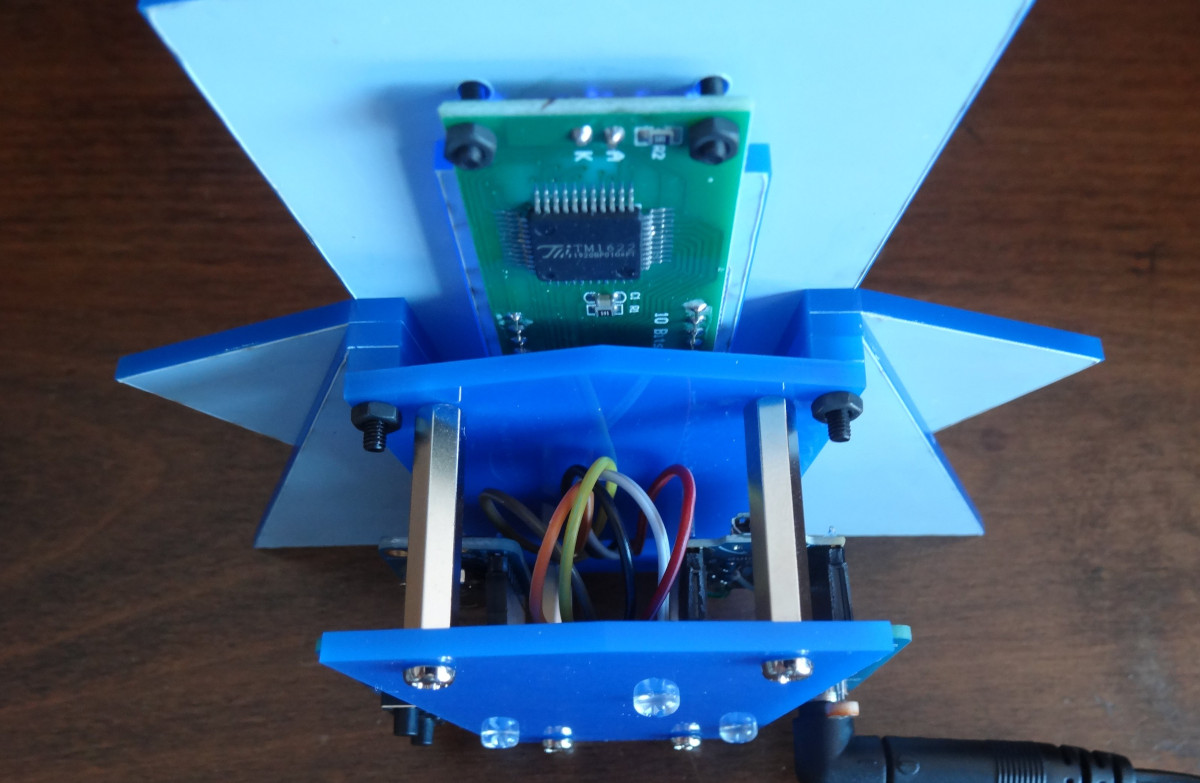
Coming straight to the point: [Ron Hinton] is significantly braver than we are. Or maybe he was just in a worse situation. His historic Acer K385s laptop suffered what we learned is called vinegar syndrome, which is a breakdown in the polarizers that make the LCD work. So he bit the bullet and decided to open up the LCD stack and replace what he could.
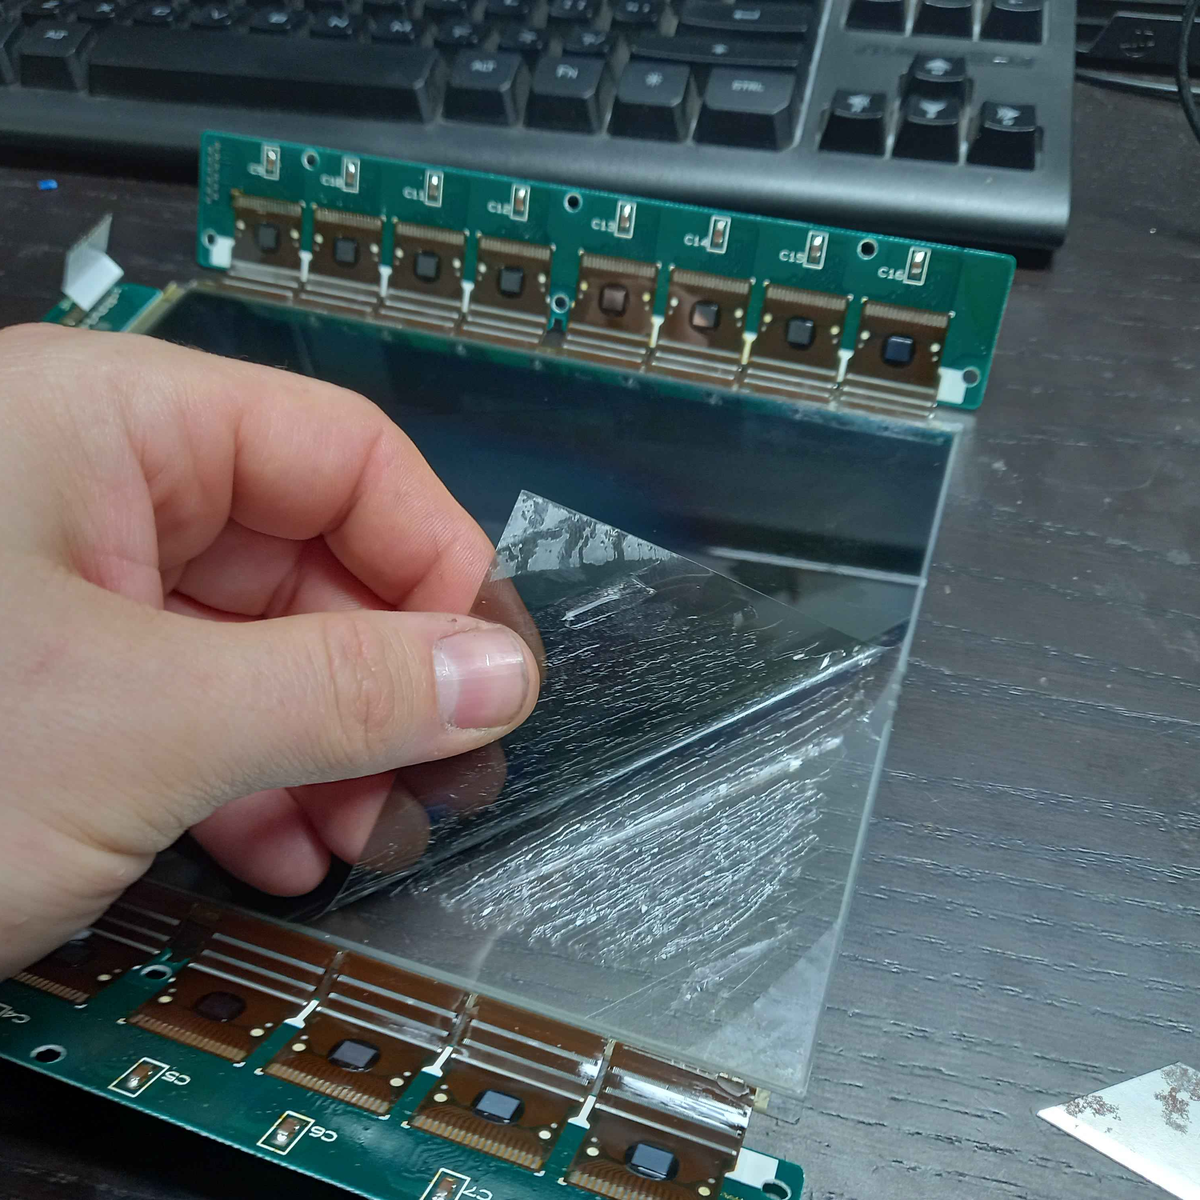 Nothing says “no user serviceable parts inside” quite like those foil-and-glue sealed packages, but that didn’t stop [Ron]. Razor blades, patience, and an eye ever watchful for the connectors that are seemingly everywhere, and absolutely critical, got the screen disassembled. Installation of the new polarizers was similarly fiddly.
In the end, it looks like the showstopper to getting a perfect result is that technology has moved on, and these older screens apparently used a phase correction layer between the polarizers, which might be difficult to source these days. (Anyone have more detail on that? We looked around and came up empty.)
This laptop may not be in the pantheon of holy-grail retrocomputers, but that’s exactly what makes it a good candidate for practicing such tricky repair work, and the result is a readable LCD screen on an otherwise broken old laptop, so that counts as a win in our book.
If you want to see an even more adventurous repair effort that ended in glorious failure, check out [Jan Mrázek]’s hack where he tries to convert a color LCD screen to monochrome, inclusive of scraping off the liquid crystals! You learn a lot by taking things apart, of course, but you learn even more by building it up from first principles. If you haven’t seen [Ben Krasnow]’s series on a completely DIY LCD screen, ITO-sputtering and all, then you’ve got some quality video time ahead of you.