There’s an old saying that goes: when life gives you lemons, make lemonade. [lds133] must have heard that saying, because when life took the magic liquid out of his Magic 8 Ball, [lds133] made not eight-ball-aide, but an electronic replacement with a Raspberry Pi Pico and a round TFT display.
In case the Magic 8 Ball is unknown in some corners of the globe, it is a toy that consists of a twenty-sided die with a set of oracular messages engraved on it, enclosed in a magical blue liquid — and by magical, we mean isopropyl alcohol and dye. The traditional use is to ask a question, shake the eight-ball, and then ignore its advice and do whatever you wanted to do anyway.
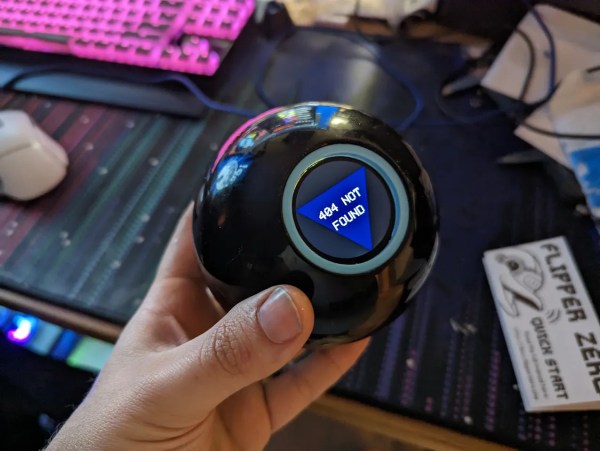
ChatGPT might be making the news these days for being able to answer basically any question it’s asked, those of us who are a little older remember a much simpler technology that did about the same thing. The humble “Magic 8 Ball” could take nearly the same inputs, provided they were parsed in simple yes/no form, and provide marginal help similar to the AI tools of today. For a toy with no battery or screen, this was quite an accomplishment. But the small toy couldn’t give specific technical support help, so [kodi] made one that can.
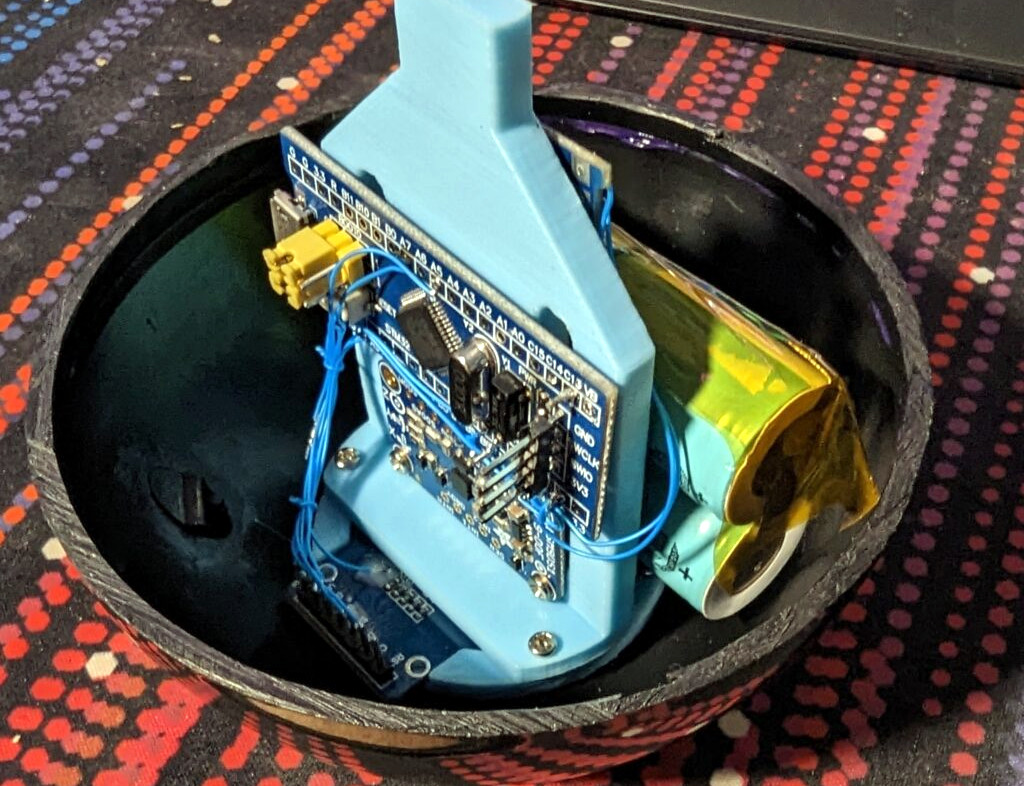
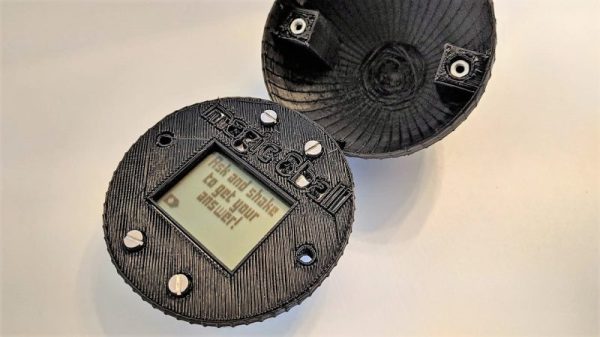
The new 8 Ball foregoes the central fluid-filled chamber for an STM32 Blue Pill board with a few lithium batteries to power it. The original plastic shell was split in two with a hacksaw and fitted with a 3D printed ring which allows the two halves to be reconnected and separated again when it needs to charge. It uses a circular OLED to display the various messages of tech support, which are displayed when an accelerometer detects that the toy has been shaken.
Granted, most of the messages are about as helpful to solving a tech support issue as the original magic 8 Ball’s would have been, but we appreciate the ingenuity and carefree nature of a project like this. It also did an excellent job at operating in a low-power state as well, to avoid needing to charge it often. There have been a few other digital conversions of these analog fortune tellers as well, like this one which adds GIFs to each of the original answers.
When you need quick answers to life’s burning yes or no questions, most reasonable people reach for a Magic 8-Ball. But since we all have most of those answers memorized at this point, has the Magic 8-Ball sunk to a cliche and become less useful in the present day? Signs point to yes. Yeah, maybe.
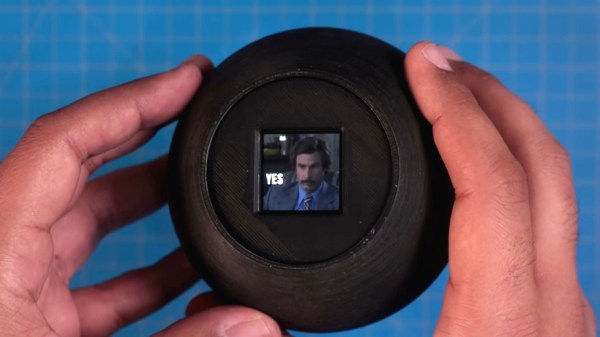
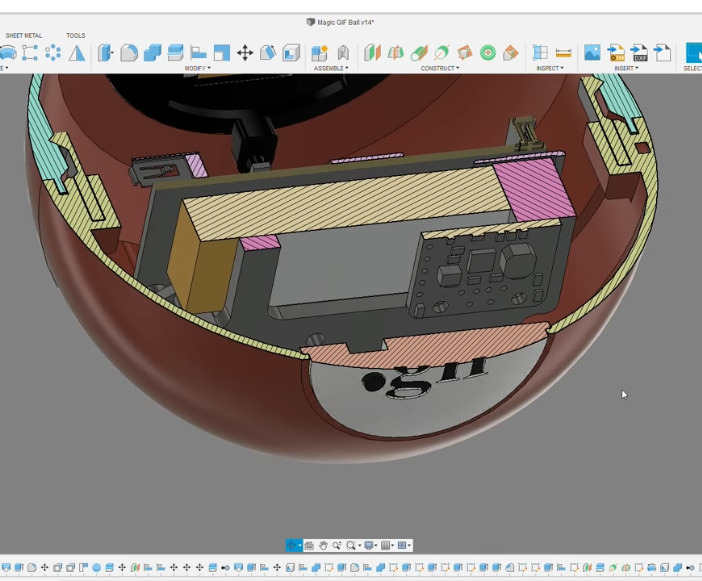
Not to worry, because [DJ Harrigan] has given the Magic 8-Ball a modern makeover by redesigning it to serve up suitable GIFs instead. Inside that beautifully-engineered snap-together shell lives a Raspberry Pi 3, and it displays the GIFs on a 240 x 240 IPS LCD screen. [DJ] wanted to use a round screen, but couldn’t find one with a good enough refresh rate. Maybe someday. We love this build either way.
Our favorite part is probably the power button, which is incorporated as the period in the ‘.gif’ logo. Although it takes a bit longer to get this 8-Ball ready to answer questions, it’s worth the wait. And besides, the splash screen is nice.
Once it’s booted up and ready to go, you still have to shake it — for this, [DJ] used a simple DIY spring-based tilt switch. Check out the demo and build video after the break. If you want to build one for yourself, the files are up on the project site.
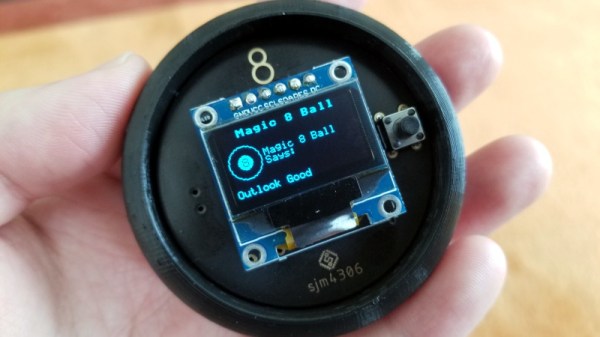
Back in 2012, [sjm4306] was surprised when his breadboard rendition of the classic “Magic 8-Ball” popped up on Hackaday. If he had known the project was going to be enshrined on these hallowed pages, he might have tidied things up a bit. Now with nearly a decade of additional electronics experience, he’s back and ready to show off a new and improved version of the project.
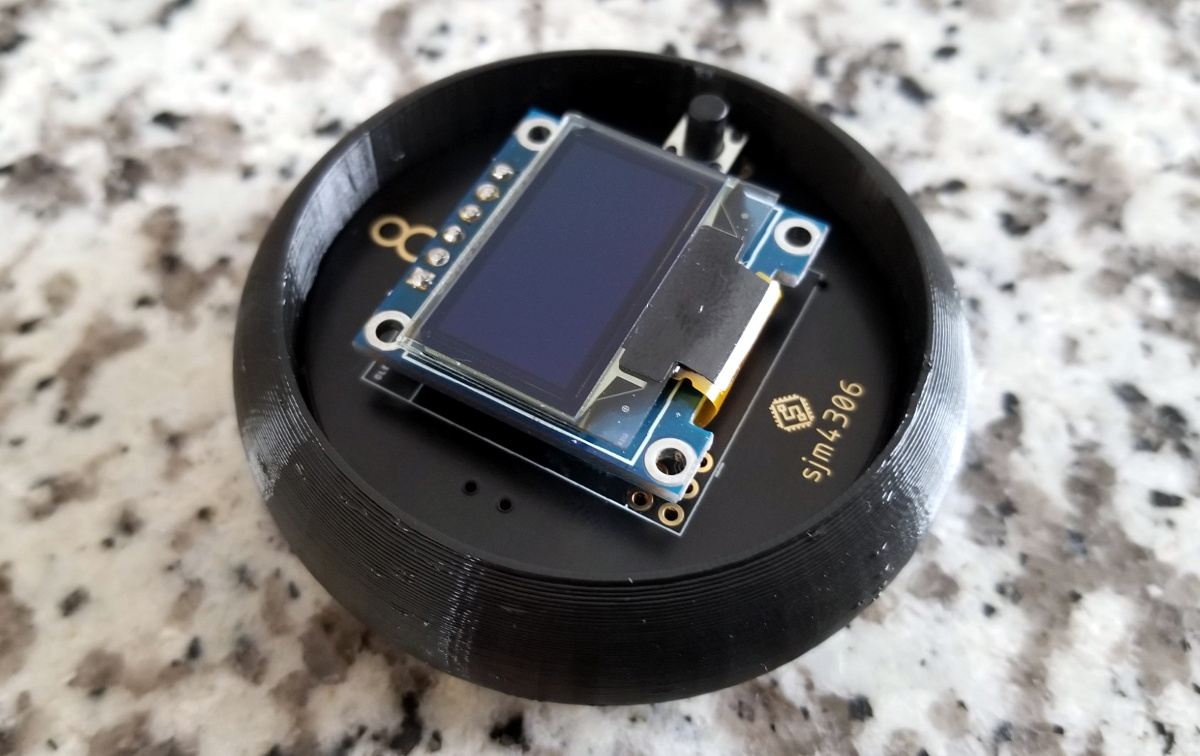
The 3D printed case helps sell the look.
Conceptually, not much has changed from the original version. Press a button, get a random response. But on the whole the project is more refined, and not just because it’s moved over to a custom PCB.
The original version used a PIC16F886 with a charge controller and experimental RTC, but this time around [sjm4306] has consolidated all the functionality into the ATmega328P and is powering the whole thing with a simple CR2032 coin cell. As you can see in the video after the break, assembly is about as quick and straight-forward as it gets.
As with the original, there’s no accelerometer onboard. If you want to see a new message from your mystic companion, you’ve got to hold the button to “shake” the ball. A timer counts how long the button is held down, which in turn seeds the pseudorandom number generator that picks the response. Since each person will naturally hold the button for a slightly different amount of time, this keeps things from getting repetitive.
We don’t often see creators revisit their projects from the olden days, but we’d certainly like to. Consider this an open invitation to any hacker who wants to show off how much they’ve refined their skills; do-overs are always welcome here at Hackaday.
[FacelessTech] was recently charmed by one of our prized possessions as a kid — the Magic 8-Ball — and decided to have a go at making a digital version. Though there is no icosahedron or mysterious fluid inside, the end result is still without a doubt quite cool, especially for a project made on a whim with parts on hand.
It’s not just an 8-ball, it also functions as a 6-sided die and a direct decider of yes/no questions. Underneath that Nokia 5110 screen there’s an Arduino Pro Mini and a 3-axis gyro. Almost everything is done through the gyro, including setting the screen contrast when the eight ball is first powered on. As much we as love that aspect, we really like that [FacelessTech] included a GX-12 connector for easy FTDI programming. It’s a tidy, completely open-source build, and there’s even a PCB. What’s not to like? Be sure to check out the video after the break to see it in action.
Anyone who slings code for a living knows the feeling all too well: your code is running fine and dandy one minute, and the next minute is throwing exceptions. You’d swear on a stack of O’Reilly books that you didn’t change anything, but your program stubbornly refuses to agree. Stumped, you turn to the only one who understands you and pour your heart out to a little yellow rubber duck.
When it comes to debugging tools, this digital replacement for the duck on your desk might be even more helpful. Rubber duck decoding, where actually explaining aloud to an inanimate object how you think the code should run, really works. It’s basically a way to get you to see the mistake you made by explaining it to yourself; the duck or whatever – personally, I use a stuffed pig– is just along for the ride. [platisd] took the idea a step further and made his debugging buddy, which he dubs the “Dialectic Ball,” in the form of a Magic 8-Ball fortune teller. A 3D-printed shell has an ATtiny84, an accelerometer, and an LCD screen. To use it, you state your problem, shake it, and read the random suggestion that pops up. The list has some obvious suggestions, like adding diagnostic print statements or refactoring. Some tips are more personal, like talking to your local guru or getting a cup of coffee to get things going again. The list can be customized for your way of thinking. If nothing else, it’ll be a conversation piece on your desk.
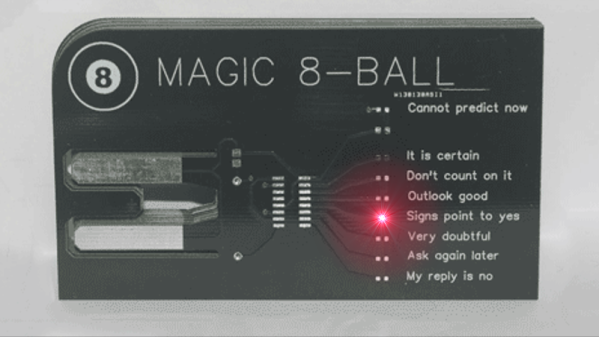
The PCB business card has long been a staple amongst the freelance EE set. It’s a way to show potential clients that you can do the job, as well as leave a great first impression. Some are simple blinkenlights devices, others have contact information on USB storage. We reckon that [Seamus] has really hit it out of the park with this one, though.
That’s right- this business card riffs on the classic Magic 8-ball toy. Ask a question, shake the card, and it’ll light an LED with the corresponding answer to your query. Use it as a desk toy, or break deadlocks in meetings by looking to the card for the correct course of action.
It’s a very tasteful build, showing off [Seamus]’s minimalist chops – consisting of just a decade counter, a tilt sensor, and some LEDs. When the card is shaken, the tilt sensor outputs a series of pulses to the clock line of the decade counter, whose outputs are the 8 LEDs. When the tilt sensor settles, it lands on the final answer.