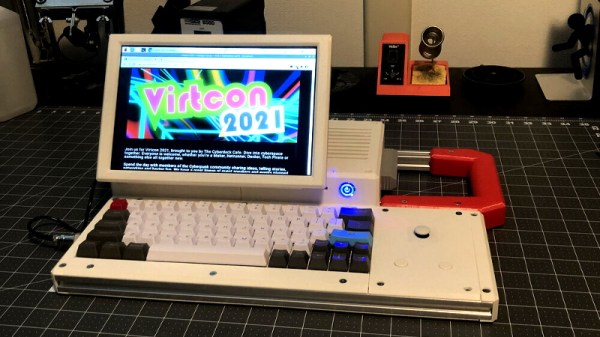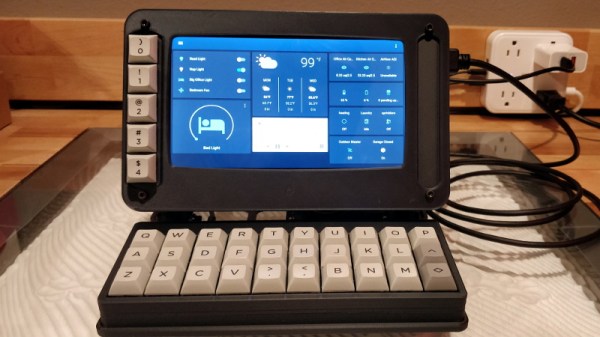
The OLKB-Terminal designed by [Jeff Eberl] doesn’t have a battery, can’t fold up (even if it seems like it could), and is only portable in the sense that you can literally pick it up and move it somewhere else. So arguably it’s not really a cyberdeck per se, but it certainly does look the part. If you need to be furiously typing out lines of code in a dimly lit near-future hacker’s den, this should do you nicely.
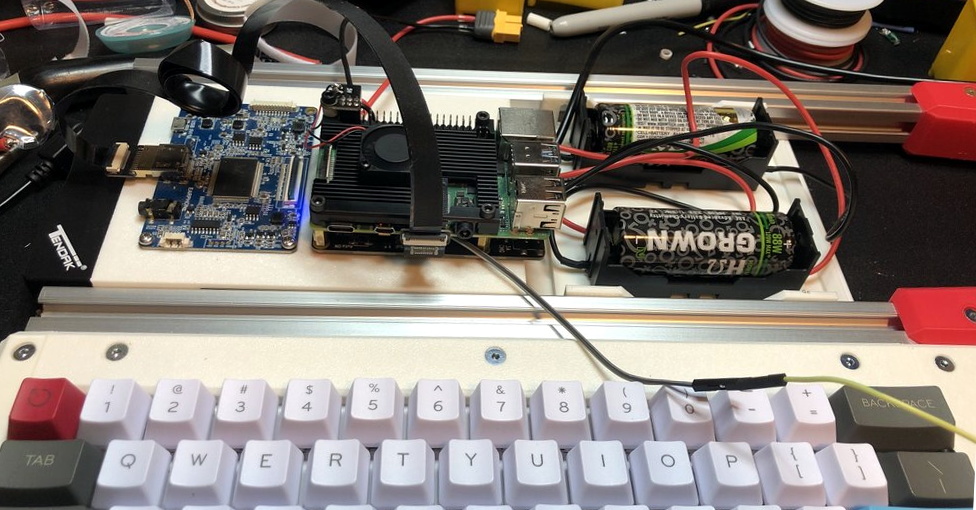
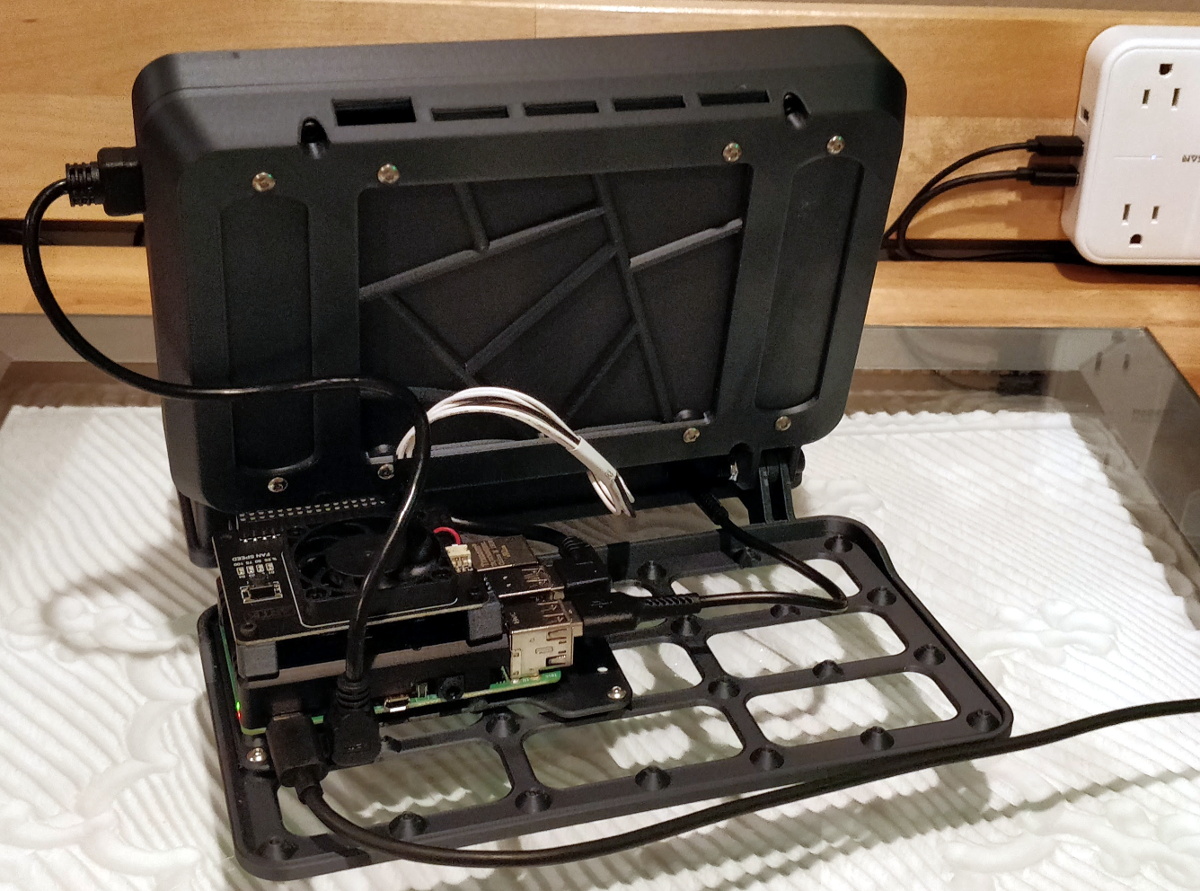
[Jeff] has provided everything you’d need to recreate this slick little machine on your own, though he does warn that some of the hardware decisions were based simply on what he had on-hand at the time, and that better or cheaper options may exist. So for example if you don’t want to use the Raspberry Pi 4, you can easily swap it out for some other single-board computer. Though if you want to change something better integrated, like the LCD panel, it will probably require modifications to the 3D printed components.
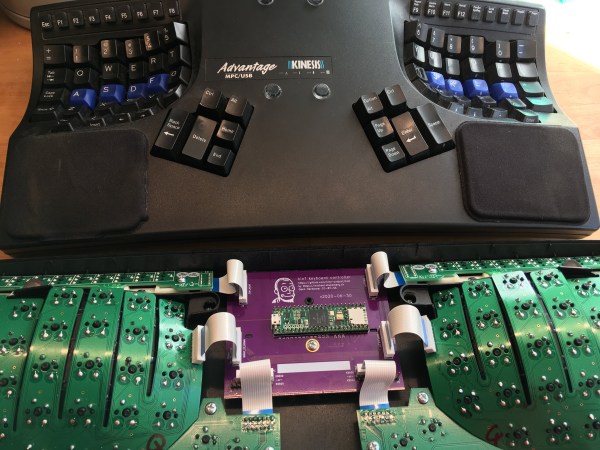
The slim mechanical keyboard that [Jeff] used for the OLKB-Terminal, which in some ways set the tone for the whole design, is actually a completely separate open source project from [Victor Lucachi]. The VOID30 is a 3D printed, 30% handwired ortholinear keyboard that runs the popular QMK firmware on an Arduino Pro Micro. He’s implemented a couple tweaks, namely using a USB-C equipped Arduino clone, but otherwise it’s the same as upstream. So if you’re not in the market for a little bedside cyberpunk terminal but love its sleek keyboard, you’re in luck.
Software wise, [Jeff] has the OLKB-Terminal hooked into his larger Home Assistant system. This gives him an attractive status display of the whole network, and with just a tap on the terminal’s seven inch touch screen, he’s able to directly control devices around the home. That said, at the end of the day it’s just a Raspberry Pi, so it could really run whatever you want.
While cyberdeck builds might be all the rage right now, we do appreciate projects that bring those same design tenets to the desktop. From the gorgeous faux-retro designs of [Oriol Ferrer Mesià] to modernized pieces of vintage hardware, truly personal computers that can be easily upgraded and repaired don’t have to be limited to something you can lug around with a guitar strap.