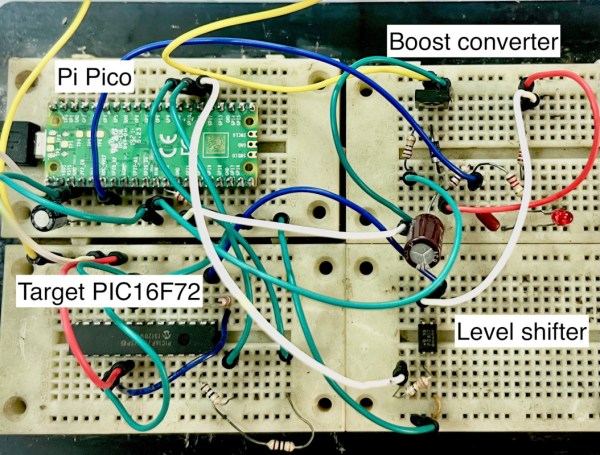
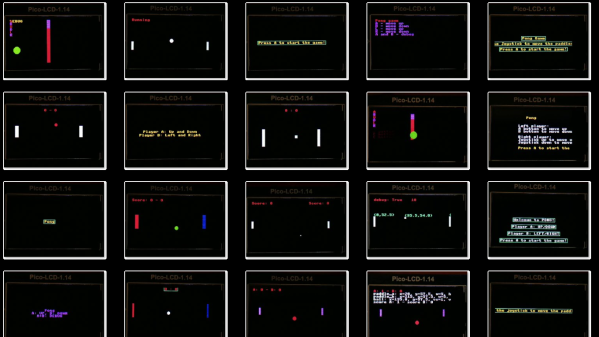
MicroPython is a wonderful Python interpreter that runs on many higher-end microcontrollers, from ESP8266 to STM32 to the RP2040. MicroPython lets you build devices quickly, and its latest release, 1.23, brings a number of improvements you should be aware of.
The first one is custom USB device support, and it’s a big one. Do you want to build HID devices, or play with MIDI, or do multiple serial streams with help of PIO? Now MicroPython lets you easily create USB devices on a variety of levels, from friendly wrappers for creating HID or MIDI devices, to low-level hooks to let you define your own USB descriptors, with user-friendly libraries to help all the way through. Currently, SAMD and RP2040 ports are supported in this part of code, but you can expect more in the future.
There’s more – support for OpenAMP, an inter-core communication protocol, has received a ton of improvements for systems where MicroPython reigns supreme on some of the CPU cores but also communicates with different systems on other cores. A number of improvements have made their way through the codebase, highlighting things we didn’t know MicroPython could do – for instance, did you know that there’s a WebAssembly port in the interpreter, letting you run MicroPython in your browser?
Well, it’s got a significant overhaul in this release, so there’s no better time to check it out than now! Library structure has been refactored to improve CPython compatibility, the RP2040 port receives a 10% performance boost thanks to core improvements, and touches upon areas like PIO and SPI interfaces.
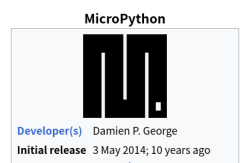
We applaud all contributors involved on this release. MicroPython is now a decade old as of May 3rd, and it keeps trucking on, having firmly earned its place in the hacker ecosystem. If you’ve been playing with MicroPython, remember that there are multiple IDEs, graphics libraries, and you can bring your C code with you!