Mike Harrison Knows Everything About LEDs

Driving an LED and making it flash is probably the first project that most people will have attempted when learning about microprocessor control of hardware. The Arduino and similar boards have an LED fitted, and turning it on and off is a simple introduction to code. So it’s fair to say that many of us will think we have a pretty good handle on driving an LED; connect it to a I/O pin via a resistor and that’s it. If this describes you, then Mike Harrison’s talk at the recent Hackaday Superconference (embedded below) will be an education.

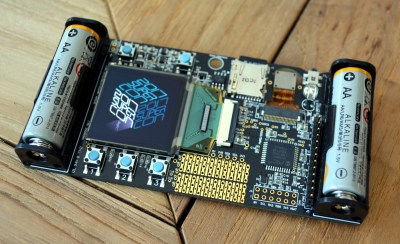
Mike has appeared on these pages multiple times as he pushes LEDs and PCB techniques to their limits, even designing our 2017 Superconference badge, and his many years of work in the upper echelons of professional LED installations have given him an unrivaled expertise. He has built gigantic art projects for airports, museums, and cities. A talk billed as covering everything he’s learned about LEDs them promises to be a special one.

If there’s a surprise in the talk, it’s that he’s talking very little about LEDs themselves. Instead we’re treated to a fundamental primer in how to drive a lot of LEDs, how to do so efficiently, with good brightness and colour resolution, and without falling into design traps. It’s obvious that some of his advice such at that of relying on DIP switches rather than software for configuration of multi-part installations has been learned the hard way.

Multiple LEDs at once from your driver chip, using a higher voltage.

We are taken through a bit of the background to perceived intensity and gamma correction for the human eyesight. This segues neatly into the question of resolution, for brightness transitions to appear smooth it is necessary to have at least 12 bits, and to deliver that he reaches into his store of microcontroller and driver tips for how to generate PWM at the right bitrate. His favoured driver chip is the Texas TLC5971, so we’re treated to a primer on its operation. A useful tip is to use multiple smaller LEDs rather than a single big one in the quest for brightness, and he shows us how he drives series chains of LEDs from a higher voltage using just the TI chip.

Given the content of the talk this shouldn’t come as a shock, but at the end he reminds us that he doesn’t use all-in-one addressable LEDs such as the WS2932 or APA102. These are  the staple of so many projects, but as he points out they are designed for toy type applications and lack the required reliability for a multi-thousand LED install.

Conference talks come in many forms and are always fascinating to hear, but it’s rare to see one that covers such a wide topic from a position of experience. He should write it into a book, we’d buy it!

Continue reading “Mike Harrison Knows Everything About LEDs”

World’s Smallest LED Blinky

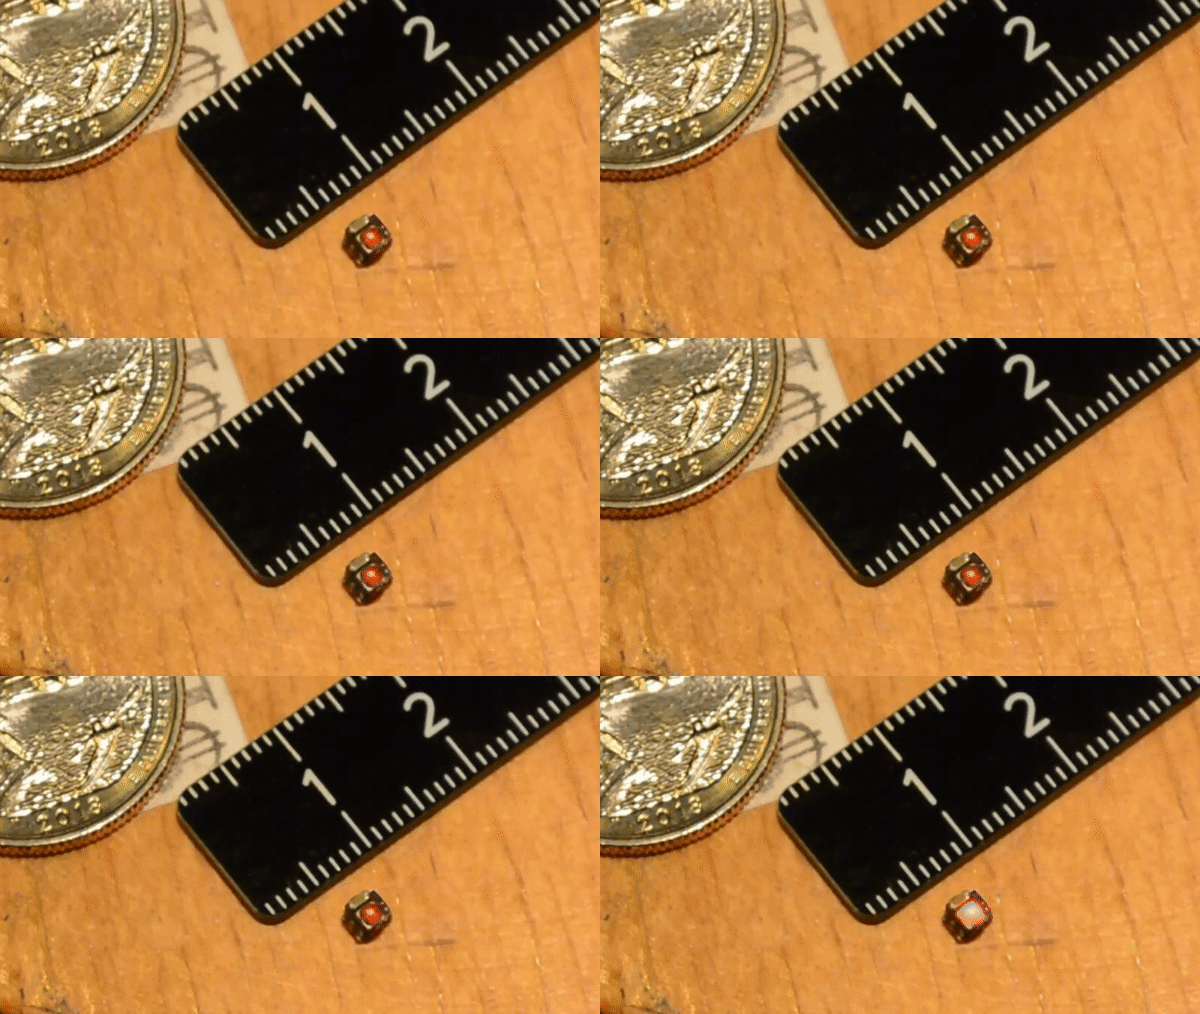
[Mike Harrison] is known for incredibly tiny soldering. Now he’s claiming a “world’s smallest” in the form of a stand-alone LED blinker, and we think he’s got the record.

He brought it along with him to Friday’s Beagleboard Bring-a-Hack, and we got a close look at the diminutive assembly. The project was dreamed up when [Mike] saw an announcement from Seiko about a new supercapacitor in a tiny package (likely the CPH3225A giving the blinky a footprint of 3.2 x 2.5 mm). With that in hand he added a PIC 10f322 microcontroller in a SOT23 package, an 0603 smoothing capacitor, and an SMD LED.

With such a tiny package, the trickiest part is figuring out how to charge that supercap. [Mike] used a drill and hand files to make a square hole in a CR2032 battery holder to serve as a jig. The bottom of the supercap rests against the battery as a pogo pin makes the second connection to a terminal on the side of his assembly. It charges quickly and will happily blink away for about six minutes after charging.

Mike set out to make two of these, but dropped the second supercap when at his workbench to be forever lost in the detritus common to every electronics workshop. When he first pulled it out at the meetup we were on a rooftop terrace and we were more than a bit concerned that this would just blow away. How do you begin to fabricate such a tiny assembly? He used UV cured epoxy to glue them together first, then somehow completed the soldering by hand!

Continue reading “World’s Smallest LED Blinky”

Mike Harrison At The Superconference: Flying LCD Pixels

Mike Harrison, perhaps better known to us as the titular Mike of YouTube channel mikeselectricstuff, is a hardware hacking genius. He’s the man behind this year’s Superconference badge, and his hacks and teardowns have graced our pages many times. The best thing about Mike is that his day job is designing implausibly cool one-off hardware for large-scale art installations. His customers are largely artists, which means that they just don’t care about the tech as long as it works. So when he gets together with a bunch of like-minded hacker types, he’s got a lot of pent-up technical details that he just has to get out. Our gain.

He’s been doing a number of LCD installations lately. And he’s not using the standard LCD calculator displays that we all know and love, although the tech is exactly the same, but is instead using roughly 4″ square single pixels. His Superconference talk dives deep into the behind-the-scenes cleverness that made possible a work of art that required hundreds of these, suspended by thin wires in mid-air, working together to simulate a flock of birds. You really want to watch this talk.


Continue reading “Mike Harrison At The Superconference: Flying LCD Pixels”

The Perils Of Developing The Hackaday Superconference Badge

In case you haven’t heard, the best hardware conference in the world was last weekend. The Hackaday Superconference was three days of hardware hacking, soldering irons, and an epic hardware badge. Throw in two stages for talk, two workshop areas, the amazing hallwaycon and the best, most chill attendees you can imagine, and you have the ultimate hardware conference.

Already we’ve gone over the gory details of what this badge does, and now it’s time to talk about the perils of building large numbers of an electronic conference badge. This is the hardware demoscene, artisanal manufacturing, badgelife, and an exploration of exactly how far you can push a development schedule to get these badges out the door and into the hands of eager badge hackers and con attendees.

The good news is that we succeeded, and did so in time to put a completed badge in the hand of everyone who attended the conference (and we do have a few available if you didn’t make it to the con). Join me after the break to learn what it took to make it all happen and see the time lapse of the final kitting process.

Continue reading “The Perils Of Developing The Hackaday Superconference Badge”

Get Your Hands On A 2017 Hackaday Superconference Badge

We just got the shipment of hot Hackaday Superconference badges in our hands yesterday, and they’re frankly awesome. Due to great manufacturing partners and a fantastic design by [Mike Harrison], we ended up with too few manufacturing defects and too many badges. How’s that for a nice problem to have?

But our gain is your gain! We have enough badges for everyone who’s coming to the con, and we’re selling the rest on Tindie.

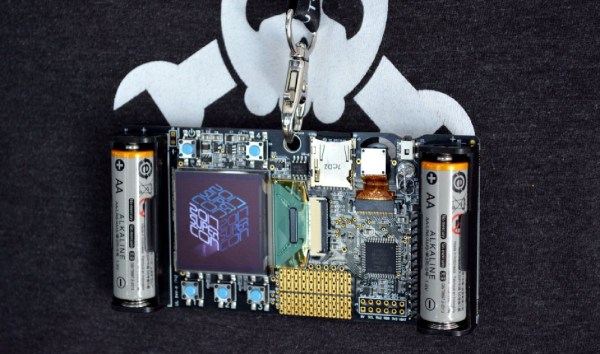
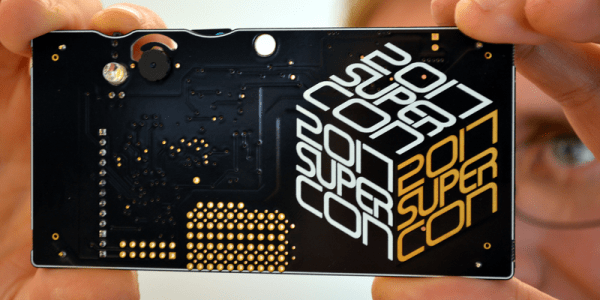
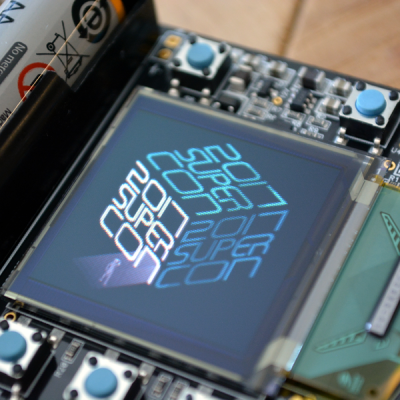
In case you missed it, the badge is a digital video camera, or at least that’s how it’s going to start out its life. It’s got a camera sensor, enough processing power on-board to handle the image data, a screen, and SD card storage. It’s also got a good assortment of buttons, and more importantly, prototyping space and an abundance of pins broken out for you to play with. For the nitty-gritty, see the badge’s Hackaday.io project page. We’ve coded up the obvious applications, added in some challenging puzzles, and now we’re handing them off to you.

Hackaday Badge History

What will you do with them? That remains to be seen. The first time we put on a Supercon, we made the best badge you’ve ever seen — a blank protoboard, and a big pile of parts. Add in an enthusiastic and creative crowd, and out pops magic. Last year, [Voja] produced a badge with finesse and more resources, adding blinkies, IR, and an accelerometer, and we saw hacks making use of each of the features. This year, we’ve pushed it even further. Now it’s your turn.

The Superconference is this weekend, and a few hundred Hackaday hackers will get their hands on this lump of open hardware. Something fantastic is certainly going to happen. If you couldn’t make it but still want to play along, now’s your chance!
Conference badges are a fantastic playground for hardware hackers: they’re a small enough project to get done, but large enough to do something interesting. Some badges, like [Brian Benchoff]’s badge for Tindie, are minimalistic. Others, like this unofficial badge for DEFCON, are quadcopters. In between, there’s room for artistry and aesthetics and just plain cleverness. And don’t forget utility. The 2017 Layer One conference badge (here on Hackaday.io) is easily converted into an OBD II CAN bus sniffer or a video game machine — your pick.

Hackaday loves custom hardware and badges like this are more than just a PCB full of components. They’re a piece of the culture from the event where they made their debut. We’re happy we can share that with some of the hackers who couldn’t make it to Supercon this year.

Mike Harrison’s Reverse Engineering Workshop

Hardware teardowns are awesome when guided by experts. One of our favorites over the years has been [Mike Harrison], who has conquered teardowns of some incredibly rare and exquisitely engineered gear, sharing the adventure on his YouTube channel: mikeselectricstuff. Now he’s putting on a workshop to walk through some of the techniques he uses when looking at equipment for the first time.

[Mike] will be in Pasadena a few days early for the Hackaday Superconference and floated the idea of hosting a workshop. We ordered up some interesting gear which he hasn’t had a chance to look at yet. A dozen lucky workshop attendees will walk through the process [Mike] uses to explore the manufacturing and design choices — skills that will translate to examining any piece of unknown gear. He may even delve into the functionality of the equipment if time allows. Get your ticket right now!

To keep things interesting we’re not going to reveal the equipment until after the fact. But follow the event page where we’ll publish the details of his reverse engineering work after the workshop.

[Mike] is the badge designer for this year’s Hackaday Superconference badge. Unfortunately Supercon is completely sold out (we tried to warn you) but you can check out the badge details he already published. And we will be live streaming the Supercon this year — more details on that next week!

Amazing Analysis Of A 350,000 LED Airport Art Project

Before you zip to the comments to scream “not a hack,” watch a few minutes of this teardown video. This 48 minute detailed walkthrough of a one-off art piece shows every aspect of the project: every requirement, design decision, implementation challenge, and mistake. Some notable details:

  • PCBs that are 1 meter wide (all one piece!)
  • 350,000 white LEDs
  • Carbon fiber enclosures
  • 1-wire serial bus (like the WS2812 only not quite) with 12 bit resolution (TLC5973)
  • Customized cable test jigs, PCB test jigs, and test modes
  • An exploration on ESD issues in production

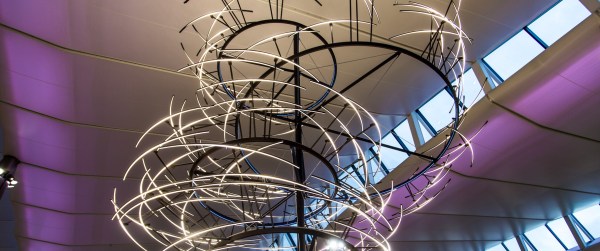
It’s not often that one sees teardowns of professional projects like this, and there’s quite a bit to learn from in here, besides it being a beautiful piece of art. See more about the Caviar House “Emergence” project at the Heathrow Airport, along with stunning pictures and video of the display in action.

If you’re thinking about how you’d control 350,000 individual LEDs with 12 bit grayscale and have it look smooth, check out the processor requirements behind the megascroller, which only handles 98,000 LEDs. More recently, we asked how many LEDs are too many, and the answer was quite a bit lower than 350k.

Continue reading “Amazing Analysis Of A 350,000 LED Airport Art Project”