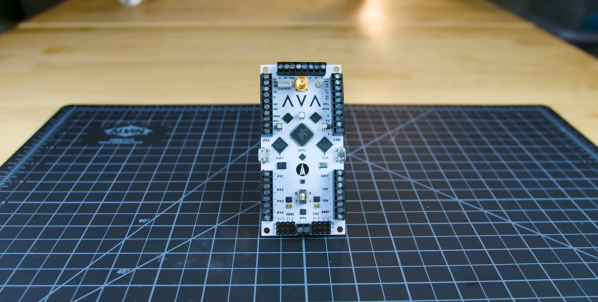
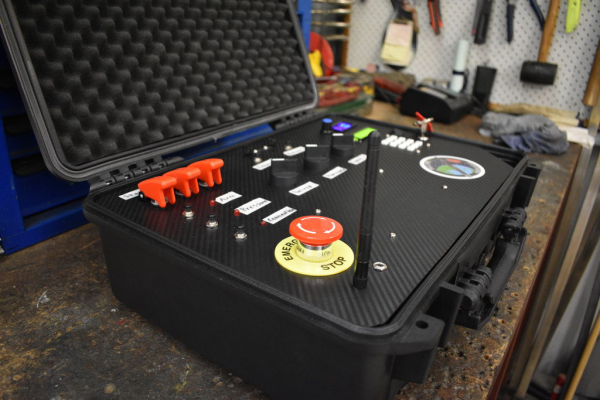
When you’re building and launching a variety of advanced model rockets like [Joe Barnard], you don’t want to spend time building (and debugging) specialized flight computers for every rocket configuration. This challenge has led him to create AVA (All Vehicle Avionics), an impressive model rocket flight computer that he intends to use on all his future rockets.
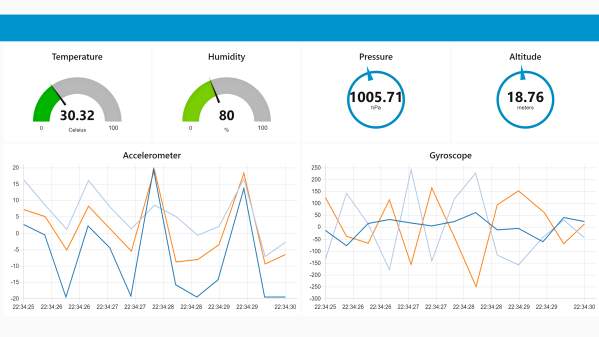
All of [Joe]’s rockets feature active stabilization and guidance, and comprehensive telemetry using a variety of sensors. On the board there are three separate microcontrollers connected over I2C or SPI, each with its own micro USB port. The two smaller microcontrollers are both ATSAMD21s, also used on the Arduino Zero. The first is used for GPS and inertial navigation, and uses data from onboard and external sensors like the two IMUs (one is a backup), GPS and barometer to estimate the rocket’s position, velocity and attitude, The second is for telemetry, and it handles all external communications via a Bluetooth modem or long range 900 Mhz radio. The main processor (MPU) is a NXP MK20DX256 (also used on the Teensy 3.2), which receives data from the other microcontrollers and handles all the real-time operations and control outputs.
[Joe] gives a very detailed overview on the board, it’s capabilities, and the reasoning behind some of his design choices in the video after the break. Most of the sensors and microcontrollers were selected partly because of his experience with them. All three microcontrollers have Arduino bootloaders, also due to familiarity with the framework. AVA is the 12th in the line of flight computers [Joe] has built, and it is clear that a lot of work and hard-earned experience went into the design. Continue reading “Advanced Model Rocket Flight Computer Reaching For The Stars”
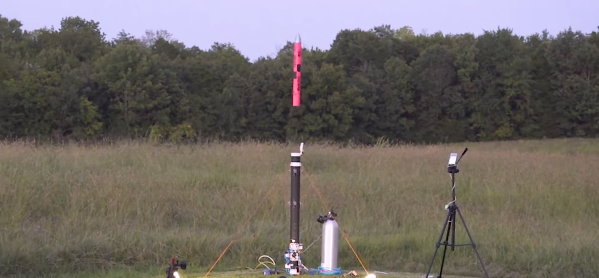
 While rockets launched from silos are generally weapons of war, [Joe Barnard] of [BPS.Space] thought model rocketry could still do with a little more thoomp. So he built a functional
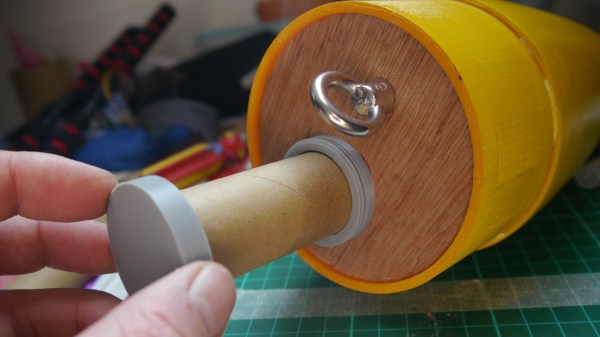
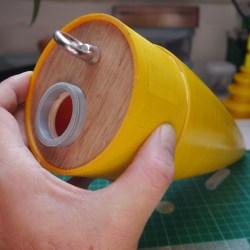 The payload container is a hollow tube with a 3D printed threaded adaptor attached to one end. Payload goes into the tube, and the tube inserts into a hole in the bulkhead, screwing down securely. The result is an easy way to send up something like a GPS tracker, possibly with a LoRa module attached to it. That combination is a popular one with high-altitude balloons, which, like rockets, also require people to retrieve them after not-entirely-predictable landings. LoRa wireless communications have very long range, but that doesn’t help if there’s an obstruction like a hill between you and the transmitter. In those cases,