Talkbot: An Arduino-driven Robot For Beginners

talkbotguts

It isn’t exactly WALL-E, but [Bithead’s] affordable introduction to robots — Talkbot — is made out of a trash can. This little guy runs off an Arduino and comes packed with features, including a voice chip, a motor shield, and a pair of bump sensors. Talkbot will cruise around until a bump sensor slams into an obstacle. One of his prerecorded messages will then play through the speaker while he backs up, turns, and tries to find a clearer path.

According to [Bithead’s] build log, tracking down the right bargain voice chip was a bit of a hassle; he skipped over the text-to-speech options only to be stalled by vendor issues. He finally settled on a clone of Sparkfun’s WTV020SD chip sourced from eBay, which allows you to access pre-recorded WAV files stored on a Micro-SD card. The robot’s body comes straight off the hardware store shelf, with PVC pipe for arms and a polystyrene base to hold all the parts.  At the bargain price of $110, [Bithead’s] students will have a true hacker experience cobbling the Talkbot together rather than using a prefab kit.

Be sure to see Talkbot  in a video below, performing either his green-eyed “friendly mode” or red-eyed “grumpy mode,” which dictates how pleasantly he responds to obstacles. Need something more advanced? Check out the tentacle robot, just in time for Halloween.

Continue reading “Talkbot: An Arduino-driven Robot For Beginners”

Fail Of The Week: Motorizing A PCB Cutting Shear

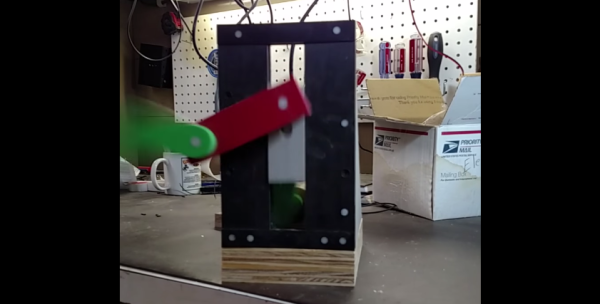
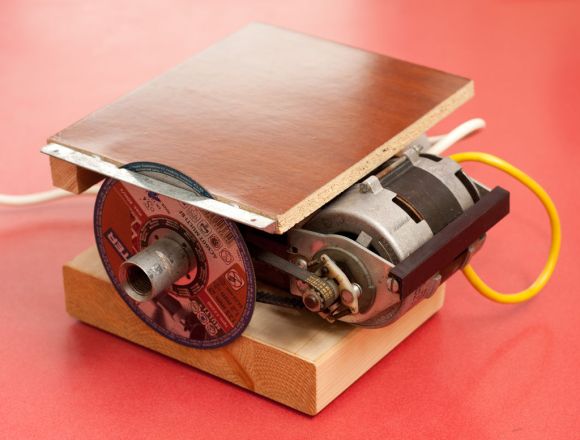
This week’s fail is an attempt to retrofit a PCB cutting shear with a geared motor. The project was undertaken by [David Cook]. Incidentally he’s very near and dear to us as his book Robot Building for Beginners got us started with hacking in the first place.

This $200 shearing tool is hand-operated and can cut through boards up to 1/16″ thick. But [David] really had to crank on the thing to make a cut. This often resulted in crooked board edges. He decided to do the retrofit in order to achieve higher precision. He sourced a high-torque motor from eBay for around $50 delivered.

Continue reading “Fail Of The Week: Motorizing A PCB Cutting Shear”

1,200 Hours Of Work Results In The Smallest V12 Engine

[José Manuel Hermo Barreiro] has spent many many hours crafting these tiny engines from hand. Every single piece is custom made specifically for the engine it is going onto. He has created aircraft engines, car engines, and marine engines that all actually run and are the smallest of their kind in the world.

At one point in this video he stands in a room with several engines lined up, all running smoothly and considers that there are possibly over 15,000 hours of work right there in front of him.

Here’s a video specifically about the 12 cylinder construction.

[Thanks Staskazz]


Altering Automotive Window Motors For Use In Your Projects

automotive-window-motor-for-your-projects

We agree with [Mário Saleiro] that the motors from a car’s power windows make for a fantastic high-torque solution to your next project. If you have a you-pick junkyard in your town they’ll be dirt cheap after you put in a bit of time to find and removing the parts from the yard. But you’ll probably want to add a few extra steps to get them ready, and he’s done a great job of documenting how he augmented them with wheels and rotary encoders.

One aspect of the project which really struck home with us was his machine-shop-101 style tricks to mate the axle of the motor with the wheel. He has a process which ensures you will find the exact center of a cylinder as you work. This starts by lining up a bench vice on his drill press. He then inserts a drill bit upside down in the drill chuck, lowers it and clamps the vice on the bit. After loosening the chuck he ends up with the bit pointing up at the exact center of the chuck. Next he chucks up a piece of threaded rod, drilling a perfectly centered hole by lowering it into the drill bit while the drill press is rotating. The image above shows him using this machined part as a guide to continue the hole into the motor’s axle. Click through the link above to learn the rest of the tricks he uses.

Working 3D Printed Stepper Motor

Stepper Small 1

Most 3D printers use stepper motors to control the movement of the extruder head. If you could actually print those motors it would be one more big step toward self-replicating hardware. Now obviously [Chris Hawkins’] working 3d printed stepper motor wasn’t built 100% through 3D printing, but the majority of the parts were. All that he had to add was the electronic driver pieces, magnets, wire, and a few nails.

The coils are made up of nails wrapped in magnet wire. The rotor is a 3D printed framework which accepts neodymium rare earth magnets. The axle is pointed which reduces the friction where it meets the cone-shaped support on either side of the frame. The IC on the upper right is a transistor array that facilitates switching the 20V driving the coils. The board on the lower right is a Digispark, which is an ATtiny85 breakout board that includes a USB edge connector for programming and a linear regulator which is how he gets away with feeding 20V as the source.

Don’t miss the demo video after the break where you can see the motor stepping 7.5 degrees at a time.

Continue reading “Working 3D Printed Stepper Motor”

Fabricating Custom Displays For A Commercial Coffee Roaster

custom-display-panel-for-a-coffee-roaster

Roasting the perfect coffee bean is an art form. But even the most talented of roasters can use a little feedback on what’s going on with their equipment. [Ludzinc] recently helped out a friend of his by building this set of 7-segment displays to show what’s happening with this coffee roaster.

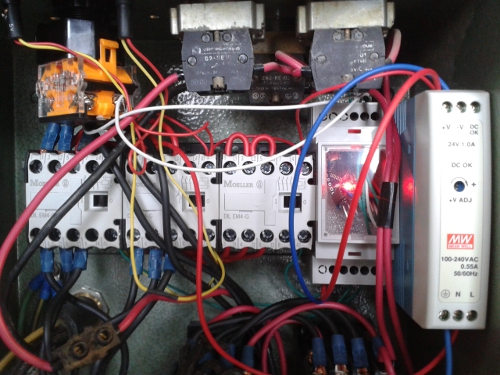
The yellow modules hiding underneath the display panel are responsible for setting the speed of the hot air blower and the rate at which the drum turns. They’re adjustable using some trimpots, but it sounds like the stock machine doesn’t give any type of speed feedback other than direct observation.

The solution was to patch into those speed controllers using the ADC of a PIC chip. They each output 0-10V, which [Ludzinc] measures via a voltage divider. After the speed is quantified the microcontroller outputs to one of the displays. Since there’s a different chip for each readout, the firmware can be custom tuned to suit the operator’s needs.

Keep this in mind if you’re still planning to build that coffee roaster out of a washing machine.

Laser Kaleidoscope Uses More 3D Printing And Less Scavenging

laser-kaleidoscope

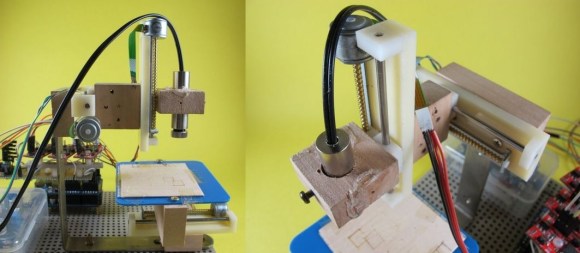
At first we thought that [Pete Prodoehl] was using the wrong term when calling his project a Laser Kaleidoscope. We usually think of a kaleidoscope as a long tube with three mirrors and some beads or glass shards in one end. But we looked it up and there’s a second definition that means a constantly changing pattern. This fits the bill. Just like the laser Spirograph from last week, it makes fancy patterns using spinning mirrors. But [Pete] went with several 3D printed parts rather than repurposing PC fans.

In the foreground you can see the potentiometers which adjust the motor speeds. The knobs for these were all 3D printed. He also printed the mounting brackets for the three motors and the laser diode. A third set of printed parts makes mounting the round mirrors on the motor shaft quite easy. All of this came together with very tight tolerances as shown by the advanced shapes he manages to produce in the video after the break. Continue reading “Laser Kaleidoscope Uses More 3D Printing And Less Scavenging”