Taking a page out of the Xzibit Engineering Handbook, [Geeksmithing] recently decided that the gutted carcass of an original Nintendo Entertainment System would make a perfect home for…a smaller NES. Well, that and two wireless controllers. Plus a projector. Oh, and batteries so it can be used on the go. Because really, at that point, why not?
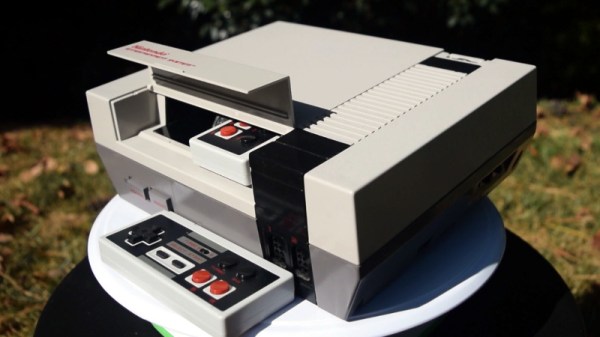
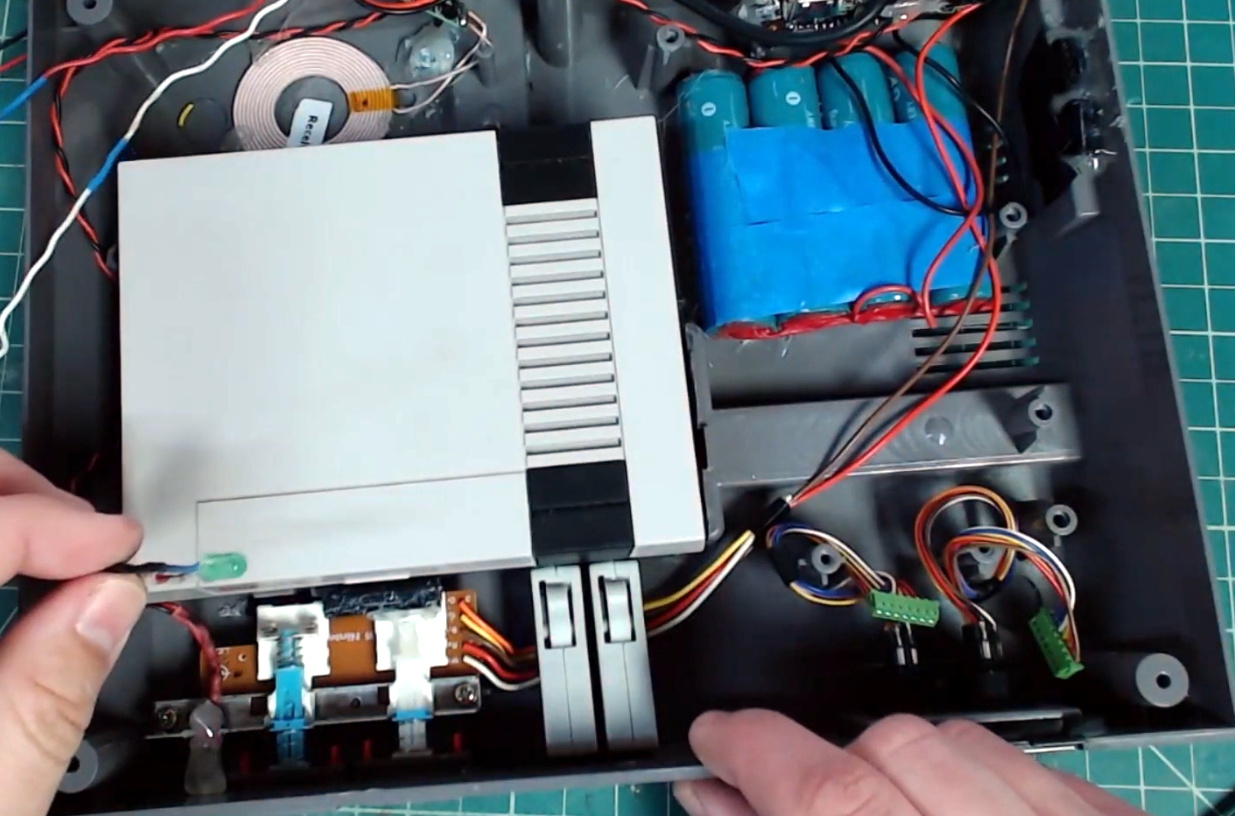 The video after the break starts with a cleverly edited version of a legitimate NES commercial from the gaming glory days of the 1980s, and segues into an rundown of all the modern hardware [Geeksmithing] crammed into the case of this legendary console. It helps that the official NES Classic used for the project is so much smaller than its more than thirty year old predecessor, leaving plenty of room inside to get creative. We particularly like the dual wireless controllers which are conveniently hiding inside the original cartridge slot.
Frankly, that alone would have made this project worthwhile in our book, but [Geeksmithing] didn’t stop there. He also added in a pico projector that’s normally covered up by the black facia on the rear of the console, complete with a “kickstand” to tip the system up to the appropriate angle. Continuing with the theme of enabling ad-hoc NES play sessions, he also packed in enough batteries to keep the system running for a respectable amount of time. There’s even put an inductive charging coil in the bottom of the system so he can top off the batteries just by dropping the system on a modified SNES mousepad.
Last time [Geeksmithing] checked in, he was embedding a Raspberry Pi into a Super Mario Thwomp that was made from real concrete. We can’t wait to see what he comes up with next.
Continue reading “Projector And NES Mini Hide Out Inside The Real Thing”