Nixie tubes, while built during the vacuum tube era of the mid-20th century, still exist in a niche among hackers. It’s quite the task to get them up and running due to a number of quirks, so getting an entire clock to work with Nixie tubes is a badge of honor for those who attempt the project. For anyone thinking about trying, [Tomasz] has written an extremely detailed write-up of his Nixie clock which should be able to help.
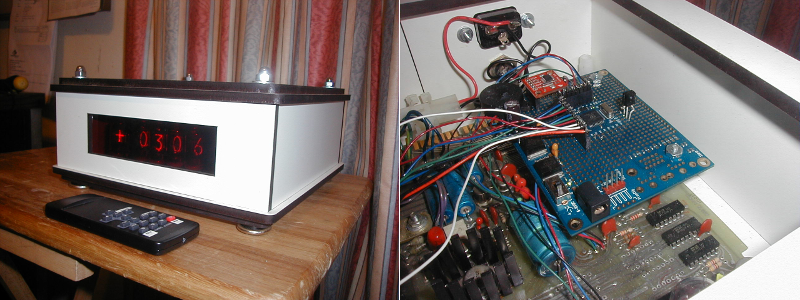
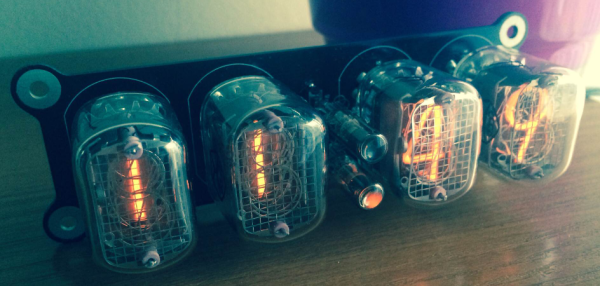
There is a lot of in-depth theory behind Nixie tubes on [Tomasz]’s page that he covers in the course of describing his clock. As far as the actual project is concerned, this is a simplified design which uses one board for the entire clock, including circuits for the lamps, drivers, microcontroller, power supply, and DC/DC conversion. This accomplishes his goal of making this project as small as possible. The Nixies he chose were IN-12 which are popular in his Eastern European home, but could be sourced from eBay and shipped anywhere in the world.
There is a lot of documentation on the project site, including schematics, microcontroller code, PCB design, and even screenshots of the oscilloscope for various points in the circuit. While this might not be the simplest Nixie clock ever, it is certainly close, more easily readable, and the most detailed build we’ve seen in a while!