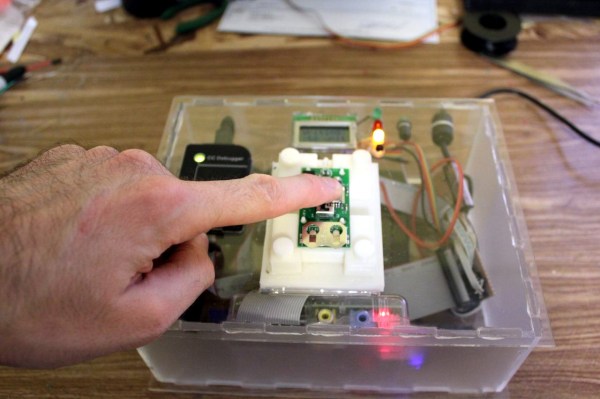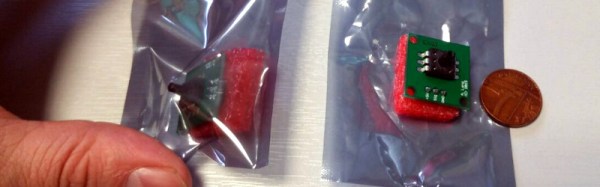
Those of us who have our PCBs manufactured by Chinese PCB fab houses will be used to seeing tempting offers to also assemble our completed boards. Send the Gerbers as normal, but also send a BoM, and for an extra slice of cash you can receive fully assembled PCBs instead of just bare boards. It sounds alluring, but leaves a few questions for those without the experience. How much will it cost, what will the quality be like, and will my boards work? [Alexander Lang] had a limited run of ten small pressure sensor boards to make, and since his board house had started an assembly service, decided to take the plunge and opt for full assembly.
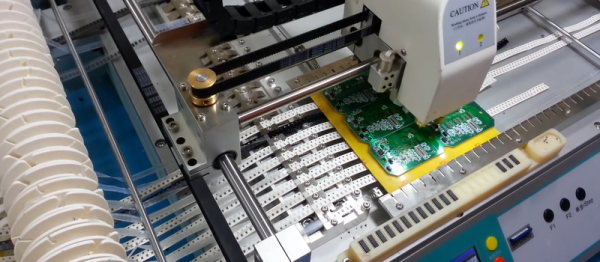
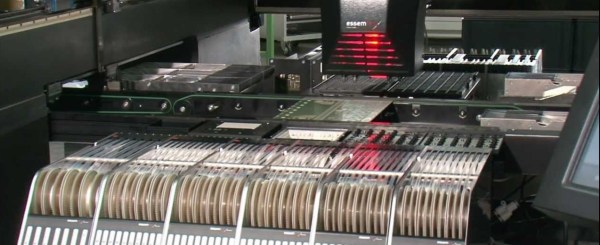
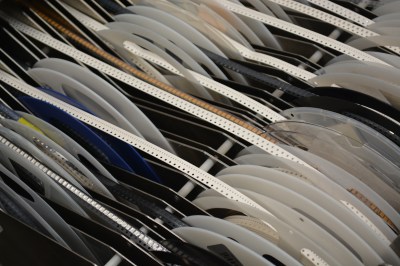
His first step was to assemble his BoM and send it with the Gerbers. He is at pains to stress that the BoM is key to the whole project, and getting it right with the correct packages and more than one source for each component is critical. The board house first charged him £32.05 ($41.76) to make his PCBs and stencil, and assess his BoM for a build quote. A few days passed, and then he had a quote for assembly, £61.41 ($80). He placed the order, the board house processed it and made the boards, and in due course his working PCB modules arrived.
This might sound at this point like an unexciting saga, but its very smoothness is the key to what makes it interesting. Those of us who have wondered about the risks involved in taking up such a service need to hear stories like this one as surely as we do stories of failure, because without them we’re flying blind. Whether £93.46 ($121.76) for ten small boards represents good enough value is another matter, but if surface-mount soldering is not your thing you might be interested to follow [Alexander]’s example. After all, it wasn’t so long ago that getting a cheap PCB made in China was a similar leap of faith.