It’s true what they say — you never know what you can do until you try. Russell Kirsch, who developed the first digital image scanner and subsequently invented the pixel, was a firm believer in this axiom. And if Russell had never tried to get a picture of his three-month-old son into a computer back in 1957, you might be reading Hackaday in print right now. Russell’s work laid the foundation for the algorithms and storage methods that make digital imaging what it is today.
Russell A. Kirsch was born June 20, 1929 in New York City, the son of Russian and Hungarian immigrants. He got quite an education, beginning at Bronx High School of Science. Then he earned a bachelor’s of Electrical Engineering at NYU, a Master of Science from Harvard, and attended American University and MIT.
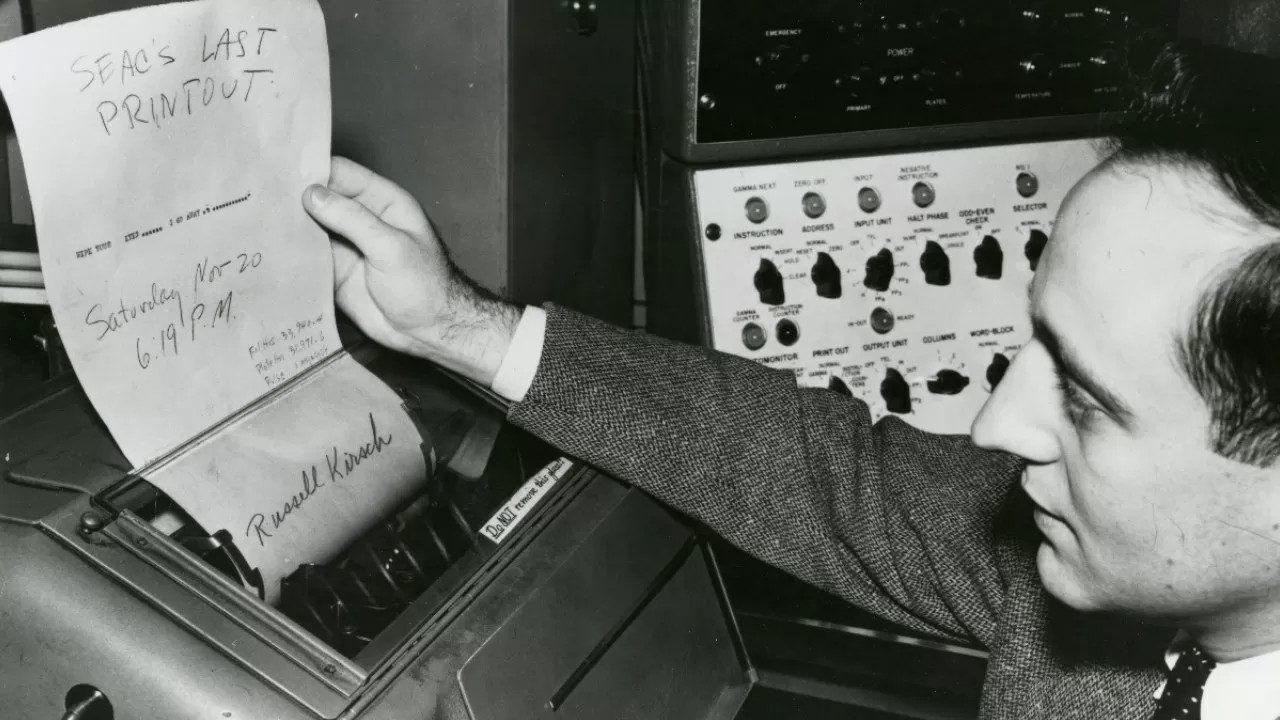
In 1951, Russell went to work for the National Bureau of Standards, now known as the National Institutes of Science and Technology (NIST). He spent nearly 50 years at NIST, and started out by working with one of the first programmable computers in America known as SEAC (Standards Eastern Automatic Computer). This room-sized computer built in 1950 was developed as an interim solution for the Census Bureau to do research (PDF).
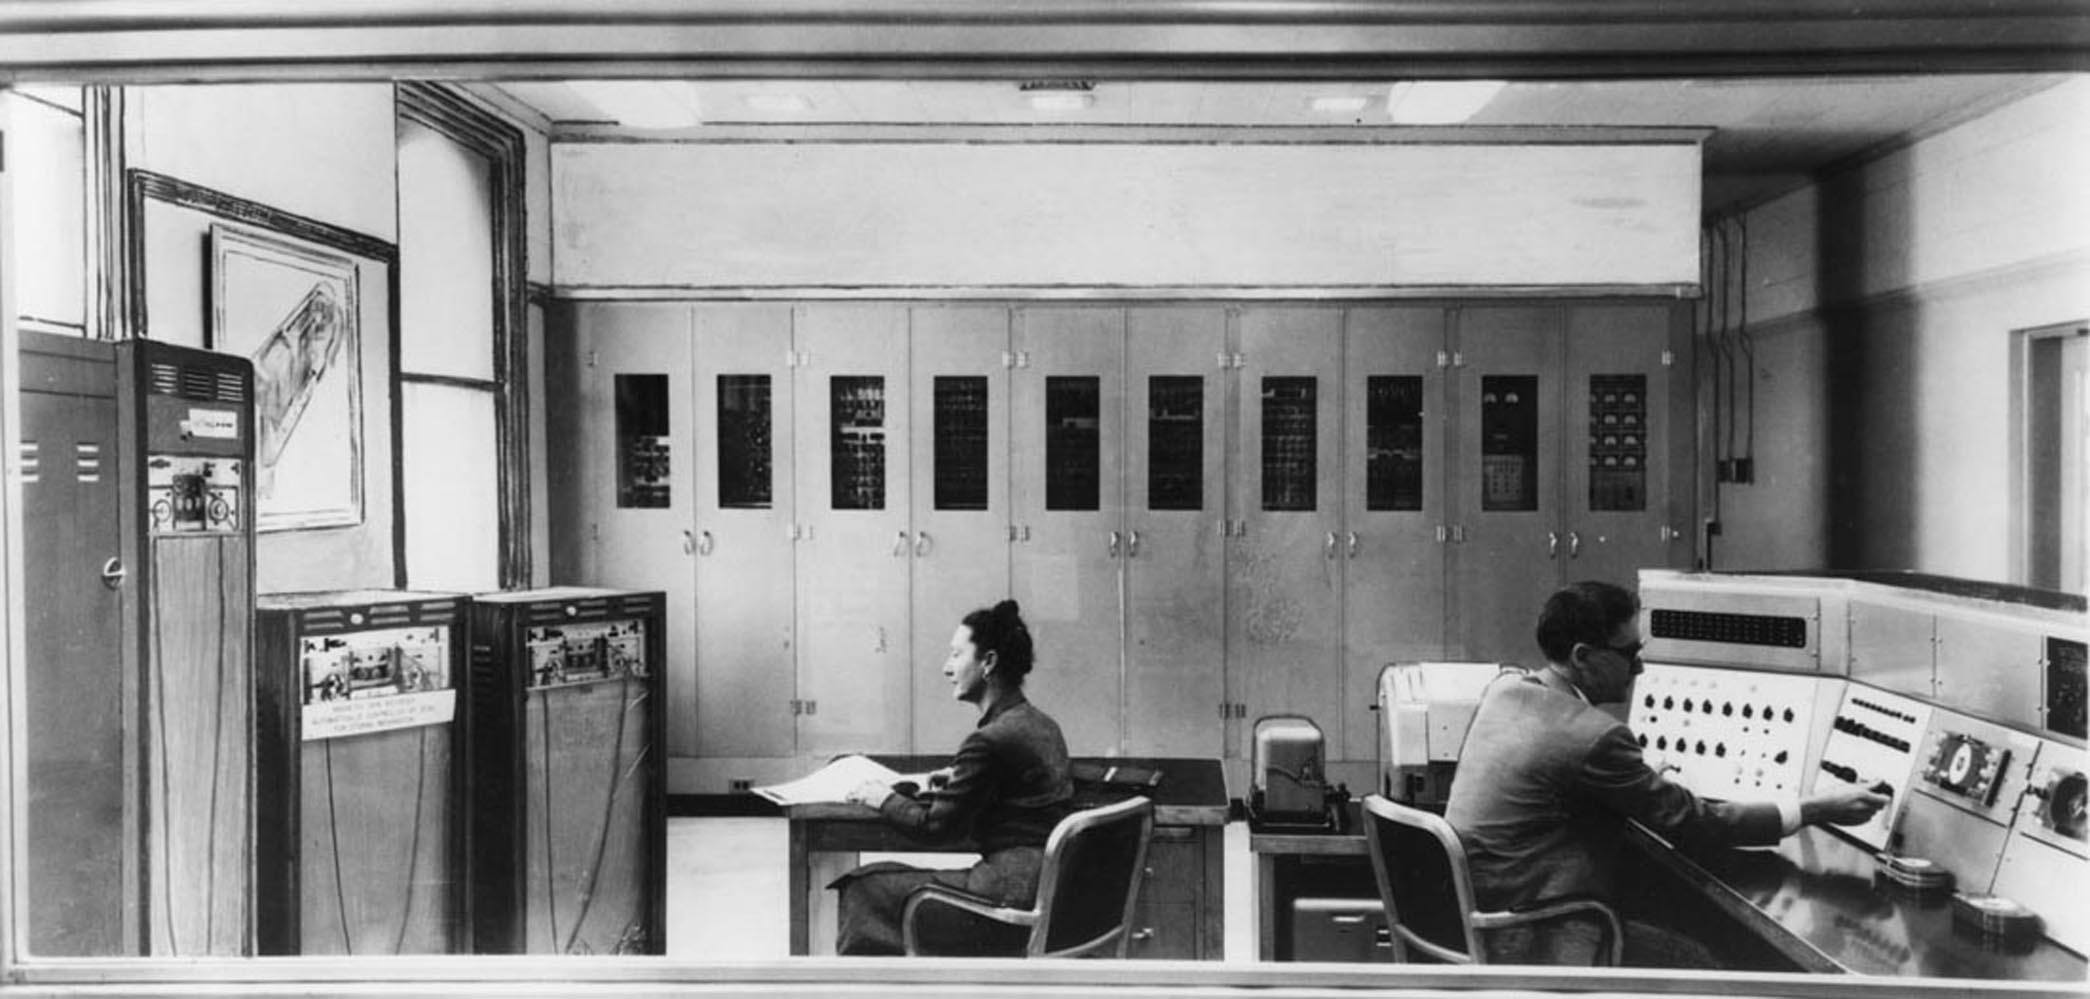
Like the other computers of its time, SEAC spoke the language of punch cards, mercury memory, and wire storage. Russell Kirsch and his team were tasked with finding a way to feed pictorial data into the machine without any prior processing. Since the computer was supposed to be temporary, its use wasn’t as tightly controlled as other computers. Although it ran 24/7 and got plenty of use, SEAC was more accessible than other computers, which allowed time for bleeding edge experimentation. NIST ended up keeping SEAC around for the next thirteen years, until 1963.
The Original Pixel Pusher

The term ‘pixel’ is a shortened portmanteau of picture element. Technically speaking, pixels are the unit of length for digital imaging. Pixels are building blocks for anything that can be displayed on a computer screen, so they’re kind of the first addressable blinkenlights.
In 1957, Russell brought in a picture of his son Walden, which would become the first digital image (PDF). He mounted the photo on a rotating drum scanner that had a motor on one end and a strobing disk on the other. The drum was coupled to a photo-multiplier vacuum tube that spun around on a lead screw. Photo-multipliers are used to detect very low levels of light.
As the drum slowly rotated, a photo-multiplier moved back and forth, scanning the image through a square viewing hole in the wall of a box. The tube digitized the picture by transmitting ones and zeros to SEAC that described what it saw through the square viewing hole — 1 for white, and 0 for black. The digital image of Walden is 76 x 76 pixels, which was the maximum allowed by SEAC.
Variable-Shaped Pixels
If Russell Kirsch had any regrets, it is that he designed pixels to be square. Ten years ago at the age of 81, he started working on a variable-shaped pixels with the hope of improving the future of digital imaging. He wrote a LISP program to explore the idea, and simulated triangular and rectangular pixels using a 6×6 array of square pixels for each.
In in the video below, Russell discusses the idea and proves that variable pixels make a better image with more information than square pixels do, and with significantly fewer pixels overall. It takes some finagling, as pixel pairs of triangles and rectangles must be carefully chosen, rotated, and mixed together to best represent the image, but the image quality is definitely worth the effort. Following that is a video of Russell discussing SEAC’s hardware.
Russell retired from NIST in 2001 and moved to Portland, Oregon. As of 2012, he could be found in the occasional coffeehouse, discussing technology with anyone he could engage. Unfortunately, Russell developed Alzheimer’s and died from complications on August 11, 2020. He was 91 years old.
Continue reading “Russell Kirsch: Pixel Pioneer And The Father Of Digital Imaging”