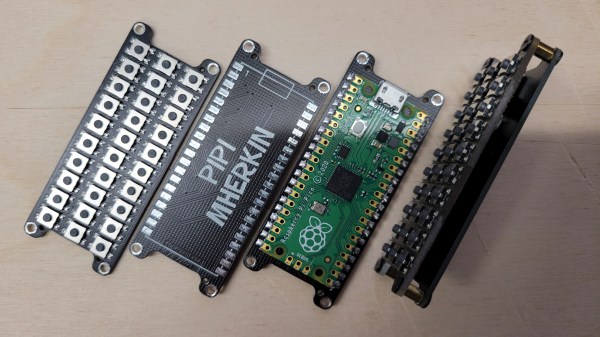
The PiPi Mherkin really, really can’t get much smaller. The diminutive keyboard design mounts directly to the Pi Pico responsible for driving it, has a similar footprint, and is only about 9 mm thick. It can’t get much smaller since it’s already about as small as the Pi Pico itself.
 Running on the Pi Pico is the PRK firmware, a keyboard framework that makes the device appear as a USB peripheral, checking the “just works” box nicely. The buttons here look a little sunken, but the switches used are available in taller formats, so it’s just a matter of preference.
We have to admit the thing has a very clean look, but at such a small size we agree it is perhaps more of a compact macropad than an actual, functional keyboard. Still, it might find a place in the right project. Design files are online, if you’re interested.
If you like small, compact keyboards but would prefer normal-sized keys, check out the PiPi Mherkin’s big brother, the PiPi Gherkin which gets clever with dual-function tap/hold keys to provide full functionality from only 30 keys, with minimal hassle.
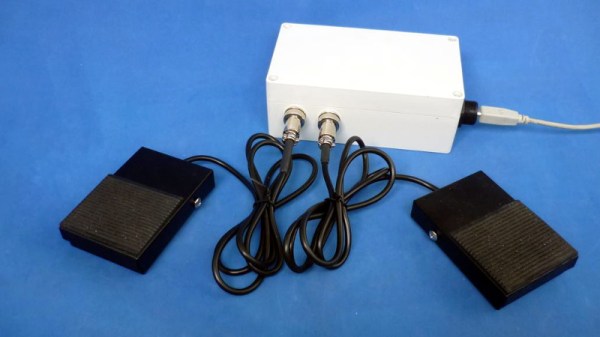
Keyboards are important, after all, and deserve serious attention, as our own [Kristina Panos] knows perfectly well.