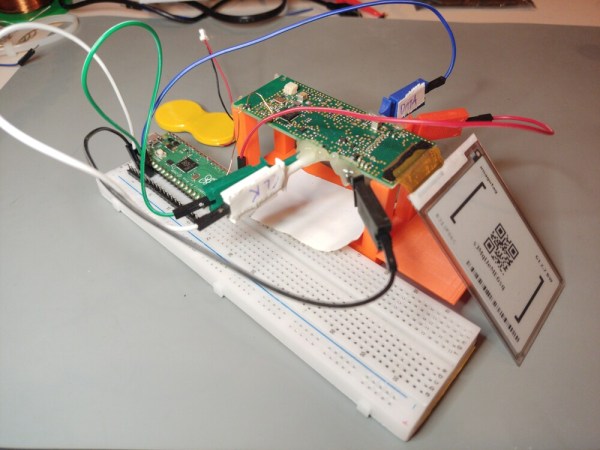
It’s pretty easy to program the Raspberry Pi Pico in Python, or you can use C or C++ if you so desire. However, if you fancy the easy language of yesteryear, you might like PiccoloBASIC from [Gary Sims].
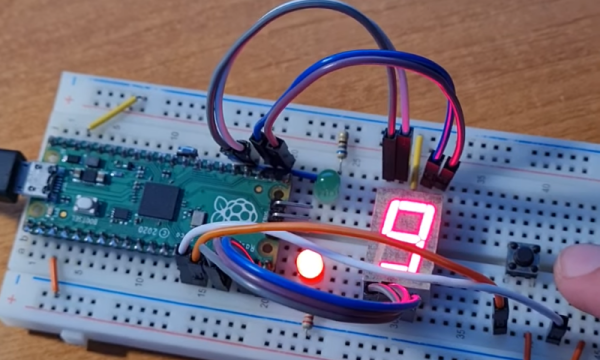
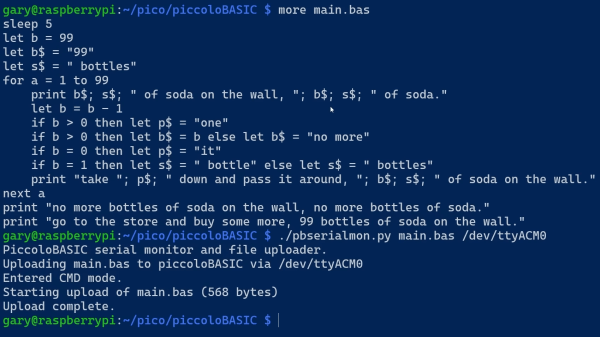
Putting it simply, piccoloBASIC is a BASIC interpreter that runs on the Raspberry Pi Pico. It features all the good bits of BASIC such as GOTO and GOSUB commands, that fancier languages kind of look down upon. It’s also got enough built-in routines to handle regular programming life, like sleeps, delays, a basic pseudorandom number source, trigonometric functions, and the ability to deal with floating point numbers. As far as microcontroller tasks go, it’s got rudimentary support for talking to GPIOs right now via the pinon and pinoff commands. However, it’s probably not the way to go if you want to bit-bang an SD card to within an inch of its speed rating.
Down the road, [Gary] hopes to add support for features like the Pico’s I2C, SPI, and PIO hardware, along with networking protocols and Bluetooth. PEEK and POKE are also hopefully on the way for those that like to fiddle with memory directly.
Meanwhile, if you’re looking for a different yet similar take, explore the port of MMBasic to the Pico platform. Video after the break.
Continue reading “A BASIC Interpreter For The Raspberry Pi Pico”