Sometimes it’s useful to add extra mass to a 3D print, and [Joe Fedewa] shared a simple and effective technique that uses plaster of Paris. Rather than pause the print and insert hardware or weighted bits inside, he designed the base as hollow. Not in the sense of zero infill, but in the sense of modeling a cavity into the open bottom of the object.
After the print is complete, he mixes the dry plaster with water until it creates a thick but pourable mixture. Then the object gets turned upside-down and the cavity filled. In about an hour, it will have set up enough to be handled and worked.
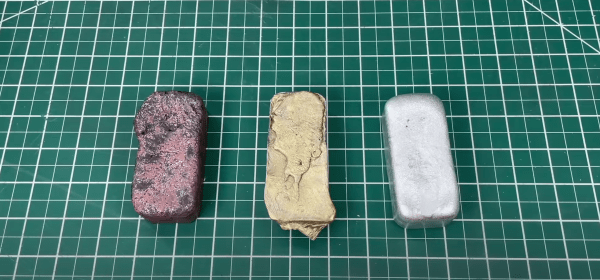
Plaster of Paris has a good heft to it, but more importantly it can be made perfectly presentable thanks to being very friendly to post-processing. Any rough spots can be easily sanded and the whole bottom smoothed, so one doesn’t even need to cap it off. Completely cured plaster can be sealed with a clear coat for a more durable finish, if desired.
This basic concept has been used in other ways, such as reinforcing prints with concrete to yield parts solid enough to make tools out of. But using plaster of Paris not just to add mass, but specifically to create a presentable surface that doesn’t need covering up is a neat and highly economical adaptation of the idea.
Other methods of adding mass to a 3D print include inserting metal balls or chunky nuts, bolts, or other hardware, but this method doesn’t require pausing prints to insert things. Nor does it require sealing off or capping the print, messing with goopy epoxies or resins, or spending a lot of money — making it a good one to keep in mind in case it comes in handy someday.
![[Denny] removing a plaster bust from a microwave-softened mold](https://hackaday.com/wp-content/uploads/2026/01/pla-mold-feat.jpg?w=600&h=450)