CNC Plotter Uses Only The Good DVD Drive Parts

It wasn’t that long ago that wanting to own your own 3D printer meant learning as much as you possibly could about CNC machines and then boostrapping your first printer. Now you can borrow time on one pretty easily, and somewhat affordably buy your own. If you take either of these routes you don’t need to know much about CNC, but why not use the tool to learn? This is what [Wootin24] did when building a 3D printed plotter with DVD drive parts.

Plotters made from scrapped floppy, optical drives, and printers are a popular hand, and well worth a weekend of your time. This one, however, is quite a bit different. [Wootin24] used the drives to source just the important parts for CNC precision: the rods, motors, motors, and bearings. The difference is that he designed and 3D printed his own mounting brackets rather than making do with what the optical drive parts are attached to.

This guide focuses on the gantries and the mechanics that drive them… it’s up to you to supply the motor drivers and electrical side of things. He suggests RAMPS but admins he used a simple motor driver and Arduino since they were handy.

CoreXY For A Dry Erase Plotter

After years of playing DnD, it’s finally [Mike]’s turn to be a DM. Of course he can’t draw maps with his hands, so that means building a tabletop plotter.

[Mike] is basing his tabletop game plotter on the Makelangelo, a polar plotter that draws images on a vertical platform with the help of two motors in the corner. This is a tabletop plotter, so the usual vertical arrangement wouldn’t work, but there are some projects out there that use the CoreXY system for a similar horizontal build.

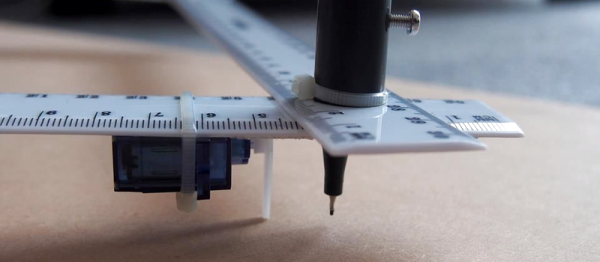
The tabletop CoreXY system is built from rigid aluminum yard sticks, 3D printed parts, two very cheap stepper motors, an Arduino, and a whole lot of string. It’s a very inexpensive build and because [Mike] is using metal rulers for the frame, it’s also very low profile – a nice advantage for table top sessions.

So far, [Mike] has the axes of the plotter moving, with a servo and pen mechanism next on the build plan. He has a few neat ideas for how to plot these dungeon maps by vectoring bitmap images and sending them to the Arduino, something we’ll probably see in a an upcoming build log.

You can check out a video of [Mike]’s build below.

Continue reading “CoreXY For A Dry Erase Plotter”

Circuit Plotting With An HP Plotter

Over the last few years we’ve seen a few commercial products that aim to put an entire PCB fab line on a desktop. As audacious as that sounds, there were a few booths showing off just that at CES last week, with one getting a $50k check from some blog. [Connor] and [Feiran] decided to do the hacker version of a PCB printer: an old HP plotter converted to modern hardware with a web interface with a conductive ink pen.

The plotter in question is a 1983 HP HIPLOT DMP-29 that was, like all old HP gear, a masterpiece of science and engineering. These electronics were discarded (preserved may be a better word) and replaced with modern hardware. The old servo motors ran at about 1.5A each, and a standard H-Bridge chip and beefy lab power supply these motors were the only part of the original plotter that were reused. For accurate positioning, a few 10-turn pots were duct taped to the motor shafts and fed into the ATMega1284p used for controlling the whole thing.

One of the more interesting aspects of the build is the web interface. This is a small JavaScript app that is capable of drawing lines on the X and Y axes and sends the resulting coordinates from a server to the printer. It’s very cool, but not as cool as the [Connor] and [Feiran]’s end goal: using existing Gerber files to draw some traces. They’re successfully parsing Gerber files, throwing out all the superfluous commands (drills, etc), and plotting them in conductive ink.

The final iteration of hardware wasn’t exactly what [Connor] and [Feiran] had in mind, but that’s mostly an issue with the terrible conductivity of the conductive ink. They’ve tried to fix this by running the pen over each line five times, but that introduces some backlash. This is the final project for an electrical engineering class, so we’re going to say that’s alright.

Video below.

Continue reading “Circuit Plotting With An HP Plotter”

Simple Pen Plotter

Simple DIY Pen Plotter, Great First CNC Project

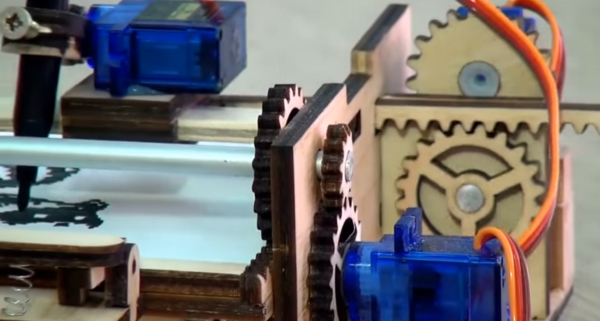
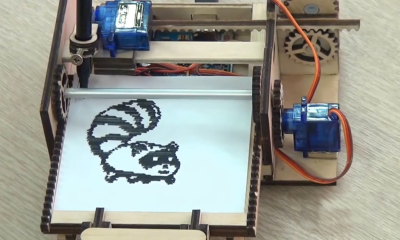
[Morten] has been busy recently making a pen plotter. It is a simple and elegant build that he completely designed from the ground up. There are no extra frivolous parts here. The frame is made from laser-cut plexiglass which makes fabrication easy if you have access to a laser cutter. Two NEMA17 motors are responsible for the machine’s movement. One moves the pen carriage back and forth by way of a belt. The other is connected by laser-cut gears to a roller bar, scavenged from an ink jet printer, that moves the paper media forward and aft underneath the pen.

The software chain used here is sort of uncommon compared to other inexpensive DIY CNC machines we see here on Hackaday. [Morten] creates his geometry with Rhino, then uses a plugin called Grasshopper to generate the g-code that controls the machine. That g-code is sent using gRemote to an Arduino flashed with the contraptor.org g-code interpreter. A RAMPS board takes the step and direction signals generated by the Arduino and moves the two stepper motors appropriately.

In typical open-supporting fashion, [Morten] has made his design files freely available for anyone to download. His plotter moves the pen side to side and the paper front to back in order to draw shapes but that’s not the only way a plotter can work. Check out this polar plotter and this one that hangs.

Check out the video after the break…

Continue reading “Simple DIY Pen Plotter, Great First CNC Project”

Reverse Engineering Unobtanium

font

If you listen to [Bil Herd] and the rest of the Commodore crew, you’ll quickly realize the folks behind Commodore were about 20 years ahead of their time, with their own chip foundries and vertical integration that would make the modern-day Apple jealous. One of the cool chips that came out of the MOS foundry was the 6500/1 – used in the keyboard controller of the Amiga and the 1520 printer/plotter. Basically a microcontroller with a 6502 core, the 6500/1 has seen a lot of talk when it comes to dumping the contents of the ROM, and thus all the code on the Amiga’s keyboard controller and the font for the 1520 plotter – there were ideas on how to get the contents of the ROM, but no one tried building a circuit.

[Jim Brain] looked over the discussions and recently gave it a try. He was completely successful, dumping the ROM of a 6500/1, and allowing for the preservation and analysis of the 1520 plotter, analysis of other devices controlled by a 6500/1, and the possibility of the creation of a drop-in replacement for the unobtanium 6500/1.

The datasheet for the 6500/1 has a few lines describing the test mode, where applying +10 VDC to the /RES line forces the machine to make memory fetches from the external pins. The only problem was, no body knew how to make this work. Ideas were thrown around, but it wasn’t until [Jim Brain] pulled an ATMega32 off the top of his parts bin did anyone create a working circuit.

The code for the AVR puts the 6500/1 into it’s test mode, loads a single memory location from ROM, stores the data in PORTA, where the AVR reads it and prints it out over a serial connection to a computer. Repeat for every location in the 6500/1 ROM, and you have a firmware dump. This is probably the first time this code has been seen in 20 years.

Now the race is on to create a drop-in replacement of what is basically a 6502-based microcontroller. That probably won’t be used for much outside of the classic and retro scene, but at least it would be a fun device to play around with.

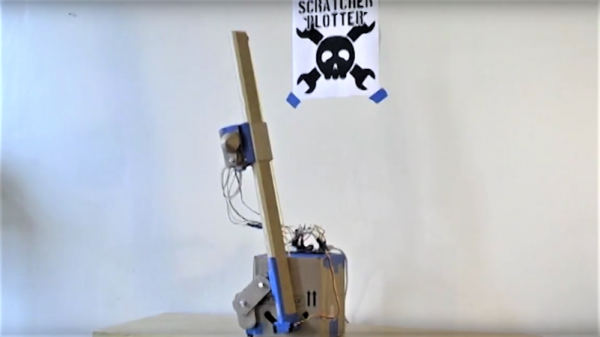
Standing in front of a gravity based pen plotter

Plotterbot Drawing Daleks

[youtube=https://www.youtube.com/watch?v=3a59yj-HZsg&w=580]


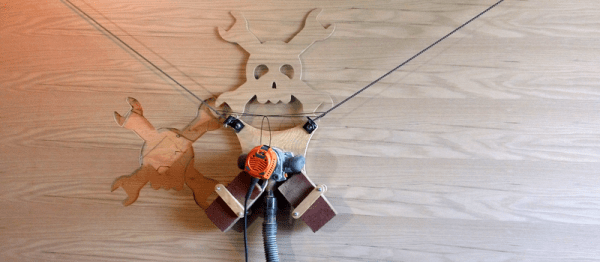
Two strings, two motors, and some very creative software. That’s the magic behind the Plotterbot, which was drawing Daleks when we crossed its path at Maker Faire. This is the Mark II, which was built after cannibalizing Mark I. Unfortunately we can’t tell you what the difference is between the two.

The machine itself is a pretty nice little package. There is a box that hangs on the wall with a motor/spool combination at each end. In the middle of those two is an Arduino Mega with a custom driver shield. It takes an SD card with the drawing files on it. There is also a small touchscreen display which allowed for easy selection of what you’d like drawn on that paper taped to the wall below the unit.

Back when we were running the Trinket contest [Jay] used the Plotterbot to draw a Skull and Wrenches made out of a multitude of smaller Skull and Wrenches. He was nice enough bring that piece of art and present it to us at the Faire. Thanks [Jay]!

Roboartist Draws What It Sees

roboartist-vector-image-machine

The perfect balance of simplicity and complexity have been struck with this automated artist. The Roboartist is a vector drawing robot project which [Niazangels], [Maxarjun], and [Ashwin] have been documenting for the last few days. The killer feature of the build is the ability to process what is seen through a webcam so that it may be sketched as ink on paper by the robotic arm.

The arm itself has four stages, and as you can see in the video below, remarkably little slop. The remaining slight wiggle is just enough to make the images seem as if they were not printed to perfection, and we like that effect!

Above is a still of Roboartist working on a portrait of [Heath Ledger] in his role as Joker from The Dark Knight. The image import feature was used for this. It runs a tweaked version of the Canny Edge Detector to determine where the pen strokes go. This is an alternative to capturing the subject through the webcam. For now MATLAB is part of the software chain, but future work seeks to upgrade to more Open Source tools. The hardware itself uses an Arduino Mega to take input via USB or Bluetooth and drives the quartet of servo motors accordingly.

Continue reading “Roboartist Draws What It Sees”