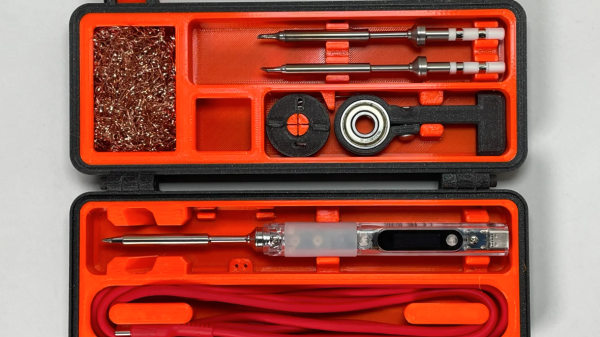
[PjotrStrog]’s rugged Pinecil / TS100 storage case is the perfect printable accessory to go with a hacker’s choice of either the Pine64 Pinecil, or the Miniware TS100 soldering irons. There are some thoughtful features beyond just storing the iron, too!
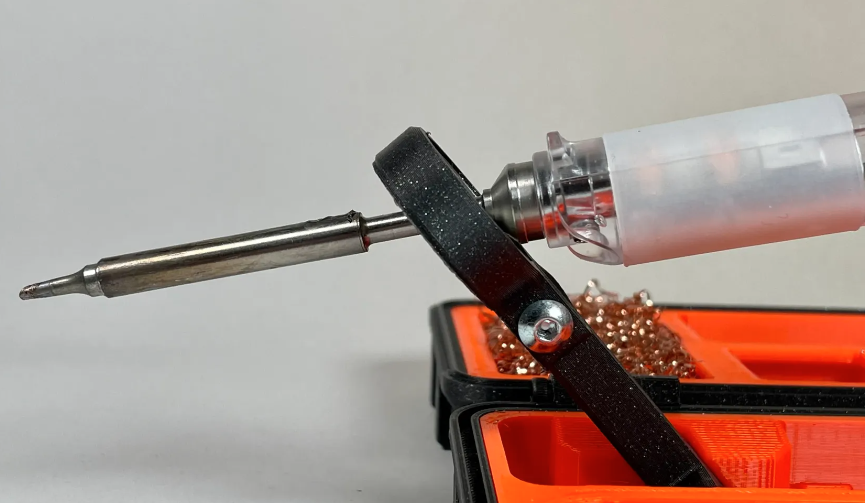
A standard 608 bearing makes for a handy heat-resistant stand.
Some of you may have spotted a 608 bearing in the image above, and might be wondering what it is for. In proud hacker tradition of using things for something other than their intended purpose, the bearing makes a heat-resistant stand to hold the iron while in use.
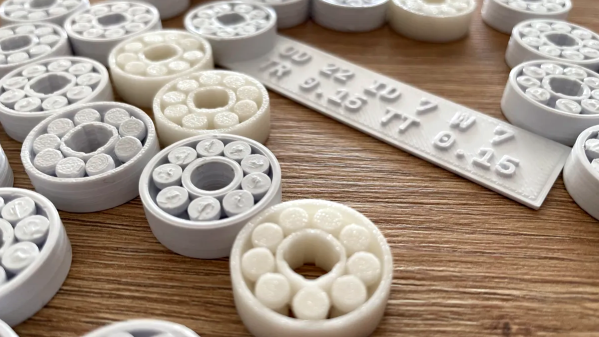
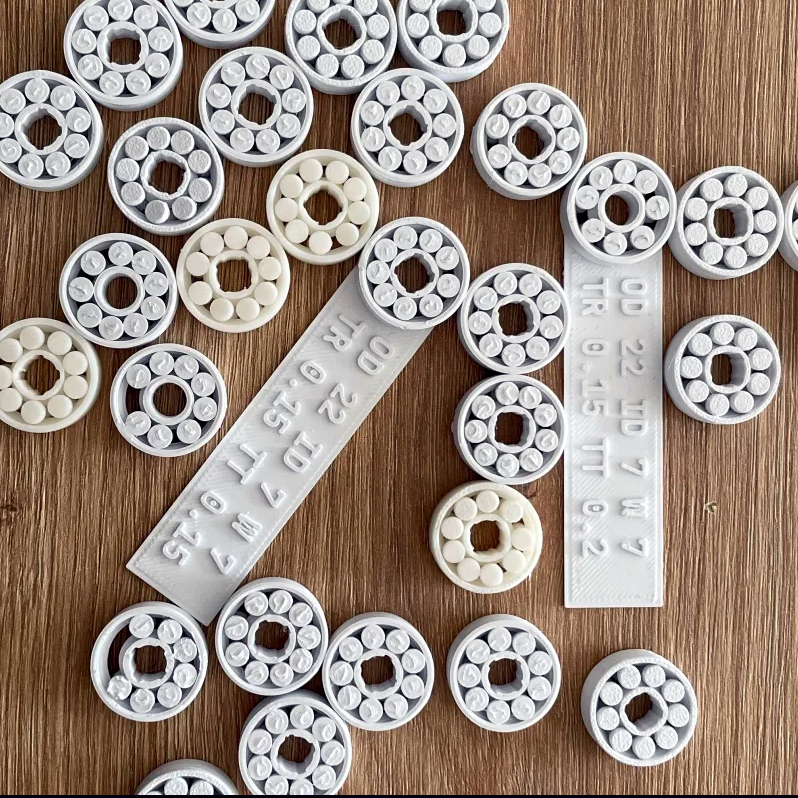
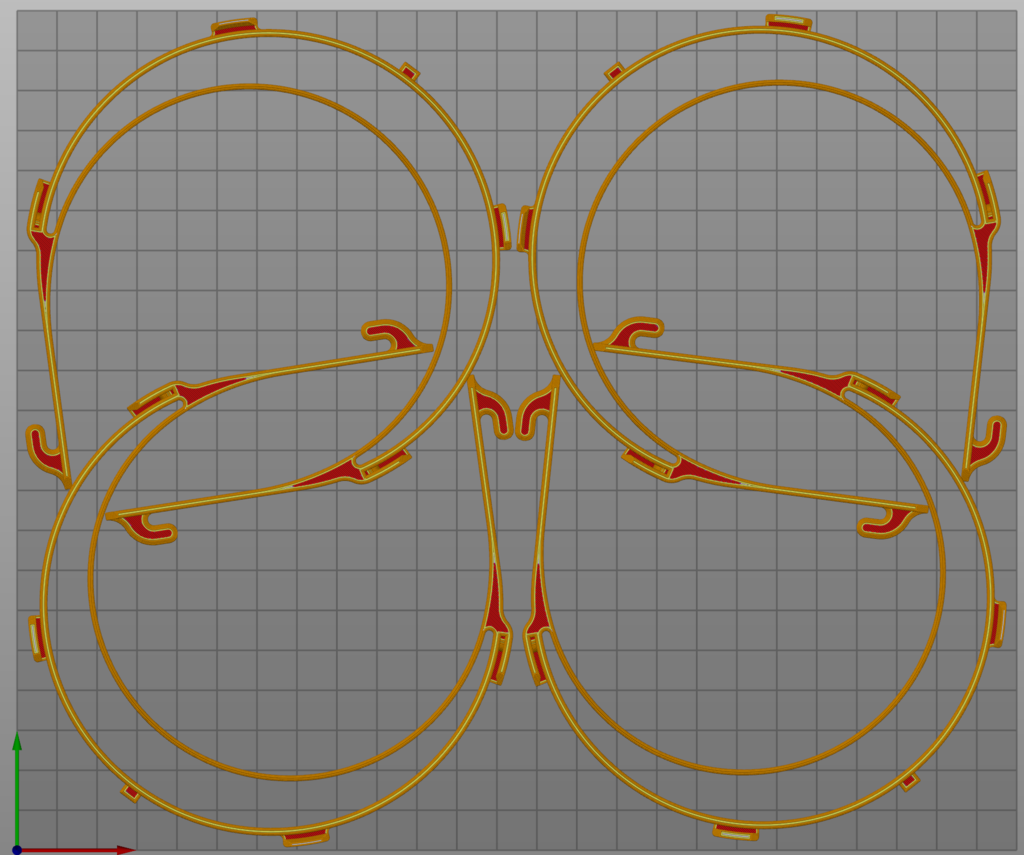
3D printing bearings with an FDM printer can be an iffy endeavor, but it doesn’t have to be that way. [Matvey Kukuy]’s Ultimate 608 Bearing with Calibration Kit is everything you’ll need to dial in and print functional 608-style print-in-place bearings on your 3D printer.
Calibration pieces have a handy label attached for identification.
[Matvey] found that there are two key tolerances to get right. And by “get right” he means “empirically determine which works best with your filament and printer”. But don’t worry, there’s no need to get into CAD work to make that happen. [Matvey] has exported a staggering 64 slightly different calibration models (and their matching production versions) along with a printable testing tool. With the help of a step-by-step process that resembles a sort of binary search, one can take the Goldilocks approach to find just the right model for one’s filament and printer in a minimum of steps.
There’s one more tip as well: [Matvey] says that once you determine the best model to use, don’t fill the print bed with copies, unless you want a bed full of possibly non-working bearings! Why is this? A 3D printer prints a bed full of objects slightly differently than it prints a single one, and since the margin for error on the perfectly-selected bearing is so small, that can be enough to keep it from working. To print more than one bearing at a time, position them far from each other and use something like PrusaSlicer’s sequential printing, which is an option to print each object completely before starting the next one.
[Matvey]’s own best results came from printing with PLA at a layer height of 0.16 mm. He also used grease in the bearing to improve performance and extend its life. He doesn’t specify what kind of grease he used, but we’d recommend a plastic-safe grease like PTFE-based Super Lube.
Have you used 3D printed bearings in a project? Would [Matvey]’s design be helpful to you? Let us know all about it in the comments.
Like everyone else, hackers and makers want to do something to help control the spread of COVID-19. The recent posts on Hackaday dealing with DIY and open source approaches to respirators, ventilators, and masks have been some of the most widely read and commented on in recent memory. But it’s important to remember that the majority of us aren’t medical professionals, and that even the most well-meaning efforts can end up making things worse if they aren’t done correctly.
Which is exactly what [Josef Průša] wanted to make clear about 3D printed medical equipment in his latest blog post. Like us, he’s thrilled to see all the energy the maker community is putting into brainstorming ways we can put our unique skills and capabilities to use during this global pandemic, but he also urged caution. Printing out an untested design in a material that was never intended for this sort of application could end up being more dangerous than doing nothing at all.
The nested design lends itself to mass production.
To say that he and his team are authorities in the realm of fused deposition modeling (FDM) would be something of an understatement. They know better than most what the technology is and is not capable of, and they’re of the opinion that using printed parts in respirators and other breathing devices isn’t viable until more research and testing is done
The safest option is to only use printed parts for structural components that don’t need to be sterile. To that end, [Josef] used the post to announce a newly published design of a printable face shield for medical professionals. Starting with an existing open source design, the Prusa Research team used their experience to optimize the headband for faster and easier printing. They can produce four headbands at once on each of the printers in their farm, which will allow them to make as many as 800 shields per day without impacting their normal business operations. The bottleneck on production is actually how quickly they can cut out the clear visors with their in-house laser, not the time it takes to print the frames.
Agonize no more over stripping the insulation off of tiny wires like those used in ribbon cables. For years we’ve used razor blades to do this, as the tiniest wires don’t have a slot on our trusty wire strippers. But often we cut all the way though the conductor (or many of the strands) when doing so. [Bjbsquared] came up with this design that will alert you when you’ve hit the conductor.
It uses the two metal razor blades as electrodes in the LED circuit. When anything metal connects the two, the LED will be illuminated. This way you know you’ve cut far enough, and should be able to tug the insulation off of the wire. This image only shows half of the printed unit, a second piece covers up the inner workings, and helps keep stray fingers away from the edges of the blades.
Overkill? We don’t think so, and we hope everyone will agree this is a wonderful design.
Don’t get us wrong, printable whistles are cool and all, but these printable header shrouds make us think that filament printers like the Makerbot and RepRap might just be worth their salt. This utilitarian purpose is a departure from the souvenirs, toys, and art that we’re used to seeing from the expensive development toys tools.
The six and ten pin header shrouds are designed for a snug fit that makes it easy to glue them onto the plastic spacers of male pin headers. We use IDC plugs and ribbon cable all the time in our projects, but never seem to order shrouded connectors; this is perfect for us. It makes us wonder what other PCB-friendly printable designs we’ve been missing out on? Surely someone’s been printing stand-offs with threaded inserts, right? If you know of something useful that we can share with the rest of the readers, don’t hesitate to send in a tip.
[Kris Reed] developed this robotic appendage as a follow-up to his original prototype. He printed it using Alumide which is a printable material with aluminum dust mixed into it. [Kris’] design utilizes three gear types; large gear, small gear, and worm gear. The motors are mounted on the middle portion of the assembly and offer an elbow and shoulder type of setup that both rotate along the same plane. We’ve got video of the testing after the break. He makes note that the movement is a bit jerky but can be cleaned up with better motor control using PWM.
If you’re like us you’ve got quite a few prototyping tools that are bare PCB boards. If you’re using them a lot you might want to protect them with some type of case but the lack of mounting holes can make this difficult. One popular solution to this problem is to design a case for a perfect fit, then cut it with a laser or print it out of plastic. We’ve got examples of both.