Intel’s ATX12VO Standard: A Study In Increasing Computer Power Supply Efficiency

The venerable ATX standard was developed in 1995 by Intel, as an attempt to standardize what had until then been a PC ecosystem formed around the IBM AT PC’s legacy. The preceding AT form factor was not so much a standard as it was the copying of the IBM AT’s approximate mainboard and with it all of its flaws.

With the ATX standard also came the ATX power supply (PSU), the standard for which defines the standard voltage rails and the function of each additional feature, such as soft power on (PS_ON).  As with all electrical appliances and gadgets during the 1990s and beyond, the ATX PSUs became the subject of power efficiency regulations, which would also lead to the 80+ certification program in 2004.

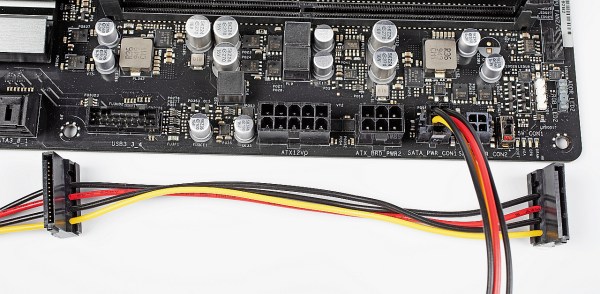
Starting in 2019, Intel has been promoting the ATX12VO (12 V only) standard for new systems, but what is this new standard about, and will switching everything to 12 V really be worth any power savings? Continue reading “Intel’s ATX12VO Standard: A Study In Increasing Computer Power Supply Efficiency”

Chasing Down Bad Caps To Save A Troubled PSU

We know what you’re thinking. It’s a bad power supply, of course it was capacitors to blame. But even if we all intuitively know at this point that bad caps are almost always the culprit when a PSU gives up the ghost, it’s not always easy to figure out which one is to blame. Which is why this deep dive into a failed ETK450AWT by [eigma] is worth a look.

The first sign of trouble was when the computer would unexpectedly reboot with nothing in the system logs to indicate a problem. Eventually, [eigma] noticed a restart before the operating system even loaded, which confirmed the hardware was to blame. A quick look at the PSU output with a voltmeter showed things weren’t too far out of spec, but putting an oscilloscope on the 12 V line uncovered a nasty waveform that demanded further investigation.

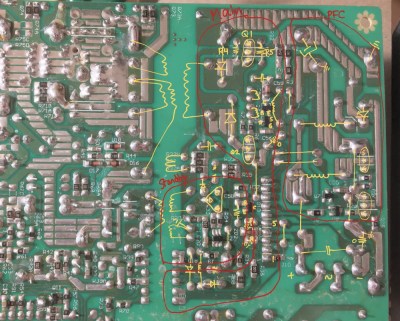
Connecting all the dots.

By carefully following traces and comparing with common PSU diagrams, [eigma] was able to identify the SG5616 IC that checks the various voltages being produced by the PSU and generates the PWR_OK signal which tells the motherboard that everything is working normally. As before, all of the DC voltages at this chip seemed reasonable enough, but the pin that was measuring AC voltage from the transformer was showing the same ripple visible on the 12 VDC line.

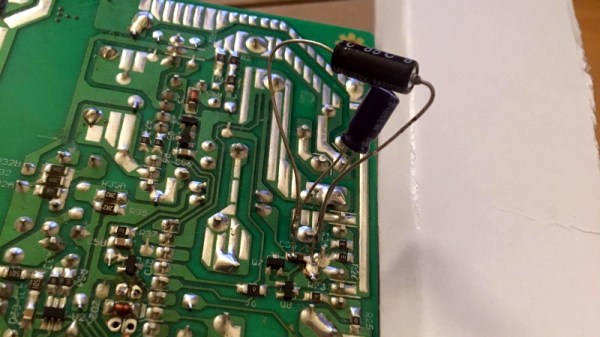
Even more digging uncovered that the transformer itself had a control IC nestled away. The 13 VDC required by this chip to operate is pulled off the standby transformer by way of a Zener diode and a couple capacitors, but as [eigma] soon found, the circuit was producing another nasty ripple. Throwing a few new capacitors into the mix smoothed things out and got the PSU to kick on, but that’s not quite the end of the story.

Pulling the capacitors from the board and checking their values with the meter, [eigma] found they too appeared to be within reasonable enough limits. They even looked in good shape physically. But with the help of a signal generator, he was able to determine their equivalent series resistance (ESR) was way too high. Case closed.

While swapping out blown capacitors in older electronics is something of a rite of passage for hardware hackers, this case is an excellent example of how even the simplest of fixes can be tricky to troubleshoot.

Review: The Riden RD6006W DC Power Supply Module

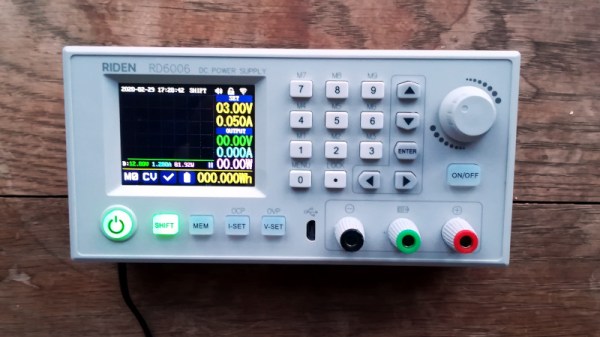
You may have seen the Ruideng range of programmable power supply modules from China: small and relatively inexpensive switch-mode buck converters, with microprocessor control and a front panel featuring a large colour OLED screen. Given 30 volts or so they can supply any lower voltage with the extra bonus of current limiting. They’ve been so successful over the several years they’ve been available that they’ve even spawned their own Chinese clones, and countless hacker projects, for instance on the DPS300X and DPS500X models.

Late last year a new module came from Ruideng, the Riden-branded RD6006 combines the basic idea of the previous modules with an extremely flexible front panel with full keypad and rotary encoder, creating something like the front panel to a decent bench power supply but without the accompanying power supply. I ordered one, waited for it to clear customs, took it to my bench, and reviewed it. Continue reading “Review: The Riden RD6006W DC Power Supply Module”

Rebuilding An Amiga 500 PSU

One of the challenges of keeping a vintage computer up and running is the limited availability of spare parts. While not everything has hit dire levels of availability (not yet, anyway), it goes without saying that getting a replacement part for a 30+ year old computer is a bit harder than hitting up the local electronics store. So the ability to rebuild original hardware with modern components is an excellent skill to cultivate for anyone looking to keep these pieces of computing history alive in the 21st century.

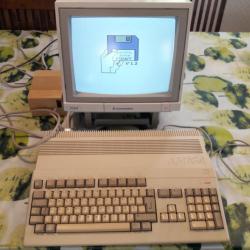
This is in ample evidence over at [Inkoo Vintage Computing], where repairs and upgrades to vintage computers are performed with a nearly religious veneration. Case in point: this detailed blog post about rebuilding a dead Amiga 500 power supply. After receiving the machine as a donation, it was decided to attempt to diagnose and repair the PSU rather than replace it with a newly manufactured one; as much for the challenge as keeping the contemporary hardware in working order.

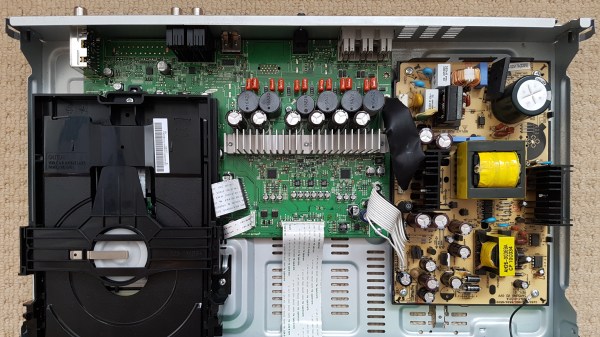
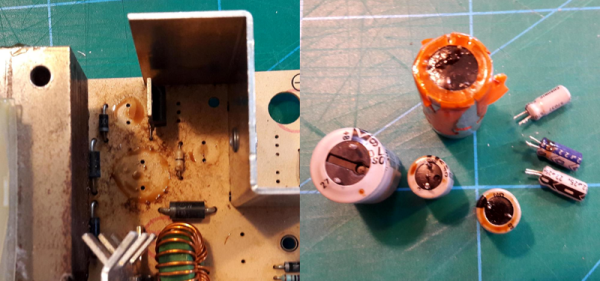
What was found upon opening the PSU probably won’t come as a huge surprise to the average Hackaday reader: bad electrolytic capacitors. But these things weren’t just bulged, a few had blown and splattered electrolyte all over the PCB. After removing the bad caps, the board was thoroughly inspected and cleaned with isopropyl alcohol.

[Inkoo Vintage Computing] explains that there’s some variations in capacitor values between different revisions of the Amiga PSU, so it’s best to match what your own hardware had rather than just trying to look it up online. These capacitors in particular were so old and badly damaged that even reading the values off of them was tricky, but in the end, matching parts were ordered and installed. A new fuse was put in, and upon powering up the recapped PSU, the voltages at the connector were checked to be within spec before being plugged into the Amiga itself.

As a test, the Amiga 500 was loaded up with some demos to really get the system load up. After an hour, the PSU’s transformer was up to 78°C and the capacitors topped out at 60°C. As these parts are rated for 100°C (up from 85°C for the original parts), everything seemed to be within tolerances and the PSU was deemed safe for extended use.

This sort of repair isn’t exactly rare with hardware this old, and we’ve seen similar work done on a vintage Apple power supply in the past. If you’re less concerned with historical accuracy, [Inkoo Vintage Computing] has also shown off adapting an ATX PSU for use with the Amiga.

A Smarter PSU Converter Leaves The Magic Smoke Inside

Over the years, computers have become faster, but at the same time, more power hungry as well. Way back around the 386 era, most PCs were using the AT standard for power supplies. Since then, the world moved on to the now ubiquitous ATX standard. Hobbyists working on older machines will typically use these readily available supplies with basic adapters to run old machines, but [Samuel] built a better one.

Most AT to ATX adapters are basic passive units, routing the various power lines where they need to go and tying the right pin high to switch the ATX supply on. However, using these with older machines can be fraught with danger. Modern supplies are designed to deliver huge currents, over 20 A in some cases, to run modern hardware. Conversely, a motherboard from the early 90s might only need 2 or 3A. In the case of a short circuit, caused by damage or a failed component, the modern supply will deliver huge current, often damaging the board, due to the overcurrent limit being set so high.

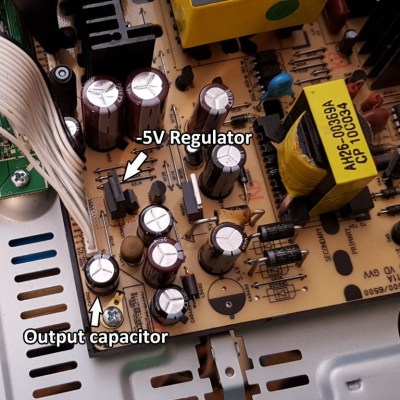
[Samuel]’s solution is to lean on modern electronics to build an ATX to AT adapter with programmable current protection. This allows the current limit to be set far lower in order to protect delicate boards. The board can be set up in both a “fast blow” and a “slow blow” mode to suit various working conditions, and [Samuel] reports that with alternative cabling, it can also be used to power up other old hardware such as Macintosh or Amiga boards. The board is even packed with extra useful features like circuitry to generate the sometimes-needed -5V rail. It’s all programmed through DIP switches and even has an OLED display for feedback.

It’s an adapter that could save some rare old hardware that’s simply irreplaceable, and for that reason alone, we think it’s a highly important build. We’ve talked about appropriate fusing and current limiting before, too – namely, with LED strips. 


Hybrid Bench Power Supply Can Also Hit The Road

Everyone needs a bench power supply, and rolling your own has almost become a rite of passage for hackers. For a long time, the platform of choice for such builds seemed to be the ATX power supply from a computer. While we certainly still see those builds, a lot of the action has switched to those cheap eBay programmable DC-DC converters, with their particolored digital displays.

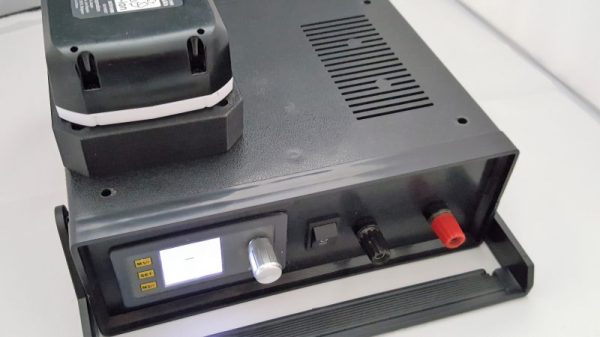
This hybrid bench and portable power supply is a good example of what can be accomplished with these modules, and looks like it might turn out to be a handy tool. [Luke] centered his build around the DPS3003, a constant current and constant voltage buck converter that can take up to 40-VDC input and outputs up to 32 volts at 3 amps. In bench mode, the programmable module is fed from a mains-powered 24-volt switching supply. For portable work, an 18-volt battery from a Makita drill slips into a 3D-printed adapter on the top of the case. The printed part contains a commercial terminal [Luke] scored on eBay, but we’d bet the entire thing could be 3D printed. And no problem if you change power tool brands — just print another adapter.

Those little eBay power supply modules have proven to be an enabling technology, at least judging by the number of clever ways we’ve seen them used lately. From this combination bench PSU and soldering iron supply to a portable PSU perched atop a battery, these things are everywhere. Heck, you can even reflash the firmware and make them do your bidding.

[via Dangerous Prototypes]

Cordless Tool Battery Pack Turned Into Portable Bench Supply

Say what you want about the current crop of mass-marketed consumer-grade cordless tools, but they’ve got one thing going for them — they’re cheap. Cheap enough, in fact, that they offer a lot of hacking opportunities, like this portable bench power supply that rides atop a Ryobi battery.

Like many of the more common bench supply builds we’ve seen,  [Pat K]’s more portable project relies on the ubiquitous DPS5005 power supply module, obtained from the usual sources. [Pat K] doesn’t get into specifics on performance, but supplied with 18 volts from a Ryobi One+ battery, the DC-DC programmable module should be able to do up to about 16 volts. Mating the battery to the supply is easy with the 3D-printed case, which has a socket for the battery that mimics the sockets on tools from the Ryobi line. It’s simple and effective, as well as neatly executed. The files for the case are on Thingiverse; sadly, only an STL file is included, so if you want to support another brand’s batteries, you’ll have to roll your own.

Check out some of the other power supplies we’ve featured that use the DPS5005 and its cousins, like this nice bench unit. We’ve also covered some of the more hackable aspects of this module, such as an open-source firmware replacement.