The loss of memory is an extremely difficult situation, not just for those afflicted, but also for immediate family, close friends, and care givers. With no cure available for dementia, providing care is an extremely demanding task for everyone involved – both mentally and physically. Patients are unable to retain recent events and information, but will most likely be able to recall some amount of past memories. This presents serious challenges when they encounter “modern” technology and cannot figure out how to use and operate everyday devices that normal people take for granted.
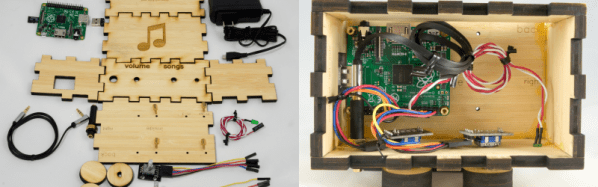
[rosswesleyporter]’s Dad had trouble using modern iPods and CD players, so he built DQMusicBox — a Dementia friendly music player. It’s very simple interface resembling a radio from half a century ago. There are just two large, clearly marked rotary dials — one for Volume, the other for Songs, and a headphone socket. The inspiration came from a very moving documentary called “Alive Inside” which explores how music brings extreme joy to people with dementia.
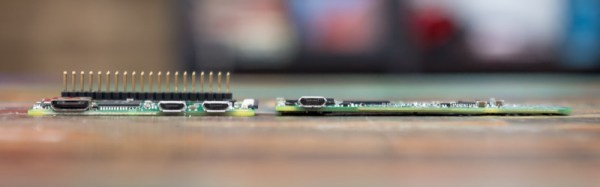
The device is built around a Raspberry Pi, enclosed in a laser cut enclosure and requires no soldering — making it easy for anyone to build one for themselves using easily available parts. The Raspberry Pi runs on a lightweight, optimized version of Raspbian called DietPi. The music playback is handled by VLC ensuring support for a large number of music formats. A Python script looks for music files, sets up the VLC-NOX player and handles knob and button events. A bundled image file for the software includes everything needed to get it running, making setup easy and quick. Since Raspberry Pi’s are prone to OS corruption when power is disconnected without performing a proper shutdown, [Ross] uses write protection on the SD-card and walks you through the process of how it works.
Between his Project page, Github and DQMusicBox website, you will be able to get all the information needed to replicate this excellent project. And for his next version, he already has a few ideas for improvement and would like to hear if other hackers have suggestions.
Continue reading “Hackaday Prize Entry: Dementia-Friendly Music Player”