[extrowerk] tells us about a new hacker-friendly device – a $20 LTE modem stick with a quadcore CPU and WiFi, capable of running fully-featured Linux distributions. This discovery hinges on a mountain of work by a Chinese hacker [HandsomeYingYan], who’s figured out this stick runs Android, hacked its bootloader, tweaked a Linux kernel for it and created a Debian distribution for the stick – calling this the OpenStick project. [extrowerk]’s writeup translates the [HandsomeYingYan]’s tutorial for us and makes a few more useful notes. With this writeup in hand, we have unlocked a whole new SBC to use in our projects – at a surprisingly low price!
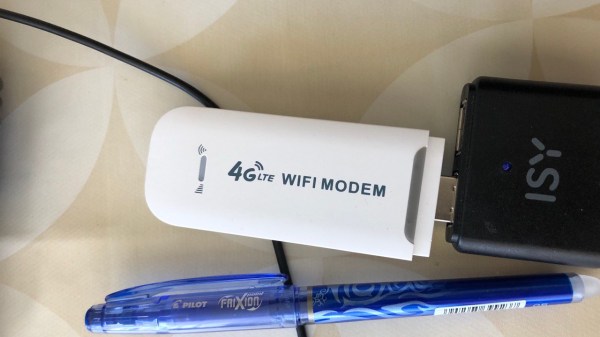
At times when even the simplest Pi Zero is unobtainium (yet again!), this is a wonderful find. For a bit over the price of a Zero 2W, you get a computer with a similar CPU (4-core 1GHz A53-based Qualcomm MSM8916), same amount of RAM, 4GB storage, WiFi – and an LTE modem. You can stick this one into a powerbank or a wallwart and run it at a remote location, make it into a home automation hub, or perhaps, process some CPU-intensive tasks in a small footprint. You can even get them with a microSD slot for extra storage – or perhaps, even extra GPIOs? You’re not getting a soldering-friendly GPIO header, but it has a few LEDs and, apparently, a UART header, so it’s not all bad. As [extrowerk] points out, this is basically a mobile phone in a stick form factor, but without the display and the battery.
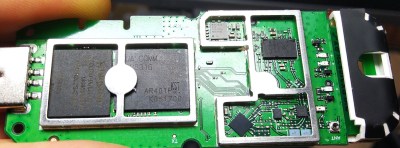 Now, there’s caveats. [extrowerk] points out that you should buy the modem with the appropriate LTE bands for your country – and that’s not the only thing to watch out for. A friend of ours recently obtained a visually identical modem; when we got news of this hack, she disassembled it for us – finding out that it was equipped with a far more limited CPU, the MDM9600. That is an LTE modem chip, and its functions are limited to performing USB 4G stick duty with some basic WiFi features. Judging by a popular mobile device reverse-engineering forum’s investigations (Russian, translated), looks like the earlier versions of this modem came with the way more limited MDM9600 SoC, not able to run Linux like the stick we’re interested in does. If you like this modem and understandably want to procure a few, see if you can make sure you’ll get MSM8916 and not the MDM9600.
Days of using WiFi routers to power our robots are long gone since the advent of Raspberry Pi, but we still remember them fondly, and we’re glad to see a router stick with the Pi Zero 2W oomph. We’ve been hacking at such sticks for over half a decade now, most of them OpenWRT-based, some as small as an SD card reader. Now, when SBCs are hard to procure, this could be a perfect fit for one of your next projects.
Update: in the comments below, people have found a few links where you should be able to get one of these modems with the right CPU. Also, [Joe] has started investigating the onboard components!
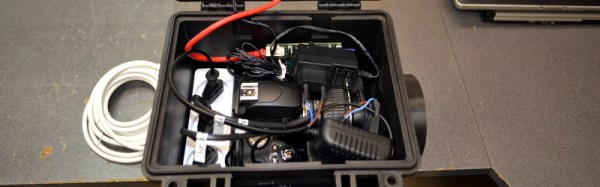
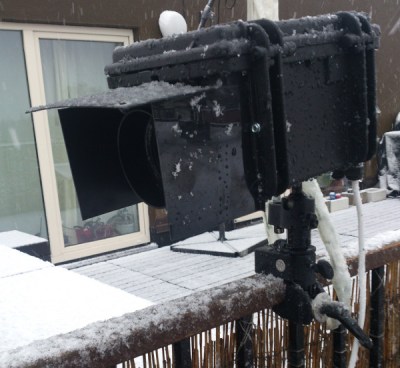 Once the Pi was outfitted with a 3G modem, [madis] can log in and change the camera settings from anywhere. It’s normally set up to take a picture once every fifteen minutes, but ONLY during working hours. Presumably this saves a bunch of video editing later whereas a normal timelapse camera would require cutting out a bunch of nights and weekends.


