Back in the old days, the cool kids didn’t have an Apple II or a Trash-80. The cool kids had jobs, and those jobs had Vaxxen all over the place. The usual way of working with a Vax would have been a terminal, a VT220 at least, or in the case of [Sudos]’ experiments with a Raspberry Pi, A DEC VT510, a single session, text only serial terminal.
Usually, when we see a ‘new hardware stuffed into old tech’ project like this, the idea is simply to find a use for the old hardware. That makes sense; a dumb terminal from the late 90s should be a bit rarer than a Raspberry Pi Zero. This is not the case for [Sudos]’s build. He recently came across a few Raspberry Pi Zeros at Microcenter, and looking for a use for them, he decided to turn a serial terminal into a Real Unix System™.
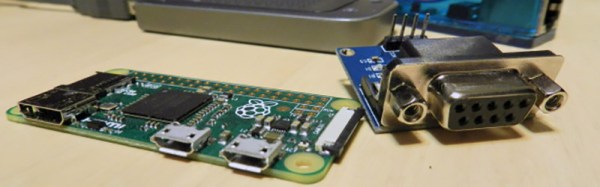
As you would expect from a serial terminal, connecting a Raspberry Pi and putting some awesome character graphics on the screen is as simple as a Max3232 board picked up from eBay, a WiFi dongle, and an Ethernet adapter. Connect the Pi to the terminal with a serial adapter cable, and you’re off to the races.
While the VT510 serial terminal is just about the end of the line as far as dedicated terminals go, there are classier options. The VT100 terminal, older than most of the Hackaday readership, features a port on its gigantic board, meant to connect to whatever weirdness was coming out of Maynard in the late 70s. You can attach a BeagleBone to this connector, making for a very slick stealth mod.
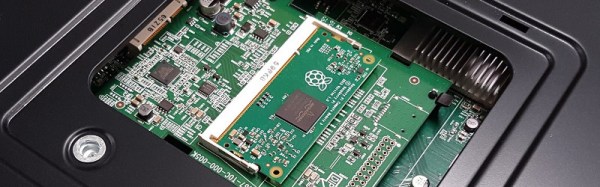

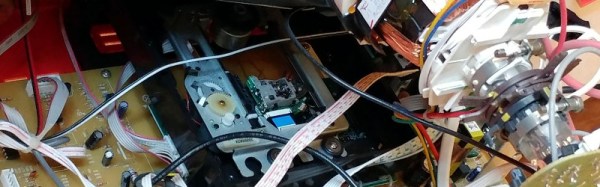
 This is however not merely a Pi stuffed inside the rear casing with a few holes for cables, instead he took away the substantial part of the DVD mechanism and mounted his Pi safely in a plastic box. Some USB extension cables bring all four USB sockets to the front panel through the DVD slot with a bit of Sugru to hold them in place. An HDMI panel-mount extension goes to the TV’s rear connector panel, as does a power switch for the Pi which is wired to a USB charger mounted on a trailing mains socket inside the case. The composite video from the Pi is wired to the TV’s AV in video socket.


