Upgrade Puts A Lot Of Zeroes On Kit-Built Frequency Counter

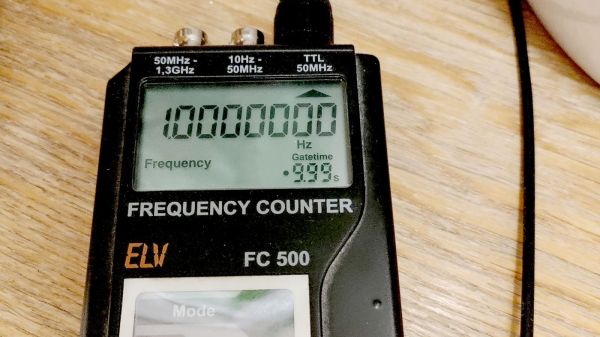
If there’s anything more viscerally pleasing than seeing an eight-digit instrument showing a measurement with all zeroes after the decimal point, we’re not sure what it could. Maybe rolling the odometer over to another 100,000 milestone?

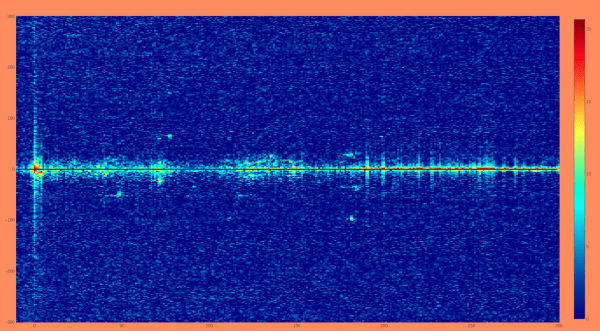
Regardless, getting to such a desirable degree of accuracy isn’t always easy, especially when the instrument in question is a handheld frequency counter that was built from a kit 23 years ago. That’s the target of [Petteri Aimonen]’s accuracy upgrade, specifically by the addition of a custom frequency reference module. The instrument is an ELV FC-500, which for such an old design looks surprisingly modern. Its Achille’s heel in terms of accuracy is the plain crystal oscillator it uses as a frequency standard, which has no temperature compensation and thus drifts by about 0.2 ppm per degree.

For a mains-powered lab instrument, the obvious solution would be an oven-controlled crystal oscillator. Those are prohibitive in terms of space and power for a handheld instrument, so instead a VCTCXO — voltage-controlled, temperature-compensated crystal oscillator — was selected for better stability. Unfortunately, no such oscillators matching the original 4.096-MHz crystal spec could be found; luckily, a 16.384-MHz unit was available for less than €20. All that was required was a couple of flip-flops to divide the signal by four and a bit of a bodge to replace the original frequency standard. A trimmer allows for the initial calibration — the “VC” part — and the tiny PCB tucks inside the case near the battery compartment.

We enjoyed the simplicity of this upgrade — almost as much as we enjoyed seeing all those zeroes. When you know, you know.

the introduction page of "a summary of electronics"

This Electronics Overview Guides New Hackers In The Right Direction

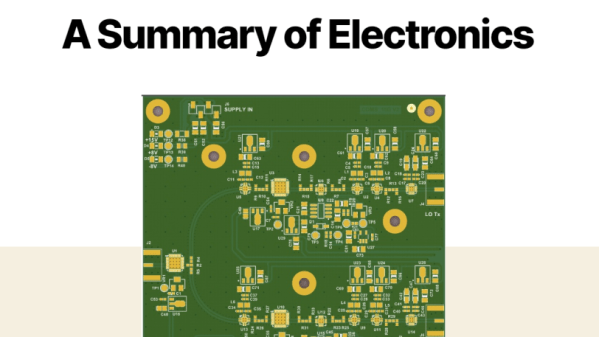
Many of us don’t have a formal background to build off when taking on new hacks, we have had to teach ourselves complex concepts and learn by doing (or more commonly, by failing). To help new hackers get off the ground a bit easier, [PhilosopherFar3847] created a fantastic starter’s resource on electronics, The Electroagenda Summary of Electronics.

[PhilosipherFar3847] created Electroagenda with the goal of helping amateurs, students, and professionals alike better understand electronics. The Summary of Electronics, one of the more recent additions to the website, is split across 26 sections each breaking down a different electrical concept into easy-to-understand facts with no math or unfamiliar jargon. The summary covers a broad range of electronics, from simple passive components and their uses, up to the basic operating concepts of a microcontroller.

While this resource on its own will not be enough to get a fledgling hacker started making cool circuits, it does provide a very important skill; knowing how to ask the right questions. This base of knowledge provides enough context and keywords to better articulate a challenge and Google-fu a bit more effectively.

Are you the aforementioned fledgling hacker, looking to learn more? check out these nifty logic gates you can plug into each other to build a basic circuit.

[via r/diyelectronics]

Reliable Frequency Reference From GPS

GPS technology is a marvel of the modern world. Not only can we reliably locate positions on the planet with remarkable accuracy and relatively inexpensive hardware, but plenty of non-location-based features of the technology are available for other uses as well. GPS can be used for things like time servers, since the satellites require precise timing in order to triangulate a position, and as a result they can also be used for things like this incredibly accurate frequency reference.

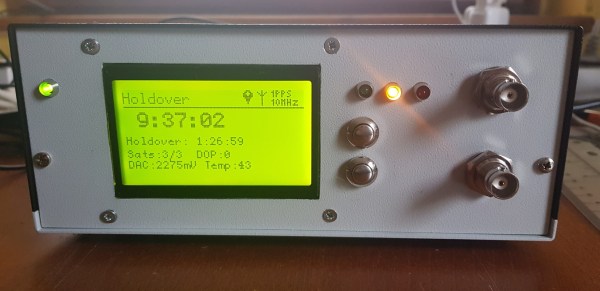
This project is what’s known as a GPSDO, or GPS-disciplined oscillator. Typically they use a normal oscillator, like a crystal, and improve its accuracy by pairing it with the timing signal from a GPS satellite. This one is a standalone model built by [Szabolcs Szigeti] who based the build around an STM32 board. The goal of the project was purely educational, as GPSDOs of various types are widely available, but [Szabolcs] was able to build exactly what he wanted into this one including a custom power supply, simple standalone UI, and no distribution amplifier.

The build goes into a good bit of detail on the design and operation of the device, and all of the PCB schematics and source code are available on the projects GitHub page if you want to build your own. There are plenty of other projects out there that make use of GPS-based time for its high accuracy, too, like this one which ties a GPS time standard directly to a Raspberry Pi.

Bonanza Of Keyswitch Datasheets Fills Our Decks With Clack

Mechanical keyboards use switches of a few different types. But even those types include myriad variations. How’s a hacker to know just exactly what equipment is out there?

For example, if you grab a fellow cube-farmer’s mechanical keyboard (possibly because they clacked on their Cherry Blue’s just one too many times) and angrily rip off a few keycaps to show you’re serious, what do you see? In most cases you expect to see the familiar color and stem shape of a Cherry MX switch or one of its various clones. But you may find a square box around it like a Kailh Box switch. Or the entire stem is a box (with no +) like a Matias switch. Or sometimes it looks like a little pig snout, making it a Kailh Choc.

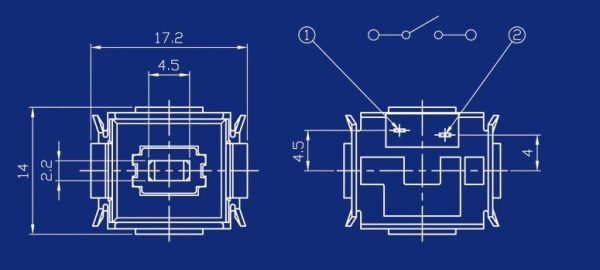
There is a fairly wide variety of companies which make key switches suitable for use in a keyboard. Many hew to the electrical and mechanical standards implicitly created by the dominant Cherry GmbH’s common switches but not all. So if you’re designing a PCB for such a keyboard and want to use odd switches, you need to check out the Keyboardio keyswitch_documentation repo!

The keyswitch_documentation repo is an absolute treasure trove of hard to find keyswitch datasheets. Finding official information on Cherry MX switches isn’t too hard (keyswitch_documentation has 22 data sheets for MX series switches, and four for ML). But those Kailh Choc’s? Good luck (here it is in keyswitch_documentation). Did you know Tai-Hao made Matias-esque switches as well as weird rubber keycaps? Well they do, and here’s the datasheet.

We’re keeping this one handy until the next time we need data sheets for weird switches. Make sure to send a note if you find something interesting in here that’s worth noting!

Which Wireless Is Right Wireless?

Back in the early days of Arduino proliferation (and before you ask, yes we realize there was a time before that too), wireless was a strange and foreign beast. IR communication was definitely a thing. And if you had the funds there was this cool technology called ZigBee that was available, often in funny blue house-shaped XBee boards. With even more funds and a stomach for AT commands you could even bolt on a 2G cell radio for unlimited range. WiFi existed too, but connecting it to a hobbyist ecosystem of boards was a little hairier (though maybe not for our readership).

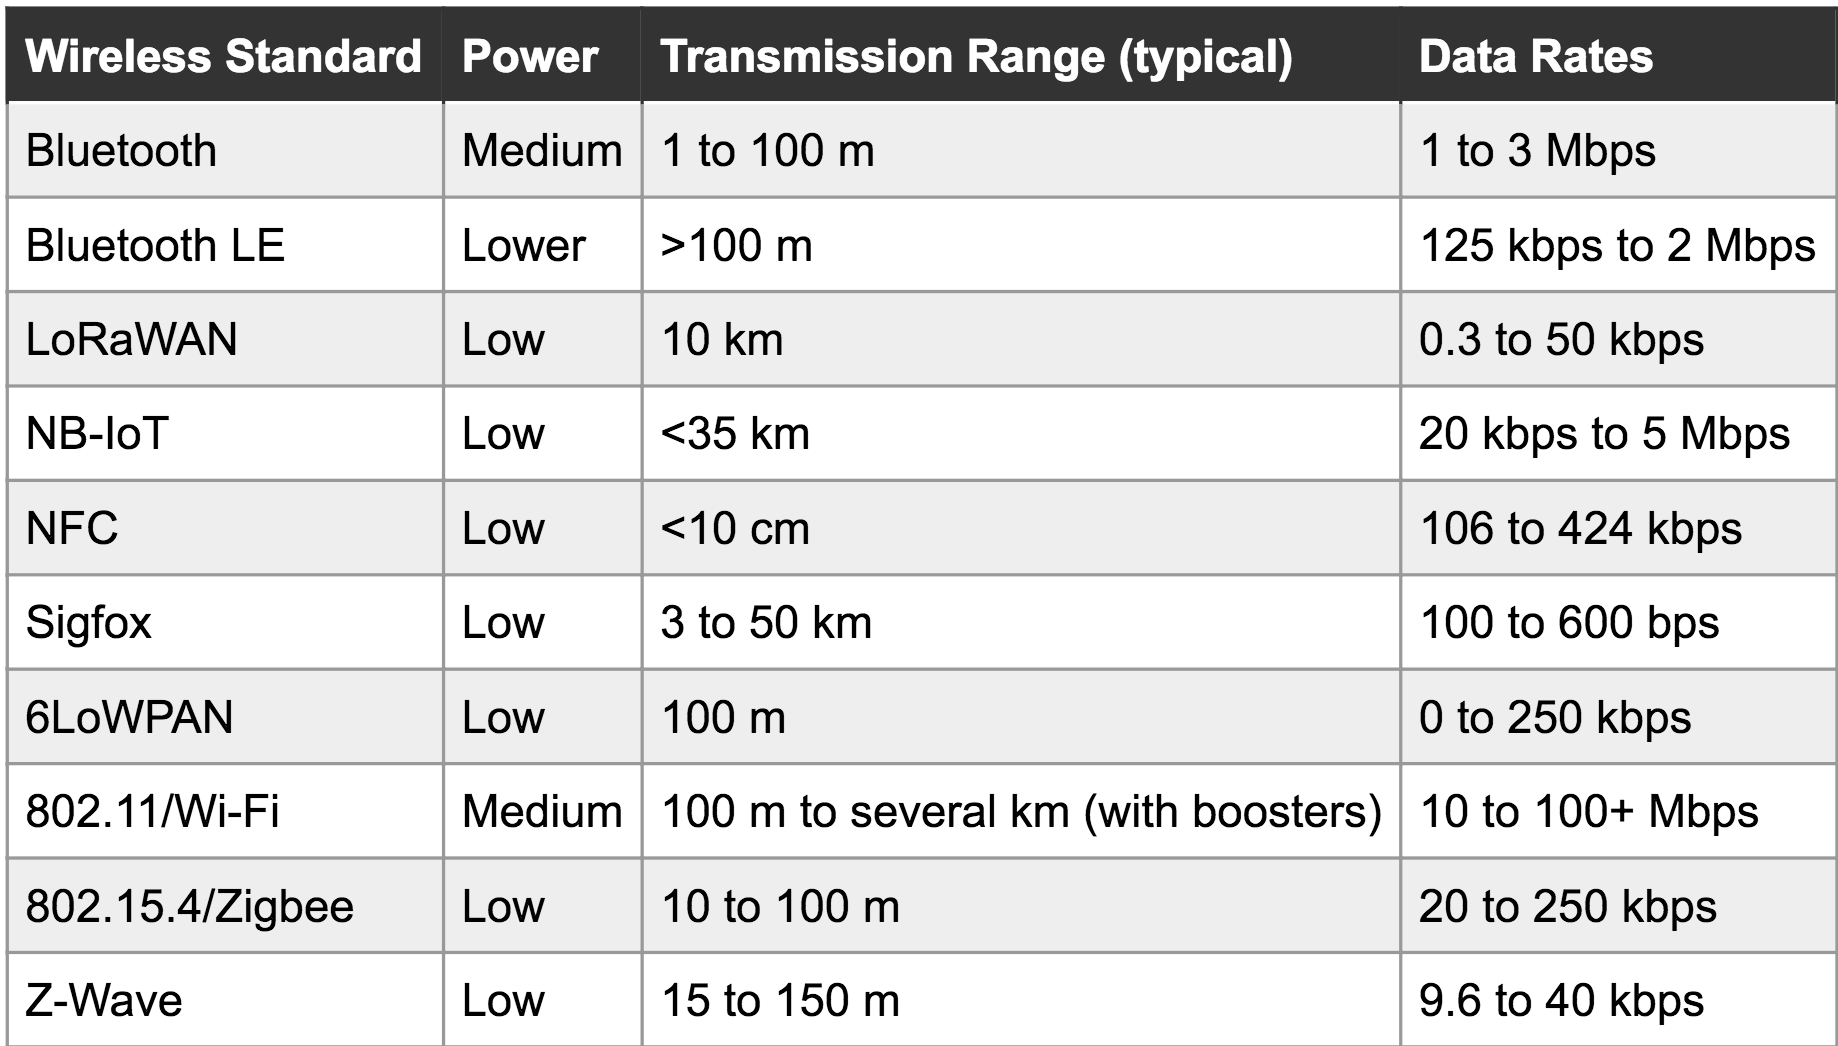
But as cell phones pushed demand for low power wireless forward and the progression of what would become the Internet of marking Terms (the IoT, of course) began, a proliferation of options appeared for wireless communication. Earlier this week we came across a great primer on some of the major wireless technologies which was put together by Digikey earlier in the year. Let’s not bury the lede. This table is the crux of the piece:

There are some neat entries here that are a little less common (and our old friend, the oft-maligned and never market-penetrating ZigBee). It’s actually even missing some entries. Let’s break it down:

  • Extremely short range: Just NFC. Very useful for transferring small amount of sensitive information slowly, or things with high location-relevance (like between phones that are touching).
  • Short range: BLE, Zigbee, Z-Wave, etc. Handy for so-called Personal Area Networks and home-scale systems.
  • Medium/long range: Wifi, Bluetooth, Zigbee, Z-Wave, LoRaWAN: Sometimes stretching for a kilometer or more in open spaces. Useful for everything from emitting tweets to stitching together a mesh network across a forrest, as long as there are enough nodes. Some of these are also useful at shorter range.
  • Very Long range/rangeless: Sigfox, NB-IoT, LTE Category-0. Connect anywhere, usually with some sort of subscription for network access. Rangeless in the sense that range is so long you use infrastructure instead of hooking a radio up to a Raspberry Pi under your desk. Though LoRa can be a fun exception to that.

You’re unlikely to go from zero to custom wireless solution without getting down into the mud with the available dev boards for a few different common protocols, but which ones? The landscape has changed so rapidly over the years, it’s easy to get stuck in one comfortable technology and miss the appearance of the next big thing (like how LoRaWAN is becoming new cool kid these days). This guide is a good overview to help catch you up and help decide which dev kits are worth a further look. But of course we still want to hear from you below about your favorite wireless gems — past, present, and future — that didn’t make it into the list (we’re looking at you 433 MHz).

Interactive KiCAD BOMs Make Hand Assembly A Breeze

We’ve all been there; you finally get the last DigiKey box and now your desk is covered in parts to stuff into a shiny new PCB you’ve been working on. First stop? Passive town, population endless waves of 1uF capacitors. The first one goes in the upper left, then a little below that, then… once you get to C157 it’s getting pretty hard to remember exactly which parts go where. Enter the literally named InteractiveHtmlBom (IHB) to smooth this process out.

IHB makes the frustrating task of mapping lines in a BOM to a physical position on a board easy. The classic method is of course, to look at the BOM, then search the board for that designator and place the component. (You left the designators in the silk, right?) Or to look at the BOM, ask your CAD package to search for that part in the layout, then place. IHB generates a document that does this automagically.

A sample file from a familiar project

Run the tool, either standalone or as a plugin for KiCAD 5.0, and you get a folder with the new interactive BOM in it. There are a few view options but generally it presents a view of the BOM with designators and value in one pane and a wonderful render of the top and/or bottom of the board in another pane. When you hover over a BOM line it highlights the relevant parts in the board view! There are toggles for filtering by top and bottom of board, marking which parts have been placed, light and dark mode, etc. Plus the ability to filter and sort by designator and value. We would have been impressed if it was just a generator/viewer for those slick scrollable/pannable board renders!

Check out a very long GIF demo after the break, or explore one of many pre-created demo BOMs here. We’re partial to the OSPx201.

Thanks [GregDavill] for the tip!

Continue reading “Interactive KiCAD BOMs Make Hand Assembly A Breeze”

Hardware Store White Balance Reference

We live in a time in which taking pictures is preposterously easy: take out your phone (assuming it wasn’t already in your hands), point it at something, and tap the screen. The camera hardware and software in even basic smartphones today is good enough that you don’t need to give it much more thought than that to get decent pictures. But what if you want to do better than just decent?

Ideally you’d take photos lit by high temperature lights, but failing that, you might need to compensate by adjusting the white balance during post-processing. But to accurately adjust white balance you need a pure white reference point in the image. Thanks to some diligent research by the folks at the FastRawViewer blog, we now have a cheap and widely available source for a pure white reference material: PTFE pipe tape.

Alright, we know what you’re thinking: how hard could it be to find a white object? Well, if you’re talking about really white, it can actually be quite difficult. Take a walk down the paint aisle of your local hardware store and see just how many “whites” there actually are. Think the shirt your subject is wearing is really white? Think you can use the glossy white smartphone in their hand as a reference? Think again.

By taking a rubber eraser and wrapping it with a few layers of the PTFE tape, you can create a white reference that’s so cheap it’s effectively disposable. Which is good, because protecting your white reference object and keeping it clean can be a challenge in itself. But with a PTFE tape reference, you can just chuck the thing when the photo shoot is done.

Combine this cheap white reference with some of the DIY photography lighting setups we’ve covered in the past, and you’ll be well on the way to getting better images to document all your projects. Just remember to submit them to us when you’re done.

[Thanks to Keith Olson for the tip.]