While the K40 has brought affordable laser cutting to the masses, there’s no question that it took a lot of sacrifices to hit that sub-$400 price point. There’s a reason that we’ve seen so many upgrades and improvements made to the base model machine, but for the price it’s hard to complain. That being said, for users who don’t mind spending a bit more money for a more complete out-of-the-box experience, there are other options out there.
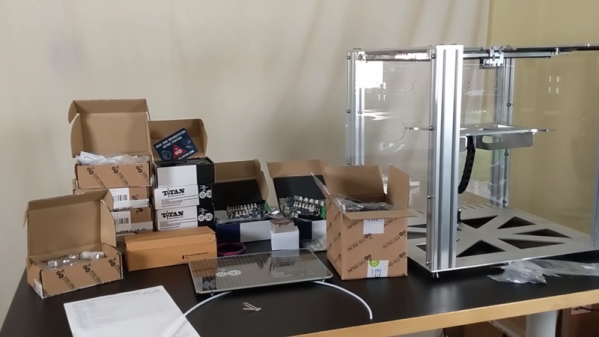
One of them is the beamo, from FLUX. [Frank Zhao] recently picked up one of these $1,900 USD laser cutters because he wasn’t thrilled with the compromises made on the K40. Specifically, he really liked the idea of the internal water cooling system. Oddly enough, something about using a garden hose and buckets of water to cool the laser seemed off-putting. Luckily for us, he’s got a technical eye and the free time necessary to do a teardown and objective analysis of his new toy.
 The short version of the story is that [Frank] is not only happy with the results he’s getting, but finds the machine to be well designed and built. So if you’re looking for a rant, sorry. But what you will find is a methodical look at each subsystem of the beamo, complete with annotated pictures and the kind of technical details that Hackaday readers crave.
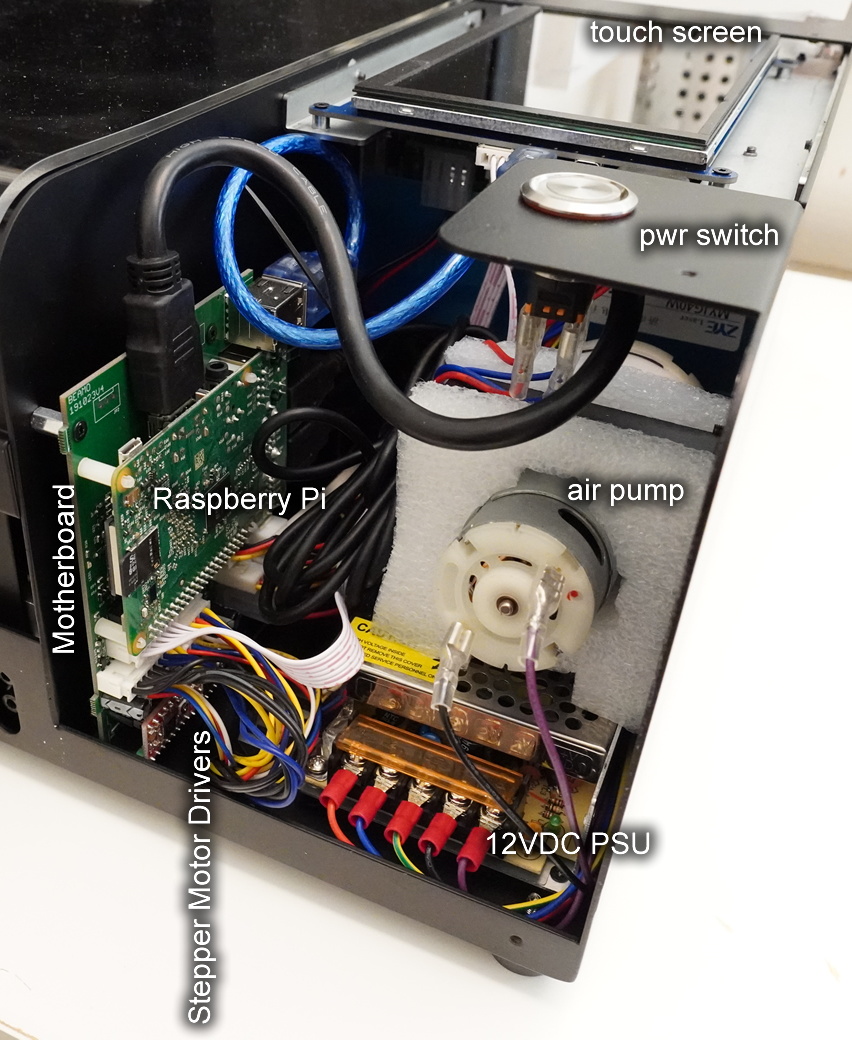
We especially like his attempts to identify parts which might be difficult to source in the future; it looks like the CO2 laser tube might be proprietary, but everything else looks fairly jellybean. That includes the Raspberry Pi 3B that’s running the show, and the off-the-shelf touch screen HDMI display used for the interface. [Frank] did note that FLUX was unwilling to give him the credentials to log into the Pi and poke around, but with direct access to the SD card, it’s not like that will stop anyone who wants to get in.
In a way, laser cutters are in a similar situation today to that desktop 3D printers were in a few years ago. The cheap ones cut so many corners that upgrades and fixes are almost a necessity, and building your own machine is often less expensive than buying a commercial offering with similar specs. While the beamo is still a bit too expensive for the average hobbyist, it’s good to see machines of this caliber are at least coming down out of the 5 figure range.
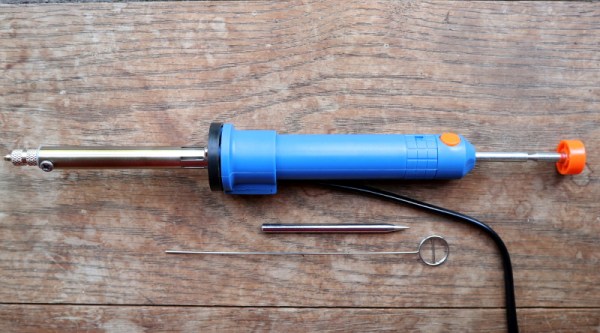
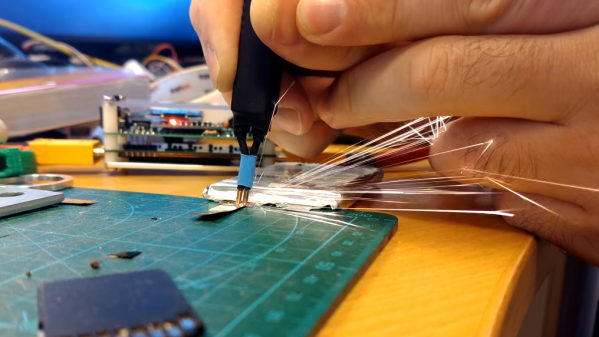
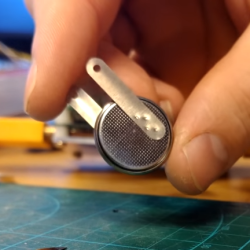 Did you ever see a thin metal tab bonded to a battery terminal with little pock marks? That’s the work of a spot welder. Spot welding is one of those processes that doesn’t offer much in the way of alternatives; either one uses a spot welder to do the job right, or one simply does without. That need is what led [Erwin Ried] to purchase a small, battery-powered spot welder from a maker in Korea and