[Tobias Kuhn] and a handful of colleagues at his workplace built Crystal Signal Pi, a Raspberry Pi based low-cost alternative for a notification device that provides visual, audio and network warnings about server problems. [Tobias] works for a Japanese company where it is critical for their servers to keep humming nicely all the time. Any emergencies or error conditions must be broadcast immediately so the technicians can fix it ASAP. Network enabled warning light stalks are used to provide these alerts. A local company produces a series of indicator and hazard warning lights which are colloquially called as Keiko-chan. These are similar to the hazard warning tower lights commonly fixed on machines on factory floors or many kinds of vehicles such as fork lifts. The Kieko-chans add a few bells and whistles making them more suitable for use in the server data centre — a Gigabit LAN port for wired networks and a USB port for WiFi modules. So, besides visual and audio warnings, it can also transmit messages over the network to alert the maintenance folks. Using this commercial solution should not have been a problem were it not for their rather hefty price tag of almost $500 per pop.
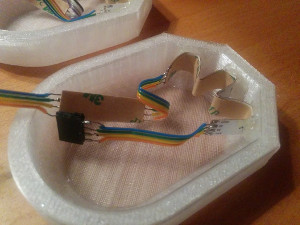
So [Tobias] decided to build his own warning lights based around the Raspberry Pi. After two rounds of prototypes, a simple HAT was designed that could be plugged in to a Pi. Details of the hardware are sketchy, but it’s simple enough to figure out. The part list consists of a PLCC-6 style RGB LED, three transistors to drive the three LED pins, a voltage regulator with a couple of electrolytic capacitors and a large push button. A simple acrylic case, and an acrylic cylinder mounted on top of the RGB LED creates a nice edge lit effect for the indicator.
The code for the Crystal Pi is hosted on Github, and includes handy scripts to make installation easy. Once installed, the Crystal Pi can be accessed and controlled either through a web-based GUI or via the API. There are some more interesting features already implemented or scheduled for later, so do check out the blog and the repository for more. Check out the video below to see the Crystal Pi in action.