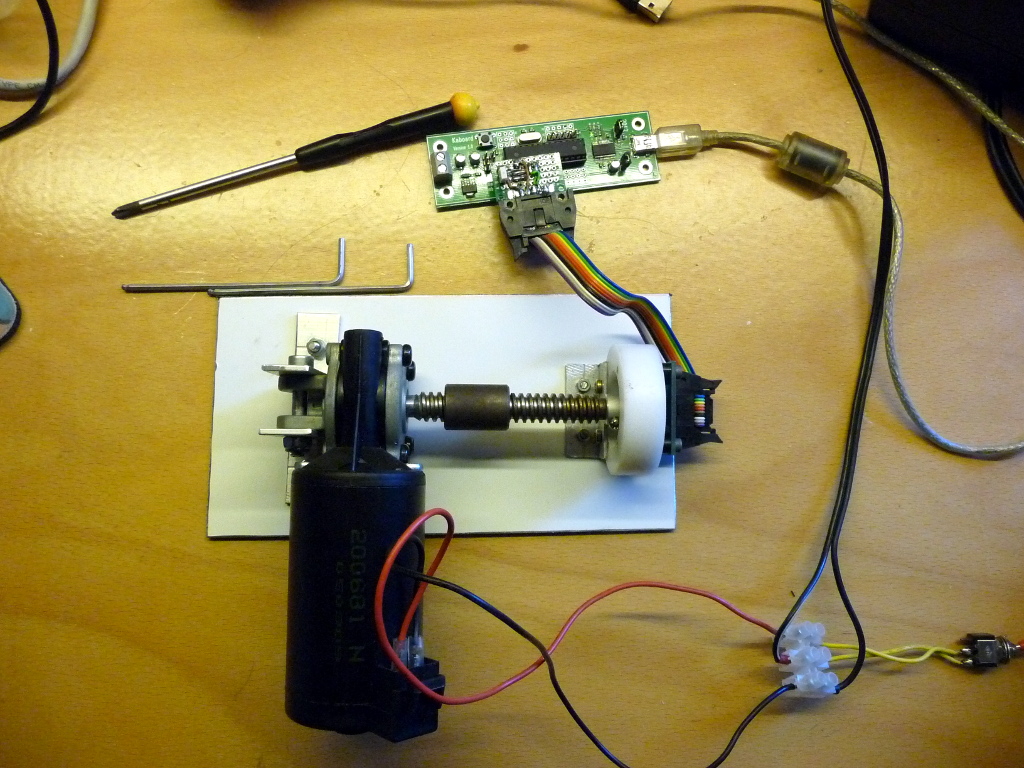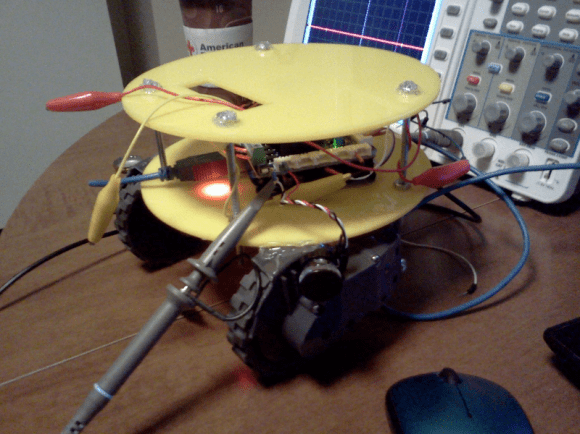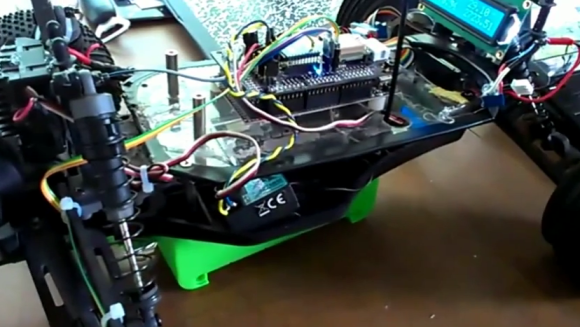
[Pete] needed a rotary encoder for one of his project so he set out to build his own. As the name implies, a rotary encoder measures rotation by encoding “steps” into electrical signals which can be measured by a microcontroller (or used in numerous other ways). Knowing the degrees of movement for each step will allow you to calculate precise distance traveled in applications like robot wheels. Or you can simply use the rotating shaft as an input device which navigates menus or settings.
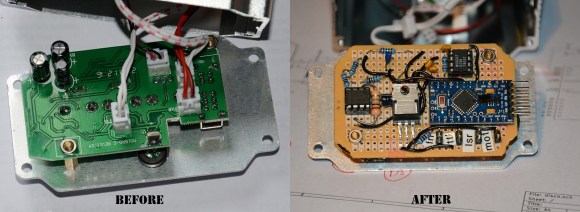
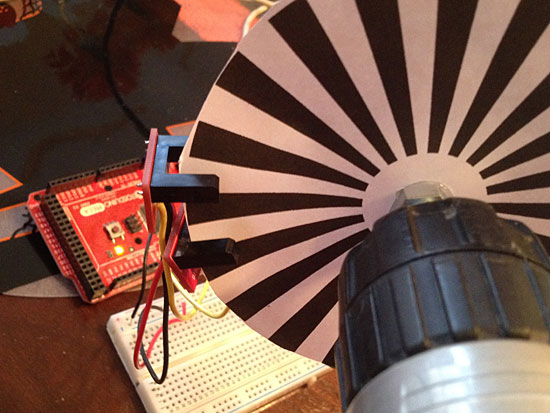
This concept is a good one to understand. We had originally planned to build rotary encoders for the multi-person Duck Hunt at Hackaday’s 10th Anniversary but the build-off crew had difficulty getting the system to work. In [Pete’s] case he’s using photointerrupters (apparently the IR beam is easily detected through the white paper but usually these parts would be cut out of the disk). We were using reflectance sensors. Either way there’s a trick to detecting which direction a rotary encoder is turning. We’ll explain that for you after the break.
Continue reading “Which Way Are We Going? Concepts Behind Rotary Encoders”
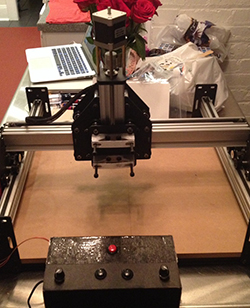 CNC machines have been around for decades, but only recently have small desktop routers, 3D printers, and laser cutters brought G code to the tabletop. Obviously, this is a teaching opportunity, and if you’re trying to get kids interested in the inner workings of machines that build things, you can’t begin with obtuse codes understood only by machines and CNC operators.