How To Interface Sega Controllers, And Make Them Wireless

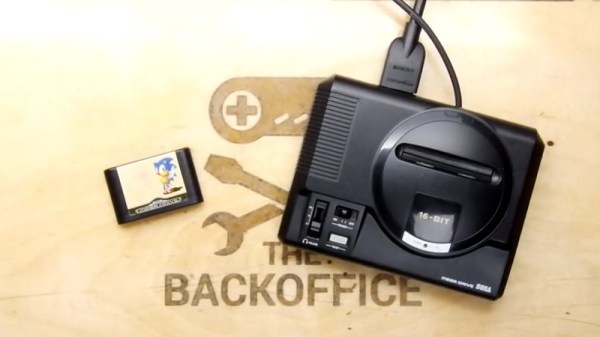
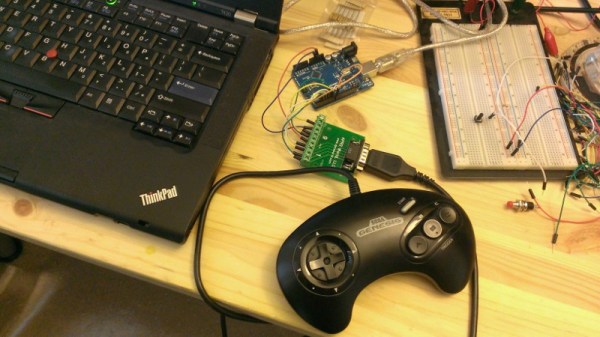
The Sega Genesis, or Mega Drive as it was known outside North America, was a popular console for the simple fact that Sega did what Nintendidn’t. Anachronistic marketing jokes aside, it brought fast scrolling 16-bit games to a home console platform and won many fans over the years. You may find yourself wanting to interface with the old controller hardware, and in that case, [Jon Thysell] is here to help.

[Jon] has done the work required to understand the Sega controller interface, and has shared his work on Github. The interface is an interesting one, and varies depending on the exact console and controller hardware used. The original Master System, with its D-pad and two buttons, simply uses six pins for the six switches on the controller. The 3-button Genesis pad gets a little more advanced, before things get further complicated with the state-machine-esque 6-button pad setup.

[Jon] helpfully breaks down the various interfaces, and makes it possible to interface them with Arduinos relatively easily. Sharing such work allows others to stand on the shoulders of giants and build their own projects. This nets us work such as [Danilo]’s wireless Genesis controller build. By combining the knowledge of the Sega protocol with a few off-the-shelf Arduinos and Bluetooth parts, it makes whipping up a wireless controller easy.

In this day and age, most console controllers can be readily interfaced with a PC with a variety of simple solutions – usually USB. You might feel like trying something harder though, for instance interfacing modern Nintendo controllers to a C64. Video after the break.

Continue reading “How To Interface Sega Controllers, And Make Them Wireless”

A Genesis Inspired Synthesizer That Has Nothing To Do With Phil Collins

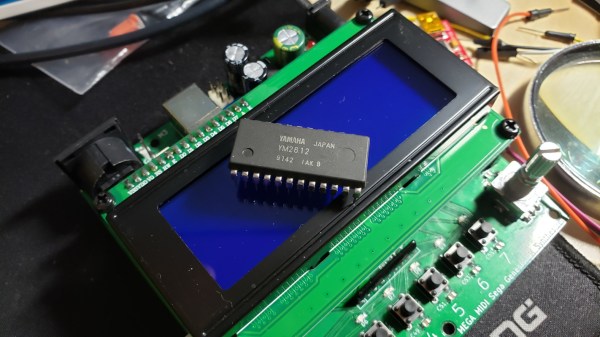
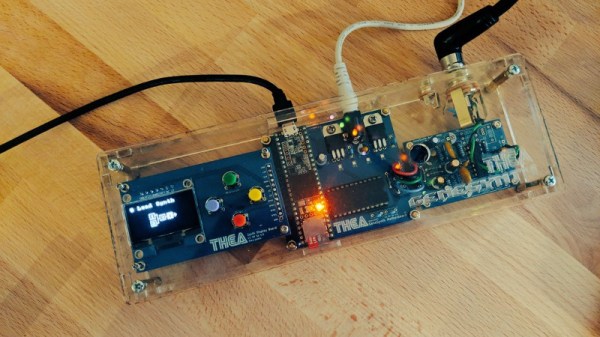
Chiptune is a musical genre built upon the creation of music through the use of chip-based sound synthesizers, found in early game consoles. The Commodore 64’s venerable SID chip and the Game Boy Sound System are the by far the most popular on the scene. However, the Sega Genesis took a different path at the end of the videogame chipmusic era, packing a YM2612 FM synthesis chip to deliver fat basslines and searing solos. [Thea] has always been a fan of these electric 90s sounds, and thus decided to build the Genesynth.

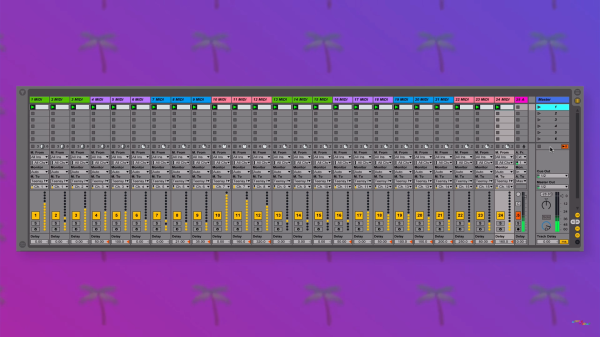
The synth initially allowed only for playback of existing video game scores, but its capability has been expanded as [Thea] took the project from breadboard to protoboard to custom PCBs – with anime artwork, to boot. The synth uses a Teensy 3.5 as the brains, speaking USB to enable the synth to receive MIDI commands from music software. All parameters are exposed over the interface, and [Thea] has several videos showing the Genesynth under control from an Ableton Push.

The sound capabilities of the YM2612 are of an entirely different character to most chiptunes, by virtue of the FM synthesis engine. FM synthesis is a little less intuitive then classical additive synthesis, but we still see it crop up now and then.


We Got Your Sega Chiptunes Right Here

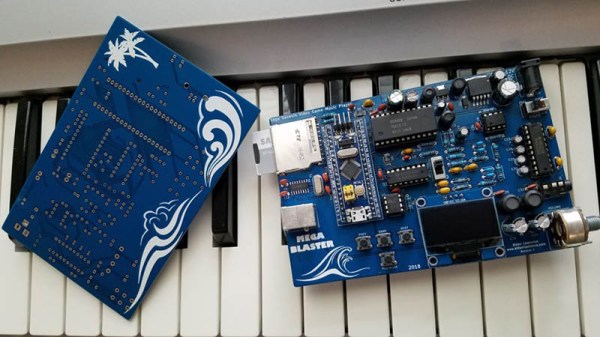
Chiptunes are cool, but when you get into it, you realize you’re mostly dealing with Commodore SID tunes, Atari POKEY tracks for the cool kids, bleeps and bloops from a Game Boy, and maybe some NES tracks thrown in for good measure. There’s another option out there – the sound chip in the Sega Genesis. This thing could do drums, man, and [Aidan Lawrence] built the perfect player for the tuneful silicon tucked inside the classic 16-bit console.

[Aidan] had previously built a tiny little music player based on the YM3812 chip, the Yamaha chip found in SoundBlaster and Adlib sound cards. The chip inside the Sega Genesis, the Yamaha YM2612, is a bit different. The killer feature of this chip, PCM waveforms, aren’t stored as simple, small bits of code. These are massive blobs of binary data sent to the chip’s DAC. The SEGGGGAAAA intro of Sonic the Hedgehog, for example, used an eighth of the the cartridge space. You’re not going to build a Sega chiptune player with a tiny little microcontroller and 20kB of RAM.

The solution came in the form of an external SPI RAM device. The 23LC1024 is a full 1 Megabit in size, and since it’s SPI, it’s more than fast enough to keep up with the sample speed. The rest of the circuit including the mixer, preamp and power amp are based on the Genesis’ actual schematics, with an SD card and OLED thrown in for good measure. How does it sound? There’s a great video below the break and yes, the soundtrack from Sonic 3 sounds just as good as it did twenty years ago.

Continue reading “We Got Your Sega Chiptunes Right Here”

Eight SEGAs Singing

Way back in the dark ages, before the average computer could play back high quality recorded audio, things were done differently. Music and sounds were stored as instructions to be played back on audio synthesis chips, built into the computers and consoles of the 80s and 90s. These chips and their unique voices hold a special nostalgia that’s key to this era, making them popular to experiment with today. To that end, [little-scale] decided to wire up eight chips from the SEGA Master System to please your ears.

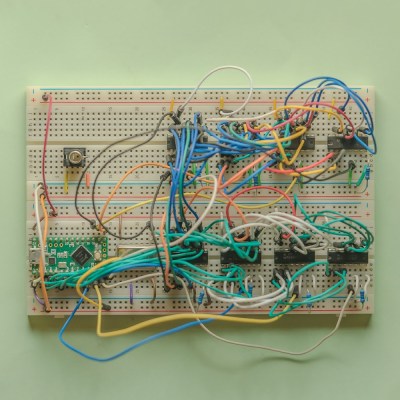
The chips, laid out on a breadboard with a Teensy LC running the show.

The chip in question is the SN76489, which we’ve also noted is used in the Sega Genesis as well. It packs 3 square wave tone generators, and a noise channel as well. With eight of these to play with, that’s 32 total channels. To drive these, [little-scale] decided to go the MIDI route. To get around the MIDI limit of 16 channels, he decided to split the frequency range in half. Each MIDI channel addresses two SN76489 channels, the top pitches being used for one, the lower pitches being used for the other. All this MIDI data is passed to a Teensy LC, which handles transposition of the note data to get everything back in tune, and addresses the eight chips to create a beautiful square wave symphony.

It’s a great way to create a cacophony of sound in a delightful vintage way, and code is available if you’d like to recreate the feat. What we’d like to know is this – what’s your favourite sound chip from yesteryear, and how badly do you want eight of them to sing in glorious harmony? Continue reading “Eight SEGAs Singing”

A Dreamcast VMU With A Secret

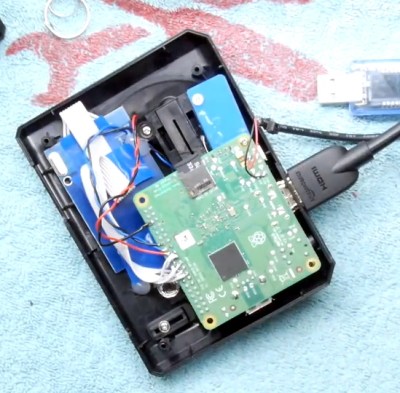
Since the Raspberry Pi range of boards first appeared back in 2012, we’ve seen them cleverly integrated into a host of inventive form factors. Today we bring you the latest offering in this space, [Kite]’s Raspberry Pi Zero W installed in the case of a Sega Dreamcast VMU. The result is a particularly nicely executed build in which the Pi with a few of its more bulky components removed or replaced with low-profile alternatives sits on the opposite side of a custom PCB from a small LCD display.

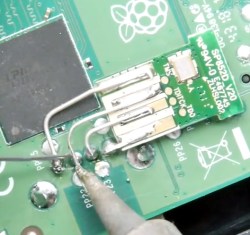
The PCB contains the relevant buttons, audio, and power supply circuitry, and when installed in a VMU shell makes for a truly professional quality tiny handheld console. In a particularly nice touch the Pi’s USB connectivity is brought out alongside the SD card on the end of the Zero, under the cap that would have originally protected the VMU’s connector. Some minimal paring away of Sega plastic was required but the case is surprisingly unmodified, and there is plenty of space for a decent-sized battery.

The VMU, or Visual Memory Unit, makes an interesting choice for an enclosure, because it is a relic of one of console gaming’s dead ends. It was the memory card for Sega’s last foray into the console market, the Dreamcast, and unlike those of its competitors it formed a tiny handheld console in its own right. Small games for the VMU platform were bundled with full titles, and there was a simple multiplayer  system in which VMUs could be linked together. Sadly the Dreamcast lost the console war of the late 1990s and early 2000s to Sony’s PlayStation 2, but it remains a console of note.

VMUs are not the most common of gaming survivors, but we’ve shown you one or two projects using them. There was an iPod conversion back in 2010, and much more recently some mind-blowing reverse engineering and emulation on the original VMU hardware.

Thanks [Giles Burgess] for the tip.

SegaPi Zero Shows Game Gear Some Respect

If you were a gamer in 1991, you were presented with what seemed like an easy enough choice: you could get a Nintendo Game Boy, the gray brick with a slightly nauseating green-tinted screen that was already a couple of years old, or you could get yourself a glorious new Sega Game Gear. With full color display and games that were ported straight from Sega’s home consoles, it seemed like the Game Gear was the true future of portable gaming. But of course, that’s not how things actually went. In reality, technical issues like abysmal battery life held the Game Gear back, and conversely Nintendo and their partners were able to squeeze so much entertainment out of the Game Boy that they didn’t even bother creating a true successor for it until nearly a decade after its release.

While the Game Gear was a commercial failure compared to the Game Boy back in the 1990s and never got an official successor, it’s interesting to think of what may have been. A hypothetical follow-up to the Game Gear was the inspiration for the SegaPi Zeo created by [Halakor]. Featuring rechargeable batteries, more face buttons, and a “console” mode where you can connect it to a TV, it plays to the original Game Gear’s strengths and improves on its weaknesses.

As the name implies the SegaPi Zero is powered by the Raspberry Pi Zero, and an Arduino Pro Micro handles user input by tactile switches mounted behind all the face buttons. A TP4056 charging module and step-up converter are also hiding in there, which take care of the six 3.7 lithium-Ion 14500 batteries nestled into the original battery compartments. With a total capacity of roughly 4,500 mAh, the SegaPi Zero should be able to improve upon the 3 – 4 hour battery life that helped doom the original version.

There’s no shortage of projects that cram a Raspberry Pi into a classic game system, but more often than not, they tend to be Nintendo machines. It could simply be out of nostalgia for Nintendo’s past glories, but personally we’re happy to see another entry into the fairly short list of Sega hacks.

Can You Visualise A Sega Cart From 2017?

The Sega Genesis, or Mega Drive if you’re not from North America, isn’t exactly this summer’s hottest new console, but it still has a huge following 29 years after launch. Fans range from retro Sonic enthusiasts to hardcore chiptune composers, and this year, Catskull Electronics is releasing a Genesis compilation album on a cartridge with a rather special feature.

The cartridge sports an 8×8 LED matrix, which acts as a visualiser for the audio coming out of the console. They’re controlled with a combination of data and address lines with some buffers and 74-series glue logic to make it all work together. Special attention was paid to make sure the LED matrix doesn’t just respond to all activity on the bus, though it would perhaps be cool to see some blinkenlights on a 90s console one day.

Each row of LEDs is attached to an address line, and each column to a data line. It’s a fairly basic multiplexing setup which sees each LED only actually lit for a fraction of a second, but sweeping the display at speed creates a lasting display. The image data is stored as an 8×8 sprite in the system RAM, and updated with the sound level of each channel from the Genesis’s audio subsystem.

The team are looking to release the ROM code in future to inspire copycat designs, which has the potential to spawn even more Genesis cart releases in future. We look forward to seeing what else the community comes up with. And if you’re a die-hard Genesis fan, there are other ways to listen to those classic tunes too.