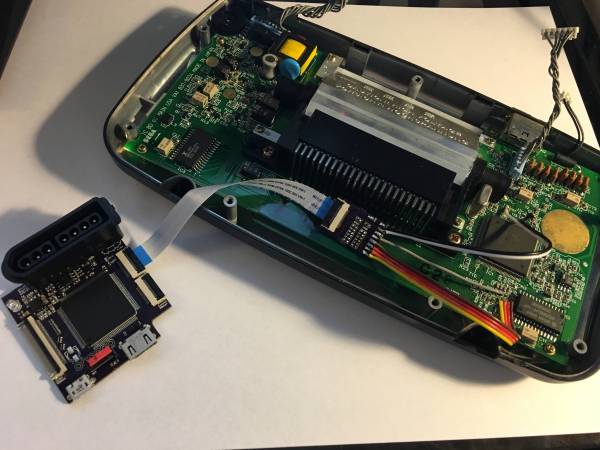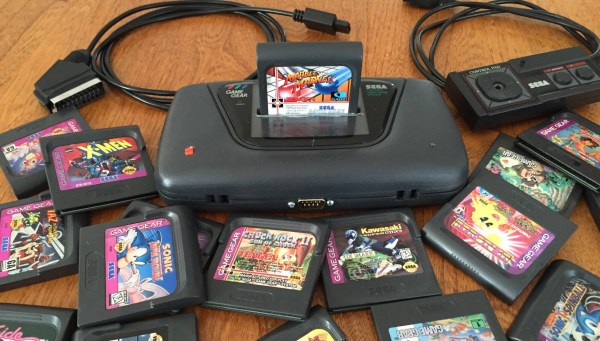
Way back in the dark ages, before the average computer could play back high quality recorded audio, things were done differently. Music and sounds were stored as instructions to be played back on audio synthesis chips, built into the computers and consoles of the 80s and 90s. These chips and their unique voices hold a special nostalgia that’s key to this era, making them popular to experiment with today. To that end, [little-scale] decided to wire up eight chips from the SEGA Master System to please your ears.
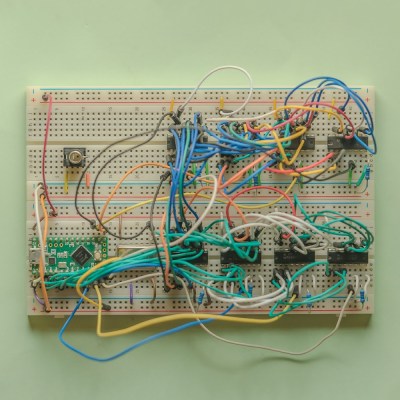
The chip in question is the SN76489, which we’ve also noted is used in the Sega Genesis as well. It packs 3 square wave tone generators, and a noise channel as well. With eight of these to play with, that’s 32 total channels. To drive these, [little-scale] decided to go the MIDI route. To get around the MIDI limit of 16 channels, he decided to split the frequency range in half. Each MIDI channel addresses two SN76489 channels, the top pitches being used for one, the lower pitches being used for the other. All this MIDI data is passed to a Teensy LC, which handles transposition of the note data to get everything back in tune, and addresses the eight chips to create a beautiful square wave symphony.
It’s a great way to create a cacophony of sound in a delightful vintage way, and code is available if you’d like to recreate the feat. What we’d like to know is this – what’s your favourite sound chip from yesteryear, and how badly do you want eight of them to sing in glorious harmony? Continue reading “Eight SEGAs Singing”