If you were to ask a random Hackaday reader what their most fundamental piece of electronic test equipment was, it’s likely that they would respond with “multimeter”. If you asked them to produce it, out would come a familiar item, a handheld brick with a 7-segment LCD at the top, a chunky rotary selector switch, and a pair of test probes. They can be had with varying quality and features for anything from a few dollars to a few hundred dollars, though they will nearly all share the same basic set of capabilities. Voltage in both AC and DC, DC current, resistance from ohms to mega ohms, and maybe a continuity tester. More expensive models have more features, may be autoranging, and will certainly have better electrical safety than the cheaper ones, but by and large they are a pretty standard item.
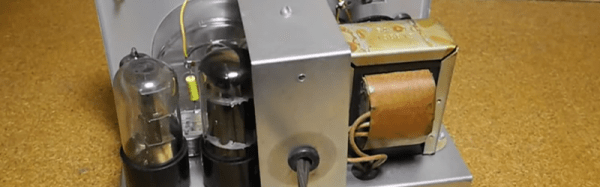
If Hackaday had been around forty years ago and you’d asked the same question, you’d have had a completely different set of multimeters pulled out for your inspection. Probably still a handheld brick with the big selector switch, but instead of that LCD you’d have seen a large moving-coil meter with a selection of scales for the different ranges. It would have done substantially the same job as the digital equivalent from today, but in those intervening decades it’s a piece of equipment that’s largely gone. So today I’m going to investigate moving coil multimeters, why you see them a lot less these days than you used to, and why you should still consider having one in your armoury. Continue reading “Why You Shouldn’t Quite Forget The Moving Coil Multimeter”
 .
.

![A selection of probes, from [Jim Williams'] Linear Technology app note 72.](https://hackaday.com/wp-content/uploads/2017/03/lt-probe-configurations.jpg)