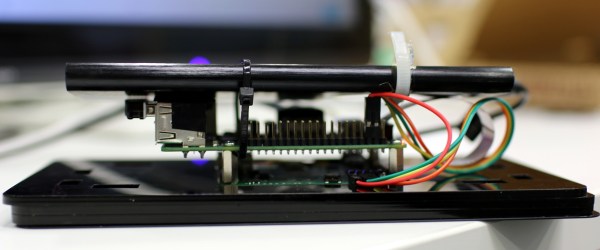
There are so many hacks in this project it’s hard to know where to start. So let’s start at the SailPi tablet which is a Raspberry Pi running the Sailfish OS on an LCD touch screen powered by a cell phone battery pack. The design looks more like a high-tech sandwich with the Pi in the middle than a tablet. Despite the appearance it works, at that’s what counts. 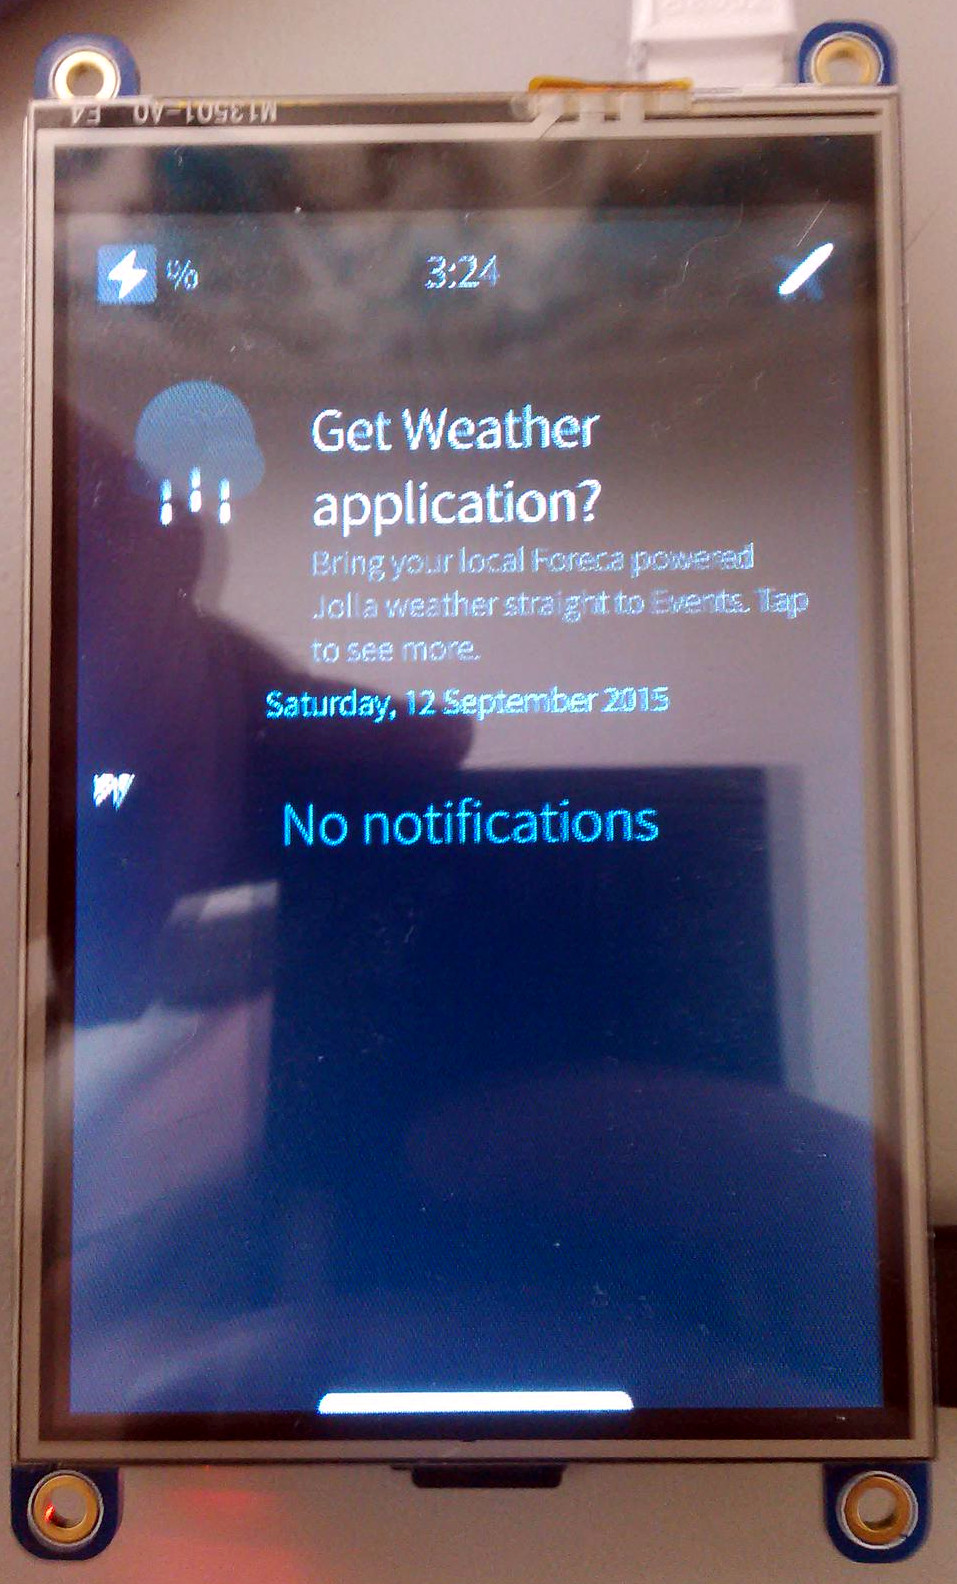 The creator, [Aleksi Suomalainen] expended a lot of effort pulling all the pieces together on this project.
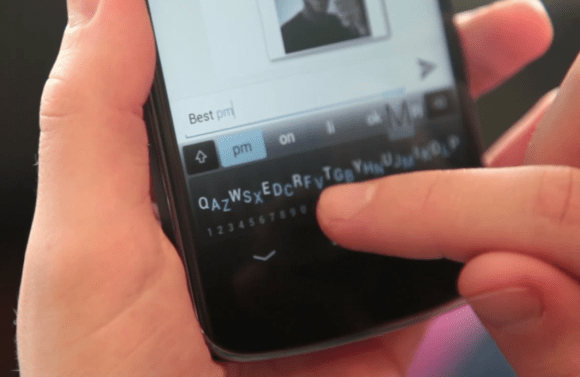
The Sailfish OS project is targeted at creating a new OS for mobile devices, especially cell phones. It is open source which invites developers to contribute to the project. The touch screen user interface is designed for ease of use by gestures from one finger on the hand holding the phone.
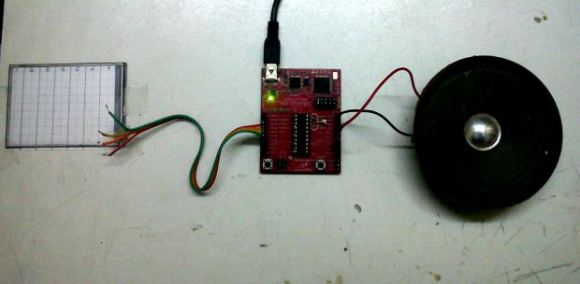
[Aleksi] ported Sailfish to a Pi 2 during a hacking week. He’s shared the code for it on his blog. During the hack week he played with accessing the GPIO on the Pi to flash an LED. To get you up and running quickly he provided an image you can load onto an SD.
It appears the Pi is finding a niche for OS hackers in addition to the hardware hackers using the GPIO.
Don’t miss the demo after the break to see the OS running on the Pi. Continue reading “Raspberry Pi Tablet Based On Sailfish OS”