One-Piece Tank Chassis Pushes Print-in-Place To New Heights

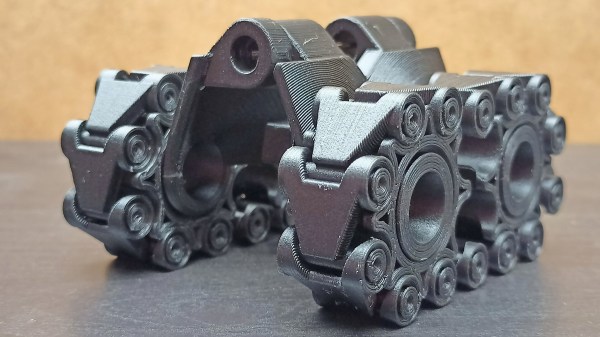
What’s better than 3D printing a tank chassis with working tracks? How about 3D printing the entire thing, moving parts and all, as a single piece? That’s [3D Honza]’s PiPBOT-1, and it’s the culmination of a whole lot of design work.

The design prints flat, then folds up into its final form.

[3D Honza] has been sharing progress pictures and videos on his Twitter account, and just recently released the first version of his design. Version 1.0 is just the mechanics, but he’s already at work on version 2.0 which includes the ability to attach servos to drive the treads. At this writing, the design is currently downloadable directly from his site and includes CAD files, which is great to see.

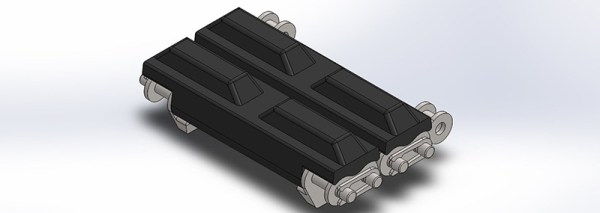
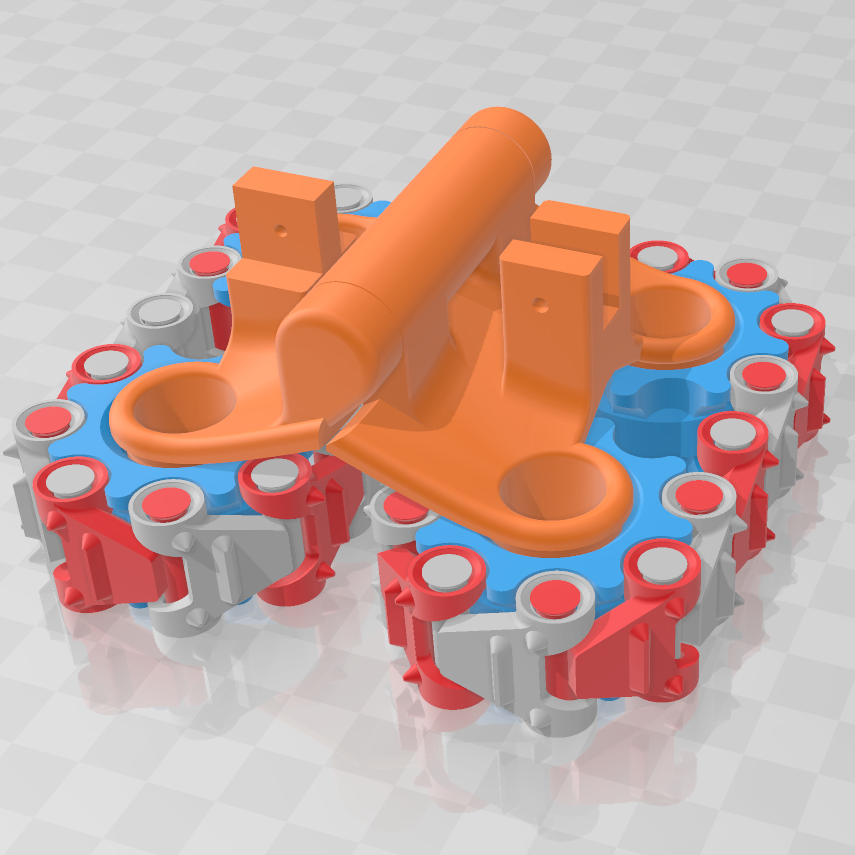
One part of the design we’d like to draw your attention to is the chunky hinge that doubles as a kind of axial structure making up the body. This allows the tank to print in an unfolded state with the treads and wheels flat on the print bed. After printing, the tank gets folded up a bit like a taco to attain its final form. It’s a clever layout that allows the unit to be printed according to a filament-based 3D printer’s strengths, printing as a single piece that transforms into a small tank chassis, complete with working treads, in a few seconds.

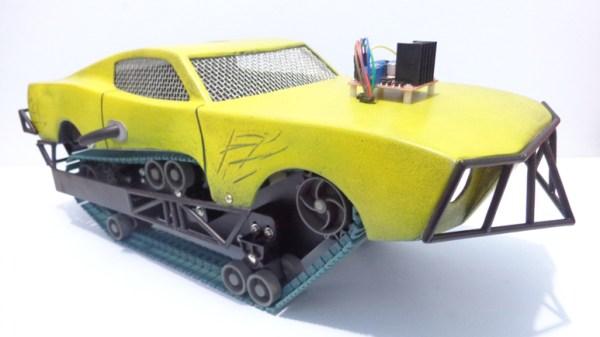
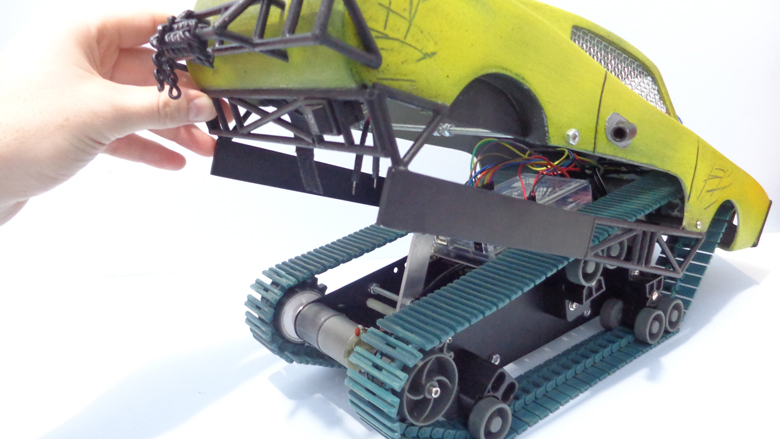
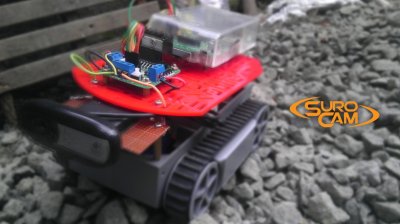
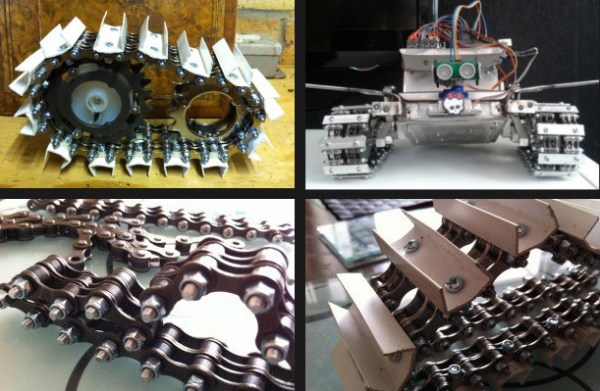
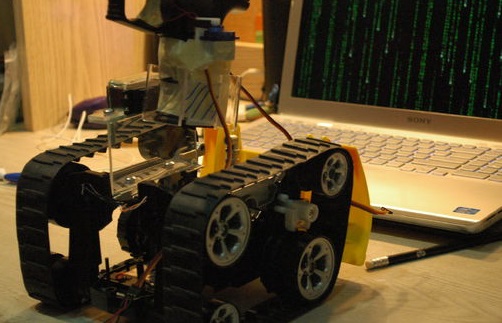
When it comes to vehicles and bots, whether to choose wheels or tracks is a serious question our own Lewin Day has explained thoroughly. And for those of you who choose tracks, this design is great for small devices but don’t forget it’s always possible to go bigger when it comes to 3D-printed tanks.

Continue reading “One-Piece Tank Chassis Pushes Print-in-Place To New Heights”

Glorious Body Of Tracked ‘Mad Mech’ Started As Cardboard

[Dickel] always liked tracked vehicles. Taking inspiration from the ‘Peacemaker’ tracked vehicle in Mad Max: Fury Road, he replicated it as the Mad Mech. The vehicle is remote-controlled and the tank treads are partly from a VEX robotics tank tread kit. Control is via a DIY wireless controller using an Arduino and NRF24L01 modules. The vehicle itself uses an Arduino UNO with an L298N motor driver. Power is from three Li-Po cells.

The real artistic work is in the body. [Dickel] used a papercraft tool called Pepakura (non-free software, but this Blender plugin is an alternative free approach) for the design to make the body out of thin cardboard. The cardboard design was then modified to make it match the body of the Peacemaker as much as possible. It was coated in fiberglass for strength, then the rest of the work was done with body filler and sanding for a smooth finish. After a few more details and a good paint job, it was ready to roll.

There’s a lot of great effort that went into this build, and [Dickel] shows his work and process on his project page and in the videos embedded below. The first video shows the finished Mad Mech being taken for some test drives. The second is a montage showing key parts of the build process.

Continue reading “Glorious Body Of Tracked ‘Mad Mech’ Started As Cardboard”

Hacklet 81 – Tracked Projects

Sometimes wheels just don’t cut it. When the going gets tough, the tough make tracks. Continuous track drive systems – aka tank treads, or tracks, have been around for centuries. The first known use in relatively modern history is a system designed in 1770’s by [Richard Lovell Edgeworth]. Since then there has been a slew of engineers, hackers, and makers who have contributed to this versatile drive system. Today, tread systems find their way into plenty of robotics and transportation projects. This week’s Hacklet is all about some of the best track drive projects on Hackaday.io!

track1We start with [jupdyke] and Modular Continuous Track System. [Jupdyke] has made a project out of making the tracks themselves. These tracks are strong – shore 70A urethane rubber is no joke! Quite a bit of research and experimentation has gone into this project. [Jupdyke] started with 3D printed parts, before moving on to molded 2 part rubber. The rubber is cast in custom machined aluminum molds. The molds are even heated to ensure a quality casting. Rubber alone doesn’t make a track though. The backbone of these tracks are machined steel pins. The pins go through the treads and connect through roller chain components. We’re betting a set of these tracks could easily carry a person!

robot-tankNext up is [williamg42] with Expandable Ruggedized Robotic Platform. [Williamg42] describes this vehicle as “able to operate in harsh environments”. We would shorten that to “It’s a beast”. Some incredible machine work has gone into this robot, especially on the suspension and idler wheels. Everything is made of metal – the frame is 8020 aluminum extrusion covered in plates. The suspension is aluminum and steel. Motors are mini-CIM motors. This robot isn’t lacking on brains, as a BeagleBone black controls it through a custom cape board. Next time we go out on a desert trek, we want this ‘bot at our side!

ttbn-alphaFrom the mind of [TinHead] comes TTBN Alpha, a TelePresence robot. TTBN alpha is based on a Raspberry Pi. Rather than start with Raspbian, [TinHead] built his own lightweight Linux distribution with buildroot. Control is through a web interface. The operator’s view of the world is through the electronic eye of a Logitech C110 webcam. [TinHead] printed his own tracks, using straightened paperclips as pins. Two servos modified for continuous rotation serve as the main drive motors.


surocam

Finally we have [Hendra Kusumah] with Surveillance Robot Camera (SUROCAM). SUROCAM was [Hendra’s] project for both the 2014 and 2015 Hackaday Prize. The chassis is based upon the common RP5 robot kit. This robot’s DC motors are driven by the classic L298n driver chip. Unlike TTBN Alpha above, SUROCAM uses a full Raspbian install, so this Pi is ready for anything. The code is written in Python, and pagekite and ngrok to help make connections to the outside world.

If you want to see more tank treaded rovers, check out our new tracked projects list. Did I miss your project? Don’t be shy, just drop me a message on Hackaday.io. That’s it for this week’s Hacklet; As always, see you next week. Same hack time, same hack channel, bringing you the best of Hackaday.io!

Hackaday Prize Entry: Molded Tracks For Vehicles

There are a lot of robotics platforms out there, and whether for educational use or for robot fightin’ time, two things remain constant: tracks are often the best solution, and there aren’t very many modular track systems that can be used with a variety of designs. There are even fewer that can be built at home. [jupdyke]’s project fixes that. It’s a modular and easy to replicate system for tracked vehicles.

The design for this system of track uses roller chain, chosen because the components of roller chain are mass-produced in incredible quantities, sprockets are available in every imaginable size, and all the parts are available in different materials.

Rolling two chains around a few sprockets isn’t a problem; the hard part of this build is figuring out how to make the actual treads, and then making a lot of them. [jupdyke] is making them by 3D printing a few mold masters and doing a few test prints with silicone and polyurethane rubber. For a one-off project, it’s a lot of work, but if you’re making thousands of tracks, molds are the way to do it.

Continue reading “Hackaday Prize Entry: Molded Tracks For Vehicles”

DIY Tank Tracks Give Tons Of Traction

If you’re building a robot for off-road or rough terrain, chances are you’ve thought about using a tank-tread style drive. There are a ton of kits available with plastic tread and wheels, but they are typically really expensive or pretty flimsy. Instead of going with an off-the-shelf solution, [Paul B] designed a heavy-duty tank tread made with common bike chain and conduit.

Some DIY tread designs we’ve featured just use a single bike chain on either side of the tread pieces. This gets the job done, but each section of tread is usually bolted through the chain. This means that you can’t use a sprocket to drive the chain since all the bolt heads block where the teeth engage. Instead, these designs typically use drive wheels inside the tread, which are prone to slip under a heavy load. [Paul B]’s design is a bit different: it uses a DIY double-wide chain so he can bolt tread segments to the chain and still use a drive sprocket.

Constructing the double-wide chain took quite a bit of work. [Paul B] completely disassembled a couple of bike chains with a delinker tool and then reassembled the chain in a double-wide configuration with M3 bolts instead of the original chain pins. Each section of tread (made out of cut pieces of plastic conduit) bolts on the outside section of chain, and a sprocket runs on the inside. His DIY chain approach saves him money too, since double-wide chains are pretty expensive. Since his sprockets directly engage the drive train, his design should be able to handle as much torque as his drivetrain can put out.

The Counter-Strike Airsoft Robot

F6R9THZHR4SR0HV.MEDIUM

[Jon] and his brother converted an RC car into a robot that can fire airsoft pellets into the air. The little motorized vehicle was disassembled and a handheld was attached to the top. A pulling mechanism was put in place and a safety procedure was added to make sure no accidents occurred.

The chassis stand was created to hold the handle. The setup was then tested at this point, and a Raspberry Pi server was configured to have a camera that would act as the eyes for the robot. Once everything was in place, the wheels hit the ground and the vehicle was able to move around, positioning itself to aim the servos at a designated target. Footage was transmitted via the web showing what the robot was looking at.

A video of the remote-controlled counter-strike robot can be seen after the break. You could consider this your toy army. That makes this one your toy air force.

Continue reading “The Counter-Strike Airsoft Robot”

Resole Shoes With Old Tire Tread

resole-shoes-with-tires

These shoes are heavier than normal, they don’t grip as well as store-bought, and it’s a heck of a lot of work to make a pair for yourself. But if you do pull this one off you’ll have a great time showing everyone your custom tire tread shoe hack.

Two things motivated [Martin Melchior] to give this a try. The first is that tire tread is virtually indestructible when only supporting the weight of a person. Secondly, this reuses otherwise worn-out tires, making it a recycling project.

Pretty much all of the work has to do with getting the tread ready for use. Cutting off the sidewalls and sawing the ring of tread in half is rather easy. But then you have to split the tread off of the steel belts, which is not. [Martin] recommends using vice-grip pliers to grab the outer lay and pull it away from the tread, slicing along the belts with a utility knife as you go. Once you do have a flat strip just glue it to your shoes and cut away the excess.

We’re more into a different type of retread that actually takes you places.