Even though iTunes and it’s song rating system has been around for over a decade now, [Steve] still hasn’t gotten around to assigning ratings to his vast library of MP3s. We can’t blame him – who wants to pull up iTunes every four minutes and assign a star rating to each song individually? To solve this interface problem, [Steve] set out to design a hardware song rating interface that fell down the rabbit hole into development hell.
The build started off simply enough – just an Arduino attached to a few buttons that sends data to a Cocoa app which rates the current song. Everything was working wonderfully until [Steve] restarted his mac and the COM ports went to pot. Wanting a ‘plug-and-play’ solution, he did away with the Arduino-based build and started designing a USB device that would display the current iTunes track and provide hardware buttons for rating the current song.
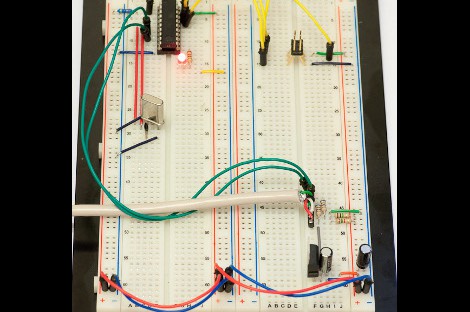
The current build is based around a very capable PIC 18F4550 micro. After looking up the USB HID protocol, [Steve] had some boards fabricated. He’s keeping us waiting on a final build report, but with the amount of work that went into this project, we’re sure it’ll be a winner.