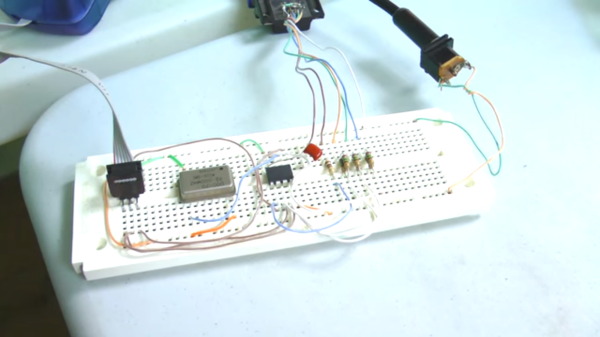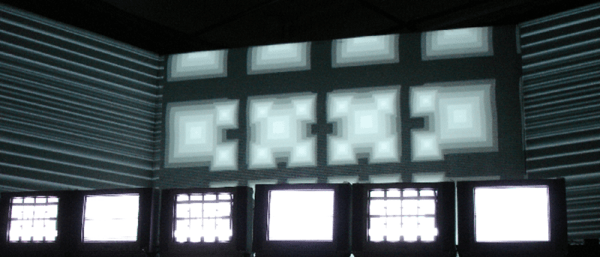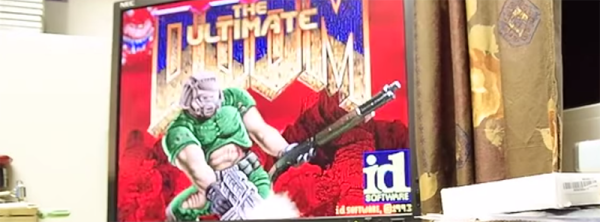
We’ve always found the Cypress PSoC an interesting beast. It’s a CPU with functional blocks that you can configure to build various I/O devices, including incorporating FPGA logic using Verilog. [MiguelVP] has an excellent multi-part project that produces VGA output from a PSoC. So far it just generates a fixed pattern, but a frame buffer is in the works, and there is plenty of detail about how to configure the PSoC for the task.
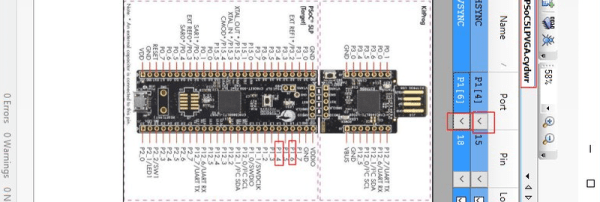
Although the PSoC has some analog capability, [MiguelVP] uses a cheap R2R DAC and VGA connector to interface to the VGA monitor. You can get the same PSoC board the project uses for about $10. The software, unfortunately, is Windows-only, so be prepared to fire up a virtual machine if you run Linux or Mac. Our own [Bil Herd] did a video introduction to PSoC that you can watch after the break.