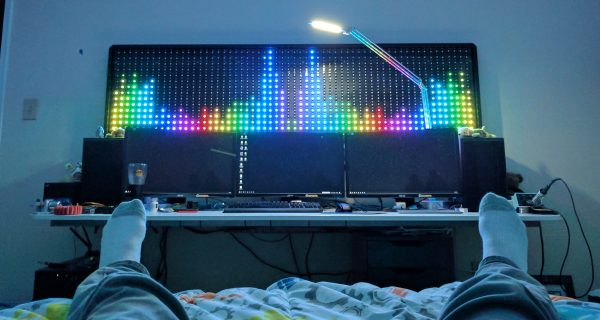
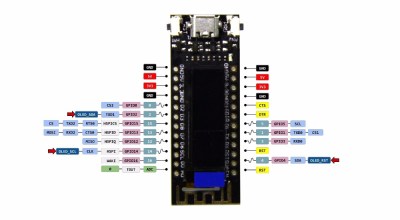
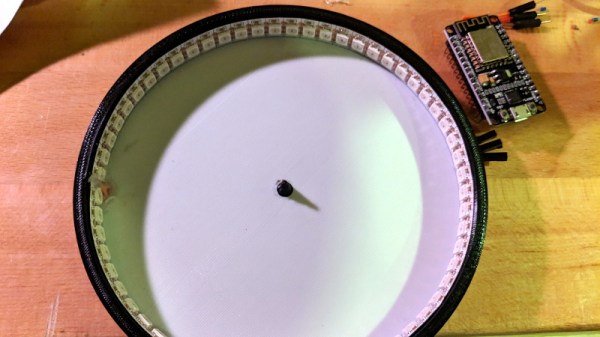
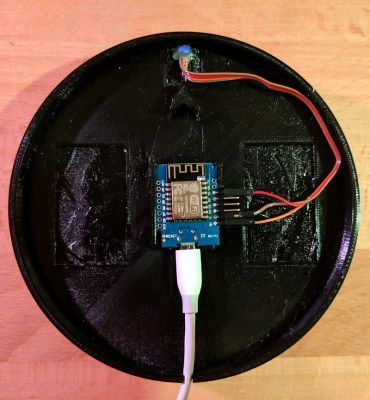
20,000 LEDs sounds like an amazing amount of blink. When we start to consider the process of putting together 20,000 of anything, and then controlling them all with a small piece of electronics the size of a postage stamp, we get a little bit dizzy. Continue reading “Lots Of Blinky! ESP32 Drives 20,000 WS2812 LEDs”
ws2812b124 Articles
How-To: Mapping Server Hits With ESP8266 And WS2812
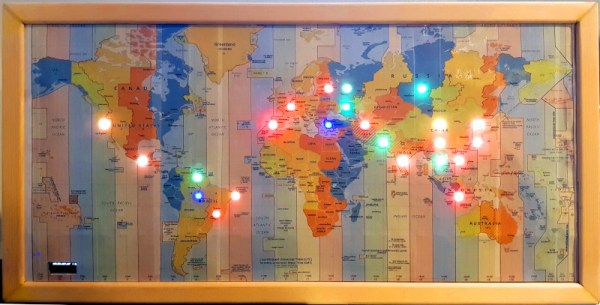
It has never been easier to build displays for custom data visualization than it is right now. I just finished one for my office — as a security researcher I wanted a physical map that will show me from where on the planet my server is being attacked. But the same fabrication techniques, hardware, and network resources can be put to work for just about any other purpose. If you’re new to hardware, this is an easy to follow guide. If you’re new to server-side code, maybe you’ll find it equally interesting.
I used an ESP8266 module with a small 128×32 pixel OLED display connected via an SSD1306 controller. The map itself doesn’t have to be very accurate, roughly knowing the country would suffice, as it was more a decorative piece than a functional one. It’s a good excuse to put the 5 meter WS2812B LED strip I had on the shelf to use.
The project itself can be roughly divided into 3 parts:
- Physical and hardware build
- ESP8266 firmware
- Server-side code
It’s a relatively simple build that one can do over a weekend. It mashes together LED strips, ESP8266 wifi, OLED displays, server-side code, python, geoip location, scapy, and so on… you know, fun stuff.
Continue reading “How-To: Mapping Server Hits With ESP8266 And WS2812”
Can You Live Without The WS2812?
As near as we can tell, the popular WS2812 individually addressable RGB LED was released to the world sometime around the last half of 2013. This wasn’t long ago, or maybe it was an eternity; the ESP8266, the WiFi microcontroller we all know and love was only released a year or so later. If you call these things “Neopixels”, there’s a good reason: Adafruit introduced the WS28212 to the maker community, with no small effort expended on software support, and branding.
The WS2812 is produced by WorldSemi, who made a name for themselves earlier with LED driver solutions, especially the WS2811, an SOIC chip that would turn a common anode RGB LED into one that’s serially controllable. When they stuffed the brains from the WS2811 into a small package with a few LEDs, they created what is probably the most common programmable LED lighting solution available today.
A lot has changed in the six years that the WS2812 has been on the market. The computer modding scene hasn’t heard the words ‘cold cathode’ in years. Christmas lights are much cooler, and anyone who wants to add blinky to their bling has an easy way to do that.
But in the years since the WS2812 came on the market, there are a lot of follow-up products that do the same thing better. You now have serially addressable LEDs that won’t bring down the rest of the string when they fail. You have RGBW LEDs. There are LEDs with a wider color gamut and more. This is a look at the current state of serially addressable RGB LEDs, and what the future might have in store.
An ESP8266 Sundial For Your Wall
Hackers absolutely love building clocks. Seriously, there are few other devices for which we’ve seen such an incredible number of variations. But while the clocks that hackers build might blink out the time in binary, or write it out in words, they generally don’t feature hands. Apparently in 2019 it’s more reasonable to read binary than know which way the “little hand” is supposed to be pointing.
This ESP8266 powered “shadow clock” from [Dheera Venkatraman] technically keeps that tradition intact, but only just. His clock doesn’t feature physical hands, but it does use a strip of RGB LEDs to cast multi-colored shadows which serve the same function. With his clock, you don’t even have to try and figure out which hand is the big one, since they’re all the same length. Now that’s what we call progress.
Probably the biggest surprise about this clock, beyond how legitimately good it looks hanging on the wall, is how little work it takes to build your own version. That’s because [Dheera] specifically set out to design something that was cheaper and easier to build than what he’d seen previously, and we think he delivered on that goal in a big way. All you need are the 3D printed components, an ESP8266 board, and a strip of 144 WS2812B LEDs.
The software side of the project is similarly simplistic, and all you need to do is plug in your WiFi network credentials to have the ESP pull the current time from NTP. If you were so inclined, his source code would be an excellent base on which to implement additional features such as animations at the top of the hour.
Compared to something like the Bulbdial clock from 2009, it’s incredible how simple some of these projects have become in the last decade. With the tools and components available to hackers and makers today, there’s truly never been a better time to build something amazing.
This Super Realistic LED Candle Is Smoking Hot
Over the last few years, LED candles have become increasingly common; and for good reason. From a distance a decent LED candle is a pretty convincing facsimile for the real thing, providing a low flickering glow without that annoying risk of burning your house down. But there’s something to be said for the experience of a real candle; such as that puff of fragrant smoke you get when you blow one out.
Which is why [Keith] set out on an epic three year quest to build the most realistic LED candle possible, with a specific focus on the features that commercial offerings lack. So not only does it use real wax as a diffuser for the LEDs, but you’re able to “light” it with an actual match. It even ejects a realistic bit of smoke when its microphone detects you’ve blown into it. Ironically, its ability to generate smoke means it doesn’t completely remove the possibility of it setting your house on fire if left unattended, but we suppose that’s the price you pay for authenticity.
As you might have gathered by now, [Keith] is pretty serious about this stuff, and has gone to great lengths to document his candle’s long development process. If you’d care to build a similar candle, his written documentation as well as the video after the break will certainly get you on the right track. He’s even broken the design down into “milestones” of increasing complexity, so for example if you don’t care about the smoking aspect of the candle you can just skip that part of the build.
So what did [Keith] put into his ultimate LED candle? In the most basic form, the electronics consist of a Arduino Pro Mini and a chunk of RGB WS2812B strip holding six LEDs. Add in an IR sensor if you want the candle to be able to detect the presence of a match, and a microphone if you want to be able to blow into the candle to turn it off. Things only get tricky if you want to go full smoke, and let’s be honest, you want to go full smoke.
To safely produce a puff of fragrant smoke, [Keith] is using a coil of 28 gauge wire wrapped around the wick of a “Tiki Torch”, and a beefy enough power supply and MOSFET to get it nice and hot. The wick is injected with his own blend of vegetable glycerin and aromatic oil, and when the coil is fired up it produces an impressive amount of light gray smoke that carries the scent of whatever oil you add. Even if you’re not currently on the hunt for the ultimate electronic candle, it’s a neat little implementation that could be used come Halloween.
You might be surprised to learn that LED candles are a rather popular project within the hacking community. From the exceptionally simple to the exceedingly complex, we’ve seen an impressive array of electronic candles over the years. Perfect for setting the mood when listening to the smooth sounds of the latest Hackaday podcast episode. Continue reading “This Super Realistic LED Candle Is Smoking Hot”
Glowtie Is Perfect For Those Fancy Dress Raves
Are you bored of your traditional bow tie? Do you wish it had RGB LEDs, WiFi, and a web interface that you could access from your smartphone? If you’re like us at Hackaday…maybe not. But that hasn’t stopped [Stephen Hawes] from creating the Glowtie, an admittedly very slick piece of open source electronic neckwear that you can build yourself or even purchase as an assembled unit. Truly we’re living in the future.

While we’re hardly experts on fashion around these parts (please see the “About” page for evidence), we can absolutely appreciate the amount of time and effort [Stephen] has put into its design. Especially considering his decision to release the hardware and software as open source while still putting the device up on Kickstarter. We seen far too many Kickstarters promising to open the source up after they get the money, so we’re always glad to see a project that’s willing to put everything out there from the start.
For the hardware, [Stephen] has gone with the ever popular ESP8266 module and an array of WS2812B LEDs around the edge of the PCB. There’s also a tiny power switch on the bottom, and a USB port for charging the two 1S 300mAh lipo batteries on the backside of the Glowtie. The 3D printed rear panel gives the board some support, and features an integrated bracket that allows it to clip onto the top button of your shirt. For those that aren’t necessarily a fan of the bare PCB look or blinding people with exposed LEDs, there’s a cloth panel that covers the front of the Glowtie to not only diffuse the light but make it look a bit more like a real tie.
To control the Glowtie, the user just needs to connect their smartphone to the device’s WiFi access point and use the web-based interface. The user can change the color and brightness of the LEDs, as well as select from different pre-loaded flashing and fading patterns. The end result, especially with the cloth diffuser, really does look gorgeous. Even if this isn’t the kind of thing you’d wear on a daily basis, we have no doubt that you’ll be getting plenty of attention every time you clip it on.
It should be said that [Stephen] is no stranger to wearable technology. We’ve previously covered his mildly terrifying wrist mounted flamethrower, so if he managed to build that without blowing himself up, we imagine building a light up tie should be a piece of cake in comparison.
Continue reading “Glowtie Is Perfect For Those Fancy Dress Raves”
An Over-engineered LED Sign Board
Never underestimate the ability of makers in over thinking and over-engineering the simplest of problems and demonstrating human ingenuity. The RGB LED sign made by [Hans and team] over at the [Hackheim hackerspace] in Trondheim is a testament to this fact.
As you would expect, the WS2812 RGB LEDs illuminate the sign. In this particular construction, an individual strip is responsible for each character. Powered by an ESP32 running FreeRTOS, the sign communicates using MQTT and each letter gets a copy of the 6 x 20 framebuffer which represents the color pattern that is expected to be displayed. A task on the ESP32 calculates the color value to be displayed by each LED.
The real question is, how to calibrate the distributed strings of LEDs such that LEDs on adjacent letters of the sign display an extrapolated value? The answer is to use OpenCV to create a map of the LEDs from their two-dimensional layout to a lookup table. The Python script sends a command to illuminate a single LED and the captured image with OpenCV records the position of the signal. This is repeated for all LEDs to generate a map that is used in the ESP32 firmware. How cool is that?
And if you are wondering about the code, it is up on [Github], and we would love to see someone take this up a level. The calibration code, as well as the Remote Client and ESP32 codes, are all there for your hacking pleasure.
Its been a while since we have seen OpenCV in action like with the Motion Tracking Turret and Face Recognition. The possibilities seem endless. Continue reading “An Over-engineered LED Sign Board”