Few days are worse than a day when you hear the words, “I’m sorry, you have cancer.” Fear of the unknown, fear of pain, and fear of death all attend the moment when you learn the news, and nothing can prepare you for the shock of learning that your body has betrayed you. It can be difficult to know there’s something growing inside you that shouldn’t be there, and the urge to get it out can be overwhelming.
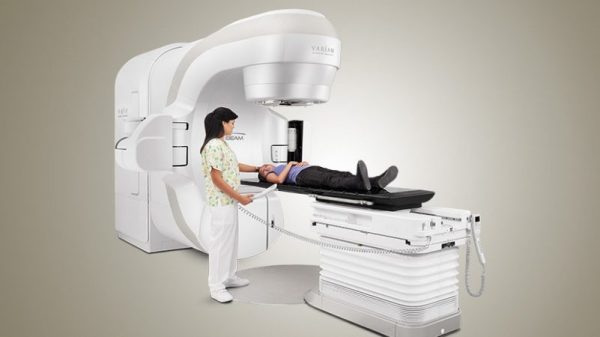
Sometimes there are surgical options, other times not. But eradicating the tumor is not always the job of a surgeon. Up to 60% of cancer patients will be candidates for some sort of radiation therapy, often in concert with surgery and chemotherapy. Radiation therapy can be confusing to some people — after all, doesn’t radiation cause cancer? But modern radiation therapy is a remarkably precise process that can selectively kill tumor cells while leaving normal tissue unharmed, and the machines we’ve built to accomplish the job are fascinating tools that combine biology and engineering to help people deal with a dreaded diagnosis.
Continue reading “The Physics Of Healing: Radiation Therapy”