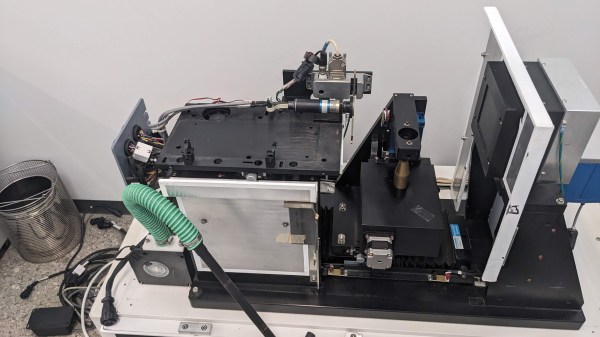
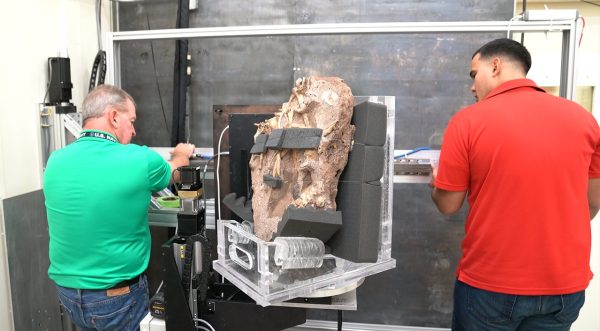
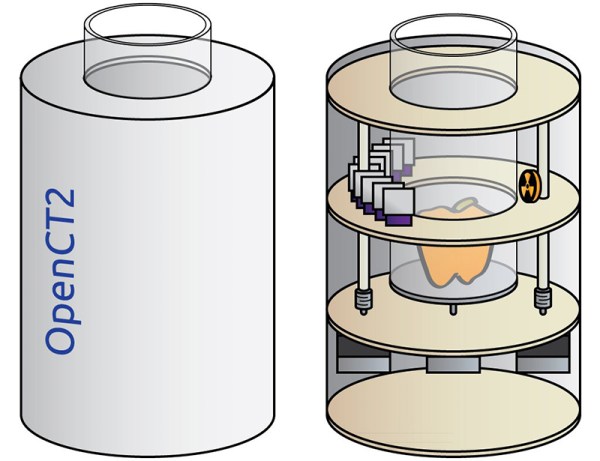
[Ahron Wayne] succeeded in something he’s been trying to accomplish for some time: figuring out what’s inside a sealed Pokémon card packet without opening it. There’s a catch, however. It took buying an X-ray CT scanner off eBay, refurbishing and calibrating it, then putting a load of work into testing and scanning techniques. Then finally combining the data with machine learning in order to make useful decisions. It’s a load of work but [Ahron] succeeded by developing some genuinely novel techniques.
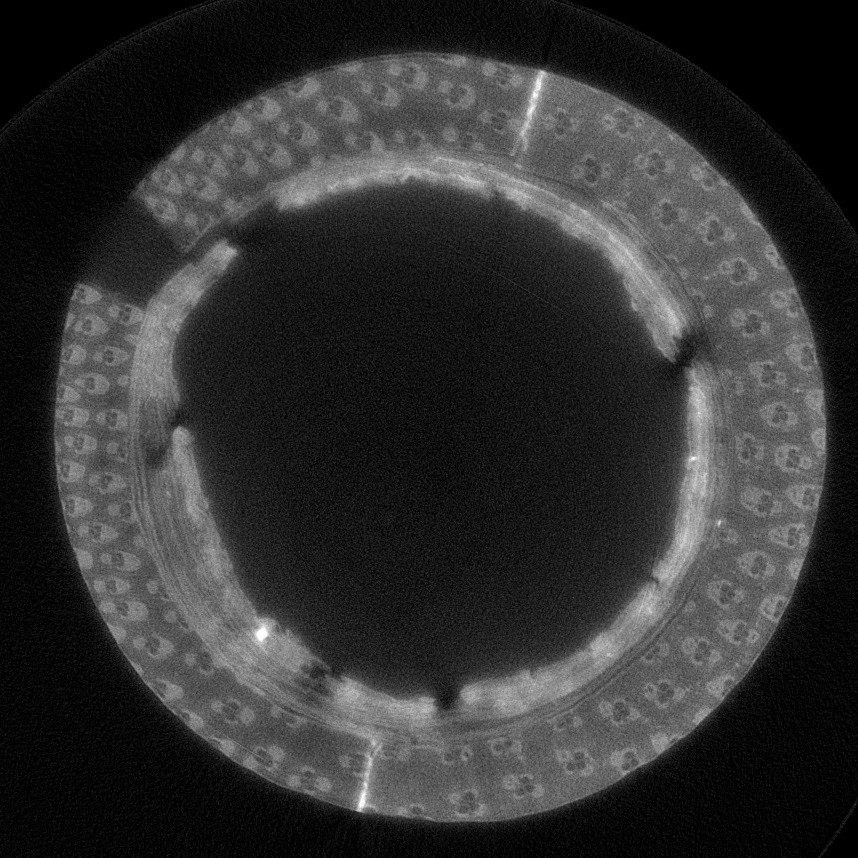
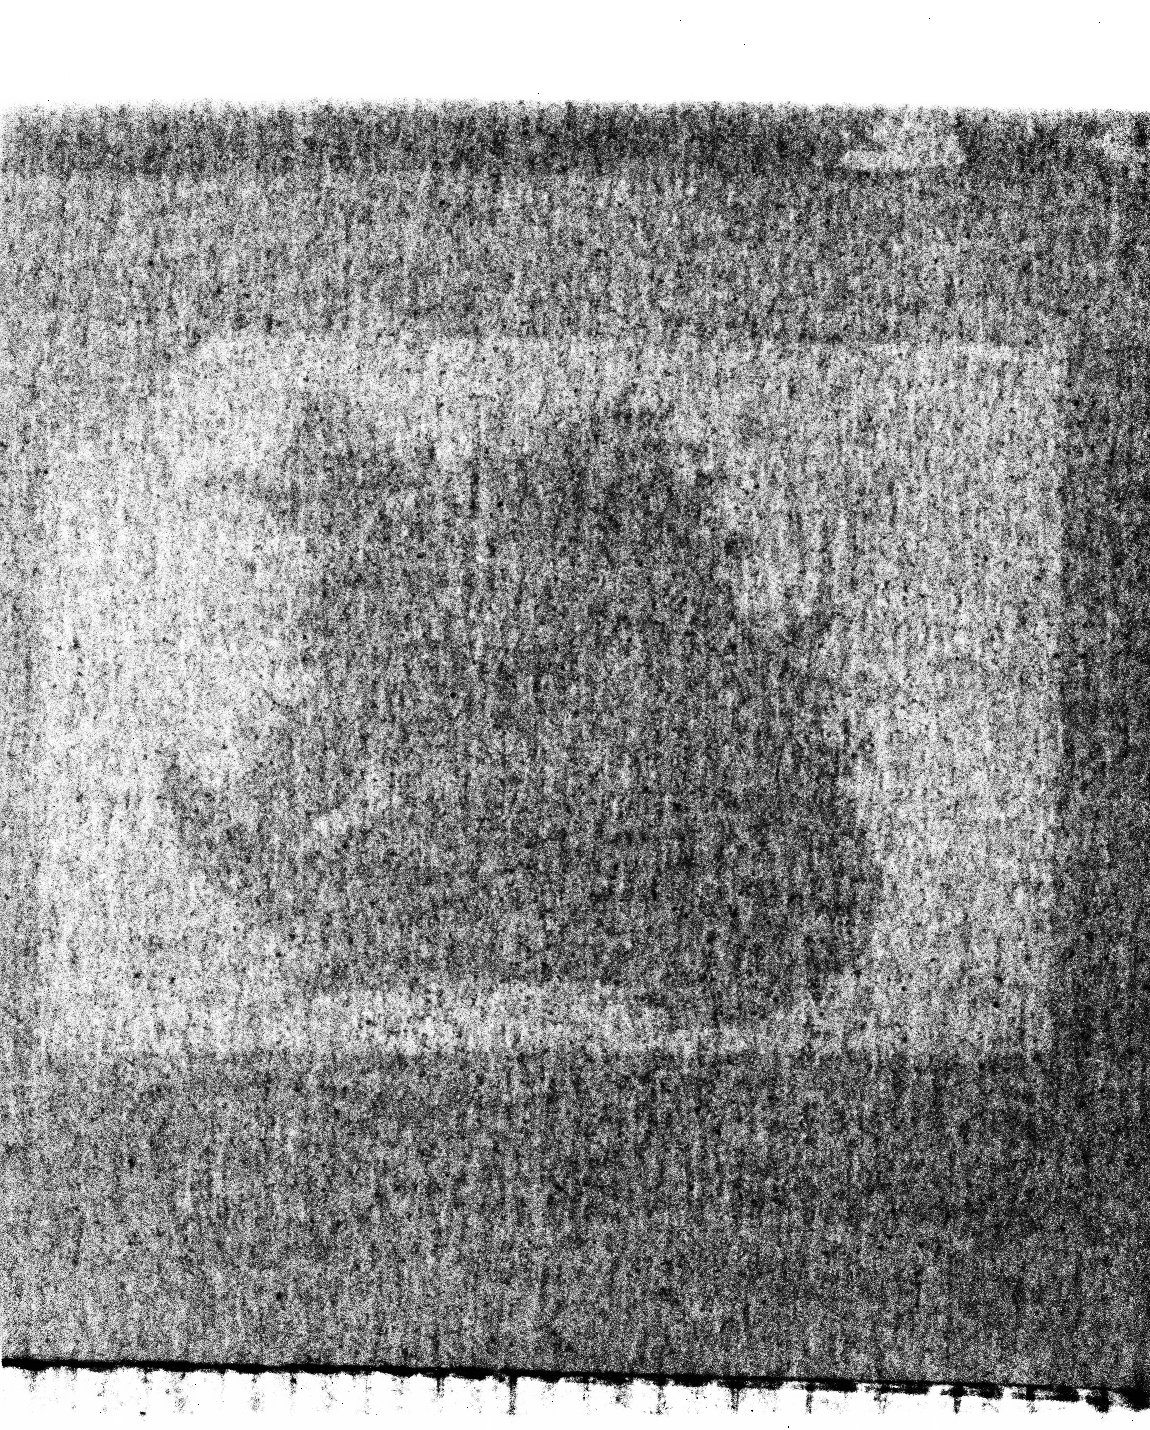
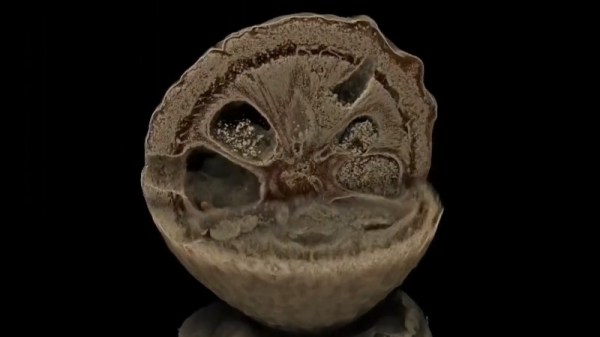
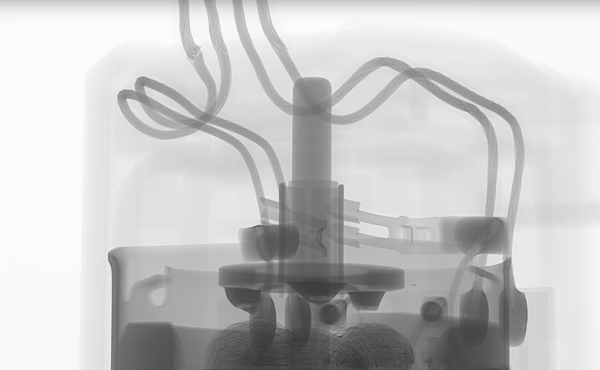
 While using an X-ray machine to peek inside a sealed package seems conceptually straightforward, there are in fact all kinds of challenges in actually pulling it off. There’s loads of noise. So much that the resulting images give a human eyeball very little to work with. Luckily, there are also some things that make the job a little easier.
For example, it’s not actually necessary to image an entire card in order to positively identify it. Teasing out the individual features such as a fist, a tentacle, or a symbol are all useful to eliminate possibilities. Interestingly, as a side effect the system can easily spot counterfeit cards; the scans show up completely different.
When we first covered [Ahron]’s fascinating journey of bringing CT scanners back to life, he was able to scan cards but made it clear he wasn’t able to scan sealed packages. We’re delighted that he ultimately succeeded, and also documented the process. Check it out in the video below.
Continue reading “Sealed Packs Of Pokémon Cards Give Up Their Secrets Without Opening Them”