Somehow or another, the Raspberry Pi has become a standardized form factor for single board computers. There are now Raspberry Pi-shaped objects that can do anything, and between the Odroid and bizarre Intel Atom-powered boards, everything you could ever want is now packaged into something that looks like a Raspberry Pi.
Except for one thing, of course, and that’s where [antti.lukats]’s entry for the 2016 Hackaday Prize comes in. He’s creating a version of the Raspberry Pi based on a chip that combines a fast ARM processor and an FPGA in one small package. It’s called the ZynqBerry and will, assuredly, become one of the best platforms to learn FPGA trickery on.
Xilinx’ Zynq comes with a dual-core ARM Cortex A9 running around 1GHZ, and from that fact alone should be about comparable to the original Raspberry Pi. Also inside the Zynq SoC is a very capable FPGA that [antti] is using to drive HDMI at 60hz, and can stream video from a Raspberry Pi camera to a display.
Last year for the Hackaday Prize, [antti] presented some very cool stuff, including a tiny FPGA development board no bigger than a DIP-8 chip. He’s hackaday.io’s resident FPGA wizard, and the ZynqBerry is the culmination of a lot of work over the past year or so. While it’s doubtful it will be as powerful as the latest Raspberry Pis and Pi clones, this is a phenomenal piece of work that puts an interesting twist on the usual FPGA development boards.
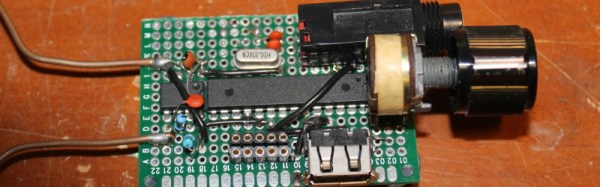
The 555 is configured as an astable oscillator running at about 5MHz and with a loop antenna attached to its timing capacitor. The parasitic capacitance of the musician’s hand against the antenna varies the frequency of the oscillation, as you would expect. In a classic Theremin the signal from the 555 would be mixed with the output from a fixed 5MHz oscillator and the sound would be generated from the difference between the two oscillators, but in [eagleisinsight]’s design the 555 clocks the ATMega328’s timer. The processor can thus read the oscillator frequency and use that value to control a waveform generator.
There is something missing from this Theremin: a second antenna for volume. For now a potentiometer does that job, but [eagleisinsight] is working on a MkII device to correct this omission, along with plans to replace the ATMega with an XMega processor whose DAC can produce a sine wave output and whose USB port can be used to enable the Minimin as a MIDI controller.
Give some mundane, old gear to an artist with a liking for technology, and he can turn it into a mesmerizing piece of art. [dmitry] created “red, an optic-sound electronic object” which uses simple light sources and optical elements to create an audio-visual performance installation. The project was the result of his collaboration with the Prometheus Special Design Bureau in Kazan, Russia. The inspiration for this project was Crystall, a reconstruction of an earlier project dating back to 1966. The idea behind “red” was to recreate the ideas and concepts from the 60’s ~ 80’s using modern solutions and materials.
The main part of the art installation consists of a ruby red crystal glass and a large piece of flexible Fresnel lens, positioned in front of a bright LED light source. The light source, the crystal and the Fresnel lens all move linearly, constantly changing the optical properties of the system. A pair of servos flexes and distorts the Fresnel lens while another one flips the crystal glass. A lot of recycled materials were used for the actuators – CD-ROM drive, an old scanner mechanism and old electric motors. Its got a Raspberry-Pi running Pure Data and Python scripts, with an Arduino connected to the sensors and actuators. The sensors define the position of various mechanical elements in relation to the range of their movement. There’s a couple of big speakers, which means there’s a beefy amplifier thrown in too. The sounds are correlated to the movement of the various elements, the intensity of the light and probably the color. There’s two mechanical paddle levers hanging in there, if you folks want to hazard some guesses on what they do.
On display at the PAX East gaming expo, the keys on 160 Logitech keyboards make up the “pixels” of a video wall showing a short film inspired from side-scroller video games. It’s the work of the production company iam8bit. Details on the system are scant, but we can learn a little from close observation of the video.
I recently had the chance to visit Belgrade and take part in the Hackaday | Belgrade conference. Whenever I travel, I like to make some extra field trips to explore the area. This Serbian trip included a tour of electronics manufacturing, some excellent museums, and a startup that is weaving FPGAs into servers and PCIe cards.
Long ago, when I wanted a plywood sheet, I would go to the local big box hardware store and buy whatever was at the center of the optimization curve for cheapest and nicest looking. I would inevitably suffer with ultra-thin veneers on the top, ugly cores, unfinishable edges, warping, voids, and other maladies of the common plywood. One day I said enough is enough and bothered the salesman at my local lumber supply until he showed me one that wasn’t awful.
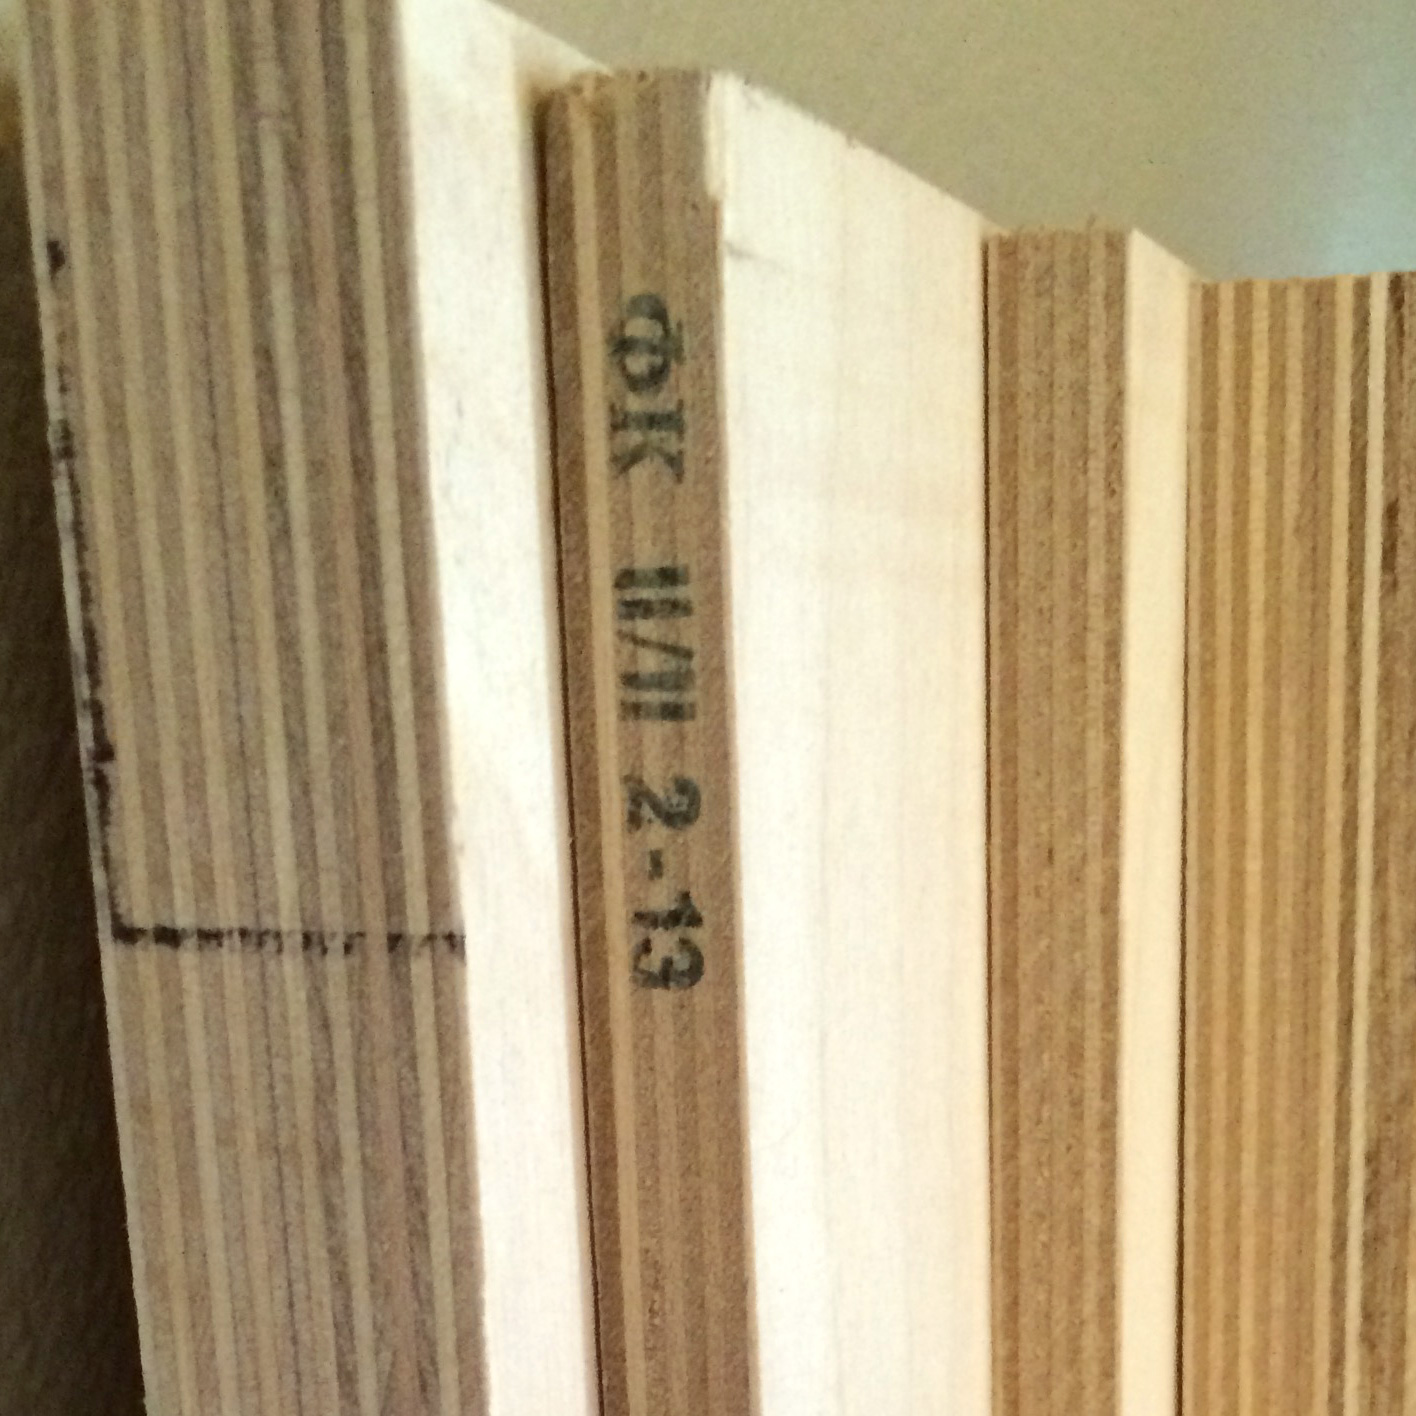
There are subtle clues that the Baltic Birch I’ve purchased is Russian.
Baltic birch differs from other plywoods in a few ways. Regular plywood is usually made locally from the cheapest possible core wood in alternating grain layers laminated together with a hardwood veneer on the top. There are interior and exterior grades. The exterior grades are usually made with a different glue, but don’t necessarily denote a higher quality or stability. Some of the glues used can be toxic. Wear a respirator. In normal plywood, the ATSM or BB standards only apply to the face veneers used to finish the product. The core can be of whatever quality is convenient for the manufacturer.
True Baltic Birch is made in the Baltic Region with the biggest producers being Russia and Finland. Outside of the US it is sometimes called Finnish Birch or Russian Birch plywood for this reason. It is made from only top quality birch veneers laminated together with no filler wood. It is also unique in the care taken to make sure each layer of the wood is patched so there are no voids. All Baltic Birch is made with exterior grade glue, and when properly sealed will work for outdoor applications. There are grades of Baltic birch for marine applications and exceptionally void free aircraft grade plywood at a much higher cost.
The easiest way to spot Baltic Birch if you’re American is its form factor. Baltic birch comes in 1525 x 1525 mm squares, which approximates to 5 ft x 5 ft. Some people have said that manufacturers have started to produce 4 ft x 8 ft sheets specifically for the North American market, but this information comes with a caveat that these are usually lower grades made locally or in China parading under the name. The metric form factor extends to the thicknesses of the sheets. In America they will be sold as inch, but fit pretty closely to a metric form.
3 mm ≈ 1/8″ (3 plies)
6 mm ≈ 1/4″ (5 plies)
9 mm ≈ 3/8″ (7 plies)
12 mm ≈ 1/2″ (9 plies)
18 mm ≈ 3/4″ (13 plies) – From [3] Ultimate guide to Baltic birch.
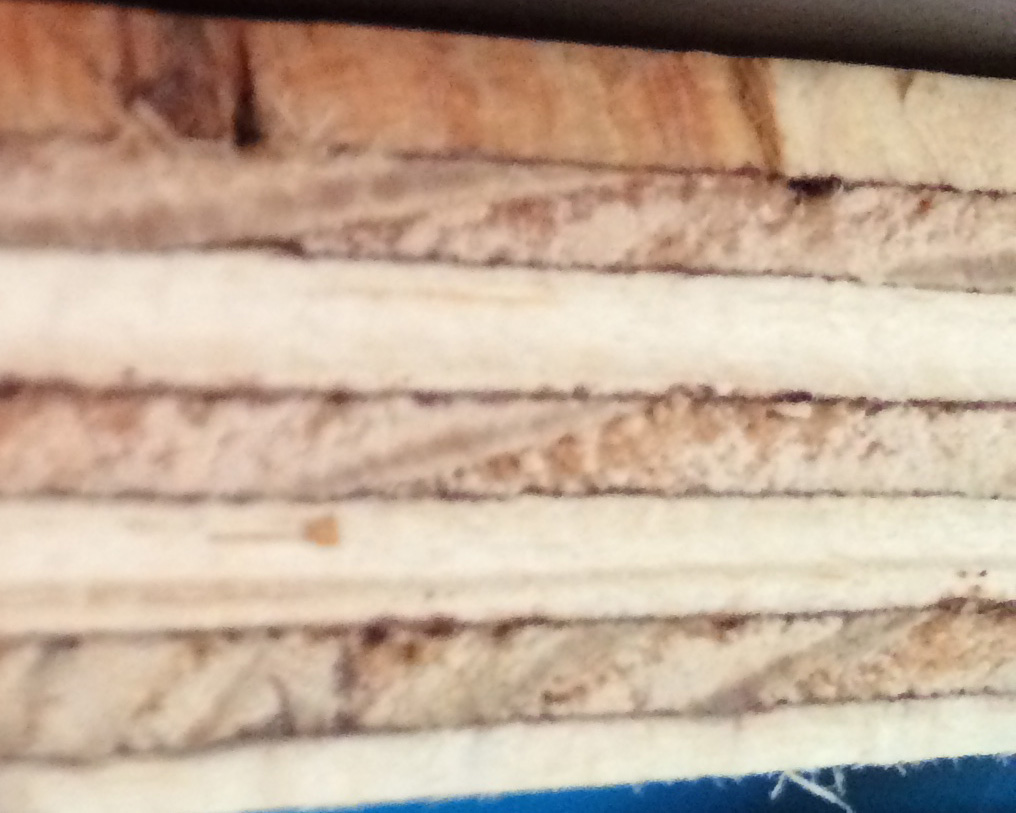
The core of regular hardware store plywood. Pretty bad in comparison.
There are some really nice practical features of Baltic Birch. One of my favorites is the absolute uniformity of the layers. This means that two pieces of birch can be laminated together and the seam between the two becomes indistinguishable. I’ve used this to make cases by CNC routing out the inside of a sheet of Baltic birch, drilling some holes for alignment pins, and then laminating the whole assembly together. We’ve covered a few readers who have had similar ideas. Since the layers are uniform you can also do interesting things when combined with a CNC router. For example, carefully milling away the layers you can get a topographic map of the object.
Baltic Birch is also significantly flatter and more stable than other plywood options. It is commonly the material used for fences on expensive tables saws. It moves less during temperature swings and changes in ambient moisture. This is one of the reasons it’s popular with fine furniture builders. This also makes Baltic birch a good option for home CNC builds, certainly better than MDF . Due to the higher quality wood and better manufacturing it is quite strong as well. It is a great structural wood.
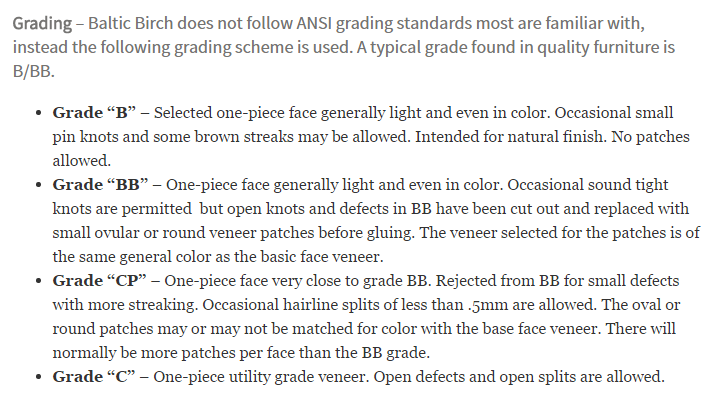
Explanation of the grading scale for Baltic Birch from [1] Dan’s hobbies.Baltic birch holds stains very well on both its faces and its edges. It’s as easy to paint and glue as any wood. As far as surface finish goes it’s important to note that as mentioned previously, Baltic Birch is graded to a different scale than regular plywood. The grades will determine how the face veneers are treated. B/B is the highest grade with both sides being defect free. B/BB is much more common and is what you are likely to find. I have not found C or CP grades in the US. My guess is that we have plenty of low grade plywoods to compete with it. It is likely found nearer to the areas where it is produced.
This is on the non-finishing side of a Baltic Birch panel. You can see the care taken to fix knots and voids. This will be done through the whole sheet. The face of the board will not have marks. This is a B/BB grade sheet. If it was B/B both sides would be without patches.
Baltic birch is more expensive than the regular grade stuff. So a sheet of ¾” thick Oak veneer plywood with a pine core, interior grade, from Lowes is about 35 US dollars where a similar sheet of 18mm Baltic Birch will run around 65 dollars.
I’ll still occasionally purchase a cheaper sheet of plywood when I have a non-critical application (like garage shelving), but when I am doing something precise or nice I’ll spend the extra on the birch plywood. While I love this material, I am by no means a wood worker. Have any of you had experience with this plywood? Is there an even better plywood out there?
I’ve left my sources below for further reading. [3] Ultimate Guide to Baltic Birch is very good.
[Mr_GreenCoat] is studying engineering. His thermodynamics teacher agreed with the stance that engineering is best learned through experimentation, and tasked [Mr_GreenCoat]’s group with the construction of a vacuum chamber to prove that the boiling point of a liquid goes down with the pressure it is exposed to.
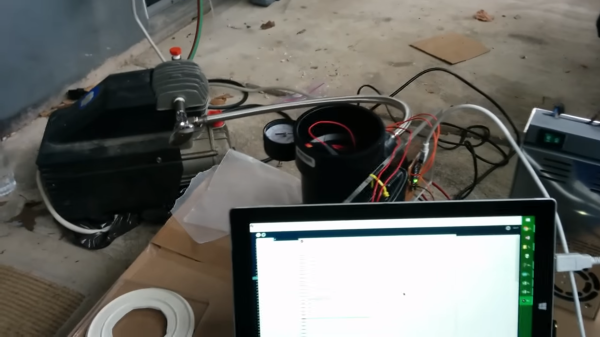
His group used black PVC pipe to construct their chamber. They used an air compressor to generate the vacuum. The lid is a sheet of lexan with a silicone disk. We’ve covered these sorts of designs before. Since a vacuum chamber is at max going to suffer 14.9 ish psi distributed load on the outside there’s no real worry of their design going too horribly wrong.
The interesting part of the build is the hardware and software built to boil the water and log the temperatures and pressures. Science isn’t done until something is written down after all. They have a power resistor and a temperature probe inside of the chamber. The temperature over time is logged using an Arduino and a bit of processing code.
In the end their experiment matched what they had been learning in class. The current laws of thermodynamics are still in effect — all is right in the universe — and these poor students can probably save some money and get along with an old edition of the textbook. Video after the break.