Growing your own food is a fun hobby and generally as rewarding as people say it is. However, it does have its quirks and it definitely equires quite the time input. That’s why it was so satisfying to watch Farmbot push a weed underground. Take that!
Farmbot is a project that has been going on for a few years now, it was a semifinalist in the Hackaday Prize 2014, and that development time shows in the project documented on their website. The robot can plant, water, analyze, and weed a garden filled with arbitrarily chosen plant life. It’s low power and low maintenance. On top of that, every single bit is documented on their website. It’s really well done and thorough. They are gearing up to sell kits, but if you want it now; just do it yourself.
The bot itself is exactly what you’d expect if you were to pick out the cheapest most accessible way to build a robot: aluminum extrusions, plate metal, and 3D printer parts make up the frame. The brain is a Raspberry Pi hooked to its regular companion, an Arduino. On top of all this is a fairly comprehensive software stack.
The user can lay out the garden graphically. They can get as macro or micro as they’d like about the routines the robot uses. The robot will happily come to life in intervals and manage a garden. They hope that by selling kits they’ll interest a whole slew of hackers who can contribute back to the problem of small scale robotic farming.
If you had made it this far in your journey from project to kit, you would now have a box of electronic components, a pile of printed instructions, and a box of plastic bags, thin card boxes, or whatever other retail packaging you have chosen for your kit. You are ready to start stuffing kits.
It’s All In The Presentation
Label all your hard-to-identify components, your customers will appreciate it.
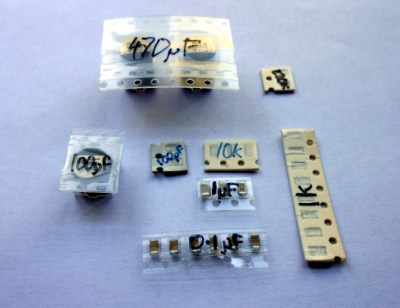
Your priorities when stuffing a kit are to ensure that your customer receives all the components they should, they can easily identify each component, and that the whole kit is attractively presented such that it invites them to buy or build it when they first see it. This starts before you have packed any components, you must carefully prepare each component into units of the required number and label them if they are otherwise not easy to identify. Pre-cut any components supplied on tape, and write the part number or value on the tape if it is not easily readable. You may even have to package up some difficult-to-identify components in individual labeled bags if they can not have their values written on them, though this incurs an extra expense of little bags and stickers. Some manufacturers will insist on using black tape on which an indelible pen doesn’t show up!
Take care cutting tapes of components, it is sometimes easy to damage their pins. Always cut the tape from the bottom rather than the side with the peelable film, and if necessary carefully bend the tape slightly to open up the gap between components for your scissors.
If you start by deciding how many kits you want to stuff in a sitting, list all the kit components and prepare that number of each of them in the way we’ve described. Then take the required number of packages or bags, and work through each component on the list, stuffing all the bags with one component before starting again moving onto the next. In time you will have a pile of stuffed kits ready to receive their instructions and labeling.
The next step will be to fold your instruction leaflet and pack it in the kit. Take a moment to consider how it can be most attractively presented. For example with a kit packaged in a click-seal plastic bag it makes sense to fold the leaflet such that the colour photo of a completed kit is visible from the front. And when you place it in the bag make sure that the PCB is visible top-outwards in front of it. A customer looking at your kit wants to immediately see what they are likely to create with it.
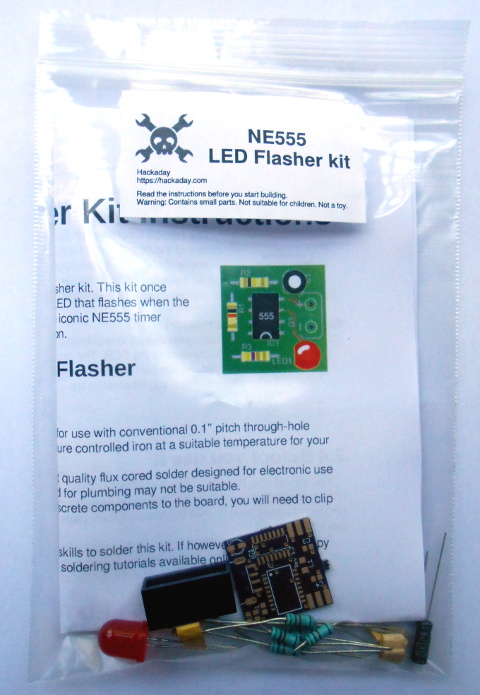
You can now seal the bag or box, the kit is packed. It only remains to give it a label that has all the pertinent information and is attractive to the customer. You will probably want to put your logo or web address on the label as well as any small print required, alongside the most important feature — the kit description. We’ve put a warning about small parts and curious children, you may also want to put any reglatory or compliance information here. For example in Europe you might have a CE mark and a WEEE logo. Once you have your design sorted you can run it up in your favourite label designing software – we used gLabels – and print as many as you like on sheets of sticky labels. We strongly suggest buying good quality branded labels, the extra money is well worth it when you consider that they will have much more reliable glue, and the extra cost per individual kit will be marginal. Pick a label size which fills a decent space and is easy to read on your packaging without being too big, we used 70mm x 37mm laser labels of which 24 can be had on a single sheet.
Your First Finished Product
If Hackaday made electronic kits, they might look a little like this.
It’s an exciting moment when you apply a label to your first fully packed kit and see for the first time what your customers will see: a finished product. You aren’t quite done though, because there is still the small matter of quality control. Take a kit or two from your batch at random, and count all their contents off against your list of what they should contain. This should help you ensure you are packing the kits correctly. Finally, give a completed kit to a friend who has never seen it before, and tell them to build it as a final piece of quality control. They are simulating your customer in every way, if they have no problems then neither should anyone who buys the kit.
Once you’ve built your batch of kits, you will now have the stock you will send out to your customers. Imagine yourself as a customer, if you order a kit you will expect it to arrive in pristine condition. You should therefore now take care of this stock of kits to ensure that it does not come to any harm, its packaging is as crisp and new when you send it out as when you packed it, and it has not attracted any dust while in storage. We would suggest having a separate plastic box for the stock of each kit in your range, and protecting the kits from dust with a lid, or by storing them inside a larger plastic bag.
As we’ve worked through this series of articles, we’ve tried to give you a flavour of the process of bringing an electronic kit from a personal project to the masses. We’ve looked at learning about the market for your kit, we’ve discussed turning a project into a product before writing the best instructions possible and now stuffing your first kits ready for sale. In the next article in the series we’ll talk about how you might sell your products, the different choices open to you for online shops, marketplaces, and crowdfunding.
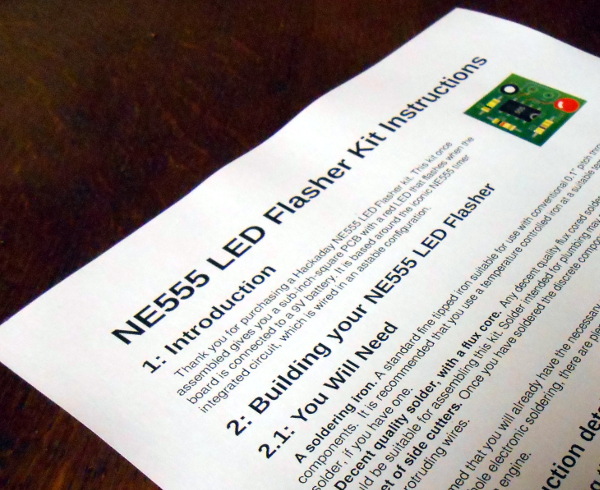
A printed copy of the instructions for our example kit
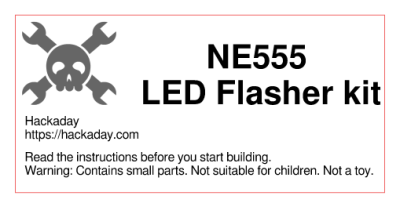
We’ve had two previous articles in this series on turning a personal electronic project into a saleable kit, in which we’ve examined the kit market in a broader context for a new entrant, and gone on to take a look at the process of assembling the hardware required to create a product. We’ve used an NE555 LED flasher as a simple example , from which we’ve gone through the exercise of setting a cost of production and therefore a retail price.
The remaining task required to complete our kit production is to write the documentation that will accompany it. These will be the instructions from which your customers will build the kit, and their success and any other customers they may send your way will hang on their quality. So many otherwise flawless kits get this part of the offering so wrong, so for a kit manufacturer it represents an easy win into which to put some effort. Continue reading “From Project To Kit: Instructions Are Everything”→
In the previous article in this series on making a personal electronic project into a saleable kit, we looked at the broader picture of the kit market for a new entrant, the importance of gauging whether or not your proposed kit has a viable niche and ensuring that it has a good combination of buildability, instructions, and quality. In this article we will look at specifying and pricing the hardware side of a kit, illustrating in detail with an example project. The project we’ve chosen is a simple NE555 LED flasher which we haven’t built and have no intention of assembling into a kit for real, however it provides a handy reference project without the circuit itself having any special considerations which might distract from the job at hand.
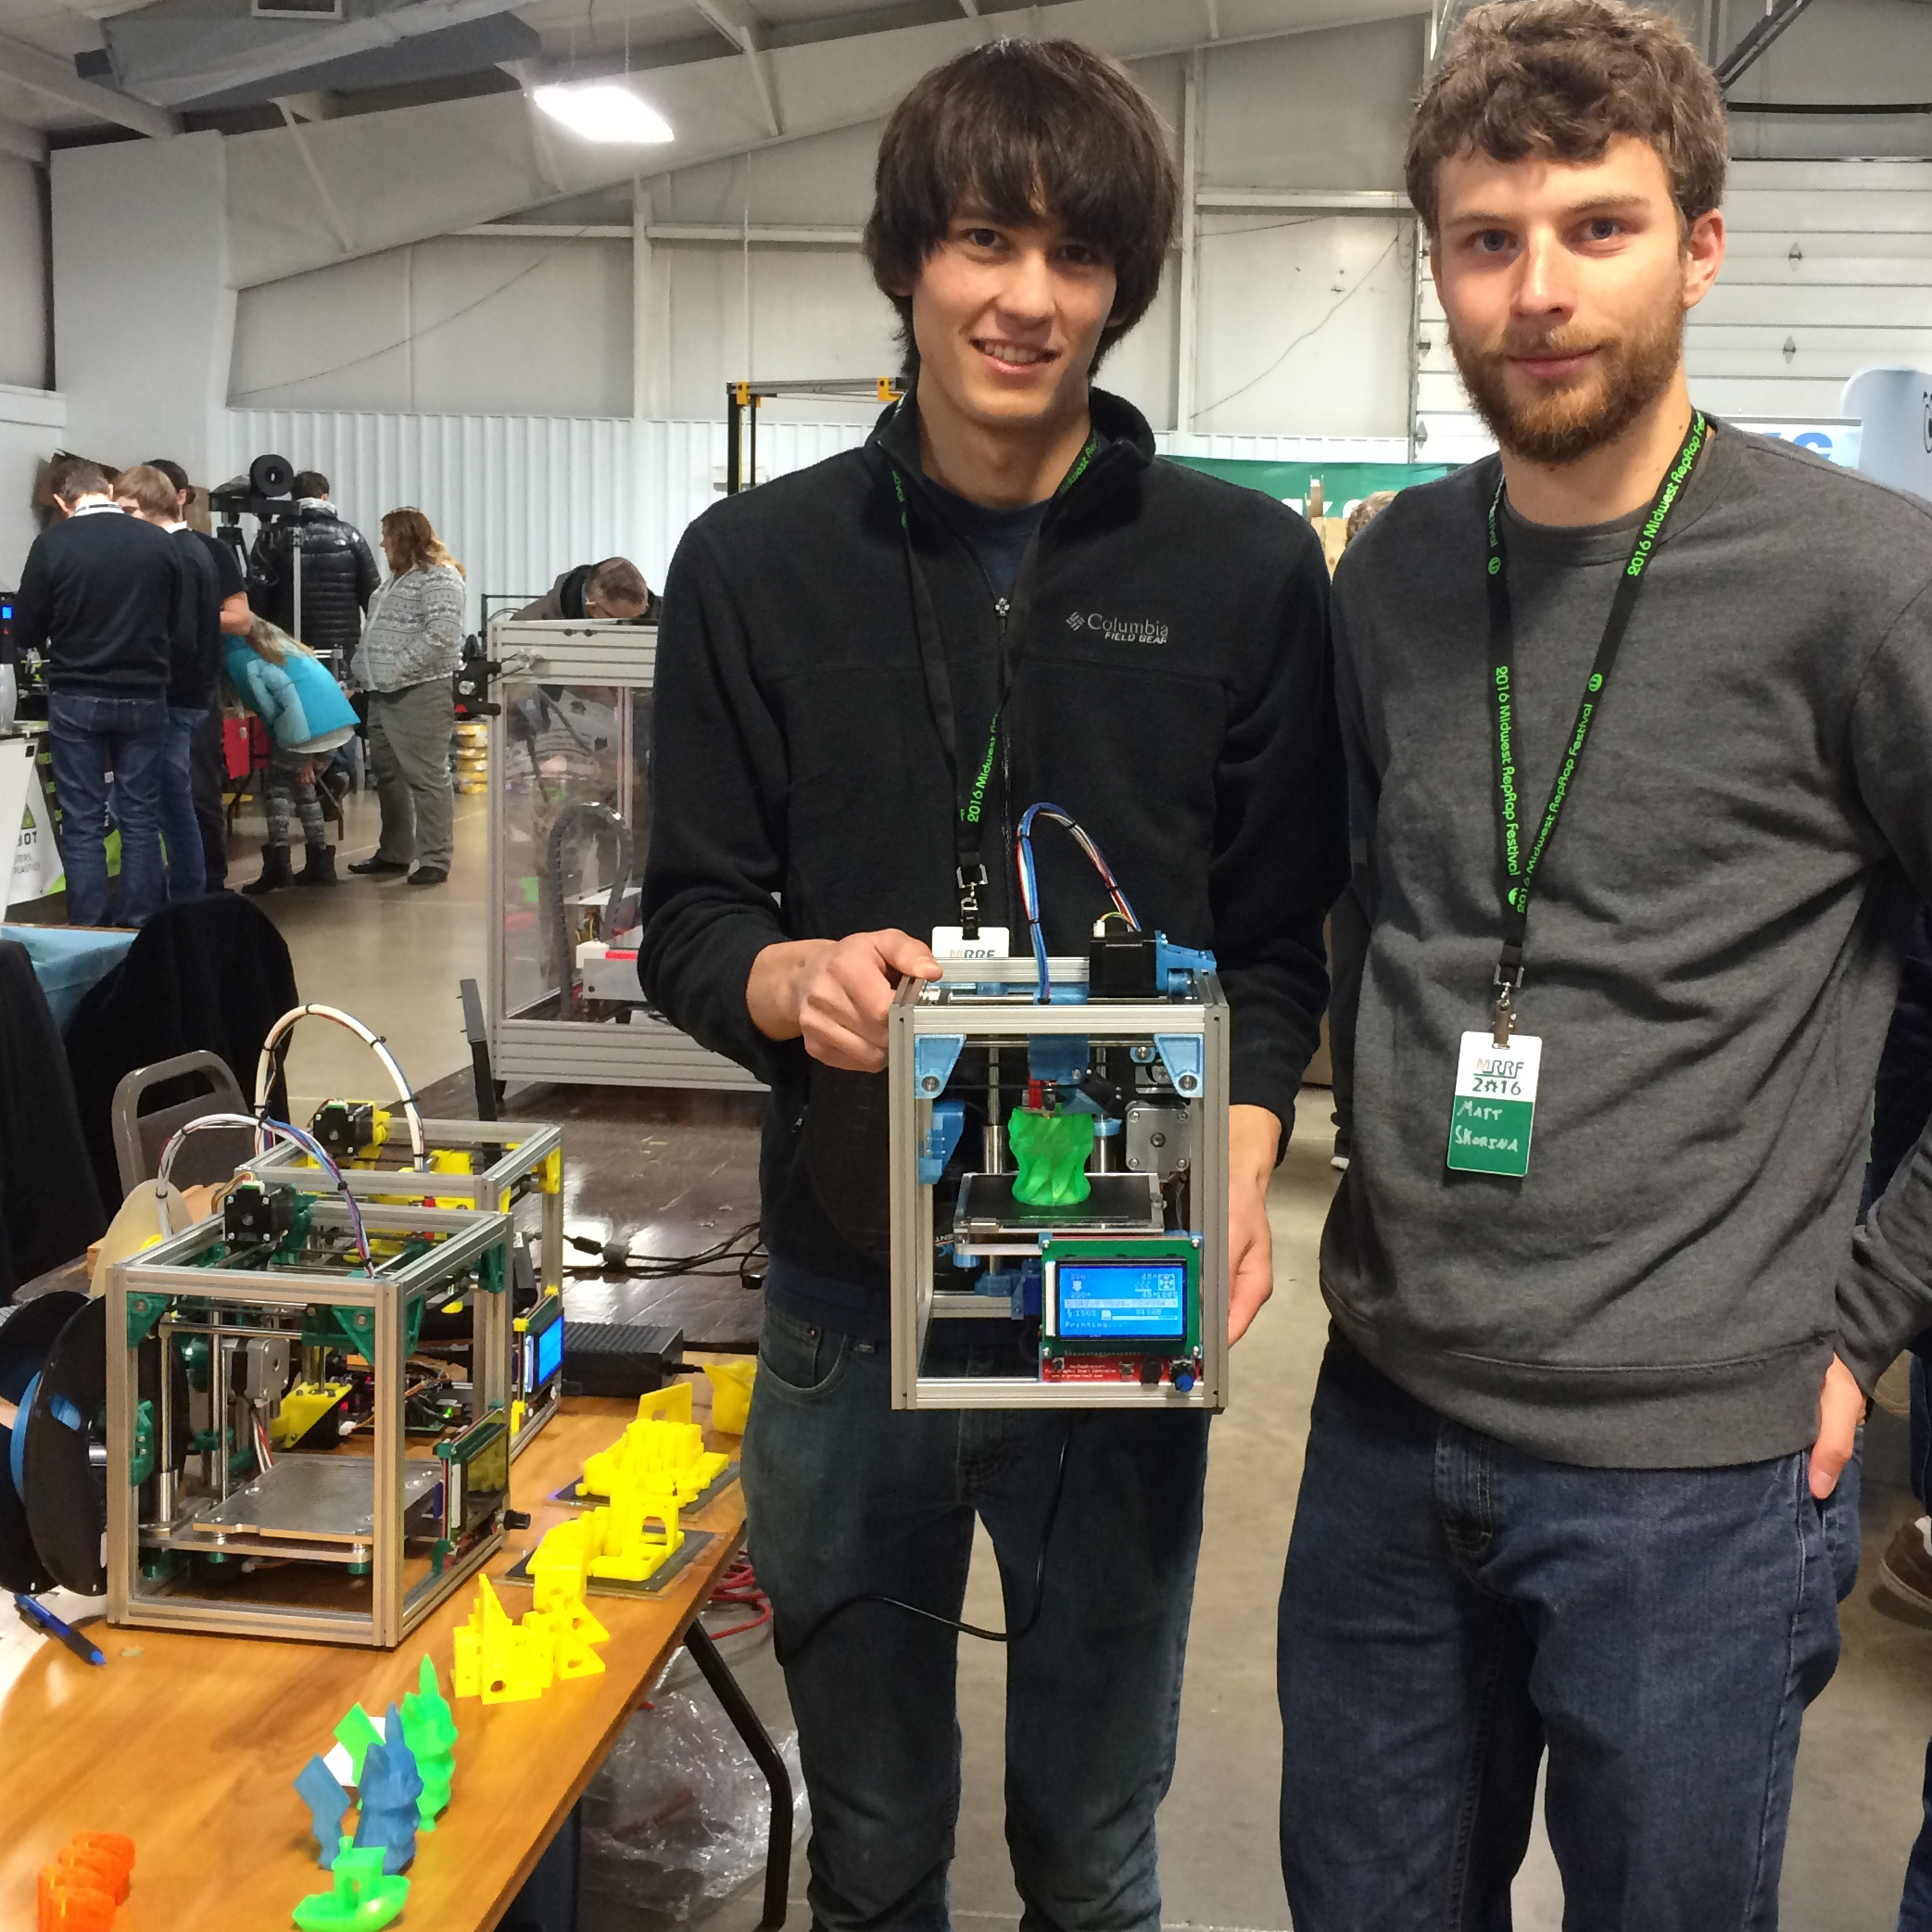
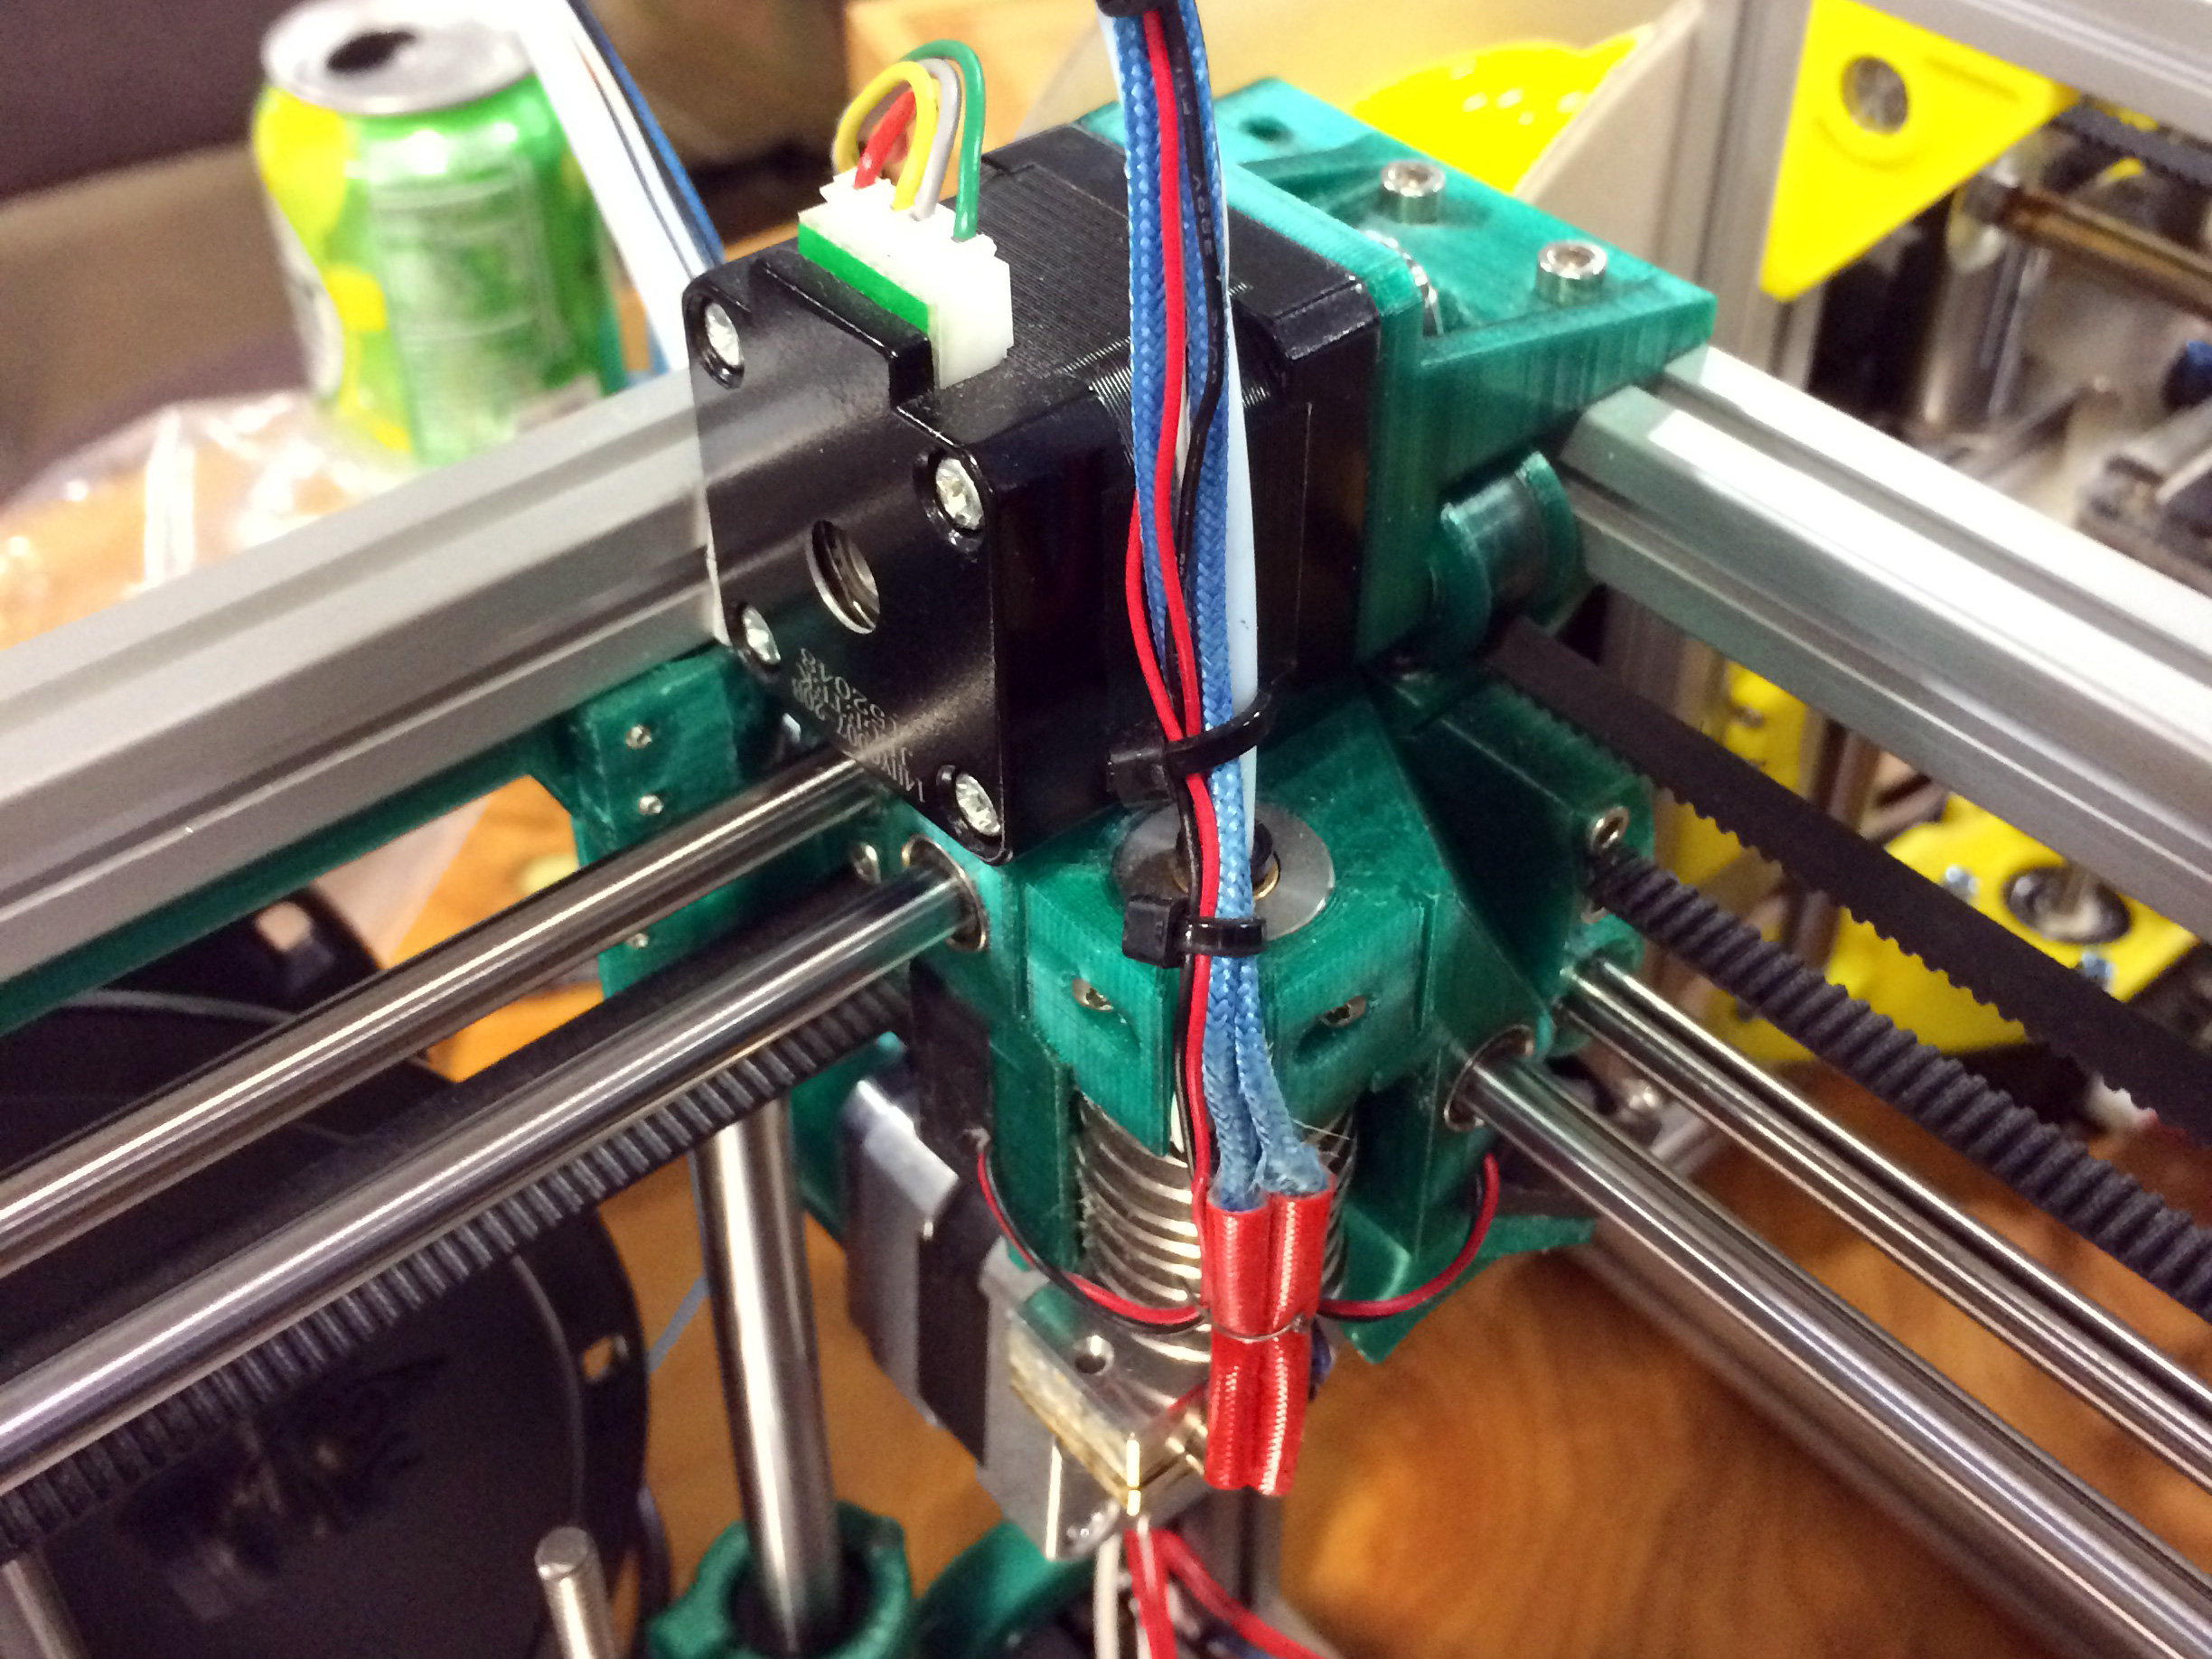
Patrick and Matt hold a running Kitten Printer. The frame is stiff enough that the printer can be held or turned upside down and it can keep printing without visible defects in the print.
[Patrick] and [Matt] have been coming to the Midwest RepRap Festival from Minneapolis for the past few years and bringing their trusty Tantillus printers with them. However, sometime between this year and the last [Patrick] decided that it would be really fun to make his own 3D printer, and liking the size and accuracy of the Tantillus, started there.
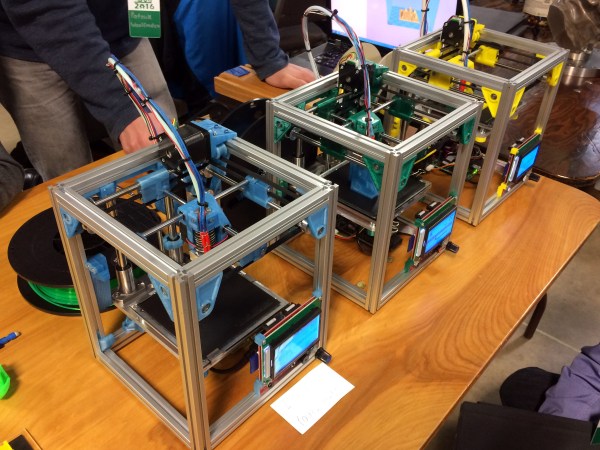
The adorably sized printer is adorably named too: Kitten 3D printer. The printer is certainly an enthusiast’s choice. It’s expensive at 1200 and small, but very well made. Its one big advantage? It prints really accurate parts.
The Tantillus also printed well, but the extruder left a lot to be desired, and the low stretch fishing line movement was very difficult to get tensioned just right. The secret behind the Tantillus and Kitten’s great print quality, aside from good design, is the small xy movement and low weight of the extruder set-ups. By having a movement over a very small range, cumulative errors in construction never get to add up. Also vibrations are less likely to show and smaller moments on the joints mean less flex at the extremes of the movements.
Really stunning print quality almost entirely free of ringing and z-wobble. 100mm x 100mm tray. These are very small parts.
[Patrick] is a mechanical engineer for his day job, and since this was a just for fun printer, he cut no corners. The frame is made with Misumi extrusions and linear movements. The build plate sits on a machined aluminum plate. It’s not flexing or going anywhere.
Part of what really stood out to me about the printer are a lot of neat little features which show careful thought. For example, the extruder movement sits neatly under one of the motors. All the parts except for one can be printed inside its build envelope without support. It uses around 200g of plastic. Every axis is constrained just enough, rather than the common tendency to over constrain that plagues 3D printer design. The spec sheet reads like my printer part wishlist: Bondtech extruder, Rambo board, E3d nozzle, heated bed, flat borosilicate build plate, name brand linear movements, and a well designed Z.
The entire extruder assembly tucks under one of the XY motors at the corner of its movement. Compare its size to the size of a NEMA14 stepper motor.
Another interesting aspect of the design is the extremely light extruder assembly. The lighter an extruder can get, the less ringing will show in your parts at speed. This is one of the most compact designs I’ve witnessed. It consists of two fans, an E3d v6 lite nozzle, and two small linear bearings. The cold end is handled by a bowden set-up and a Bondtech extruder at the back of the printer. The only way to get it lighter would be a different nozzle, such as the upcoming insanely light 13g Pico from B3 unveiled at the festival. I was also interested to see that the bearings on the supporting rails were printed bushings to keep the weight even lower. [nop head] has tested these extensively, they should be fine as long as the rods have a good finish.
I’ve mentioned the size before, but it’s hard to grasp just how adorable this printer is without seeing it. The build envelope is 100mm x 100mm x 100mm, the printer itself is 200mm x 200mm x 240mm. That’s only 50mm wider than the build footprint. It’s a really fun design just to look at and see how they fit it all in there. There are lots of neat little tricks with belt routing and part design to get it all right.
For the enthusiast this would make a good small parts printer and travel printer. However, for me, it was neat to see people still setting out to try designing their own printer. In some ways the 3d printer movement has become crowded with Chinese knock-offs, and I was excited to see something new at the festival. It wasn’t the only new printer design there, but it stood out to me the most. I like the uncompromising nature of it, many people try to design for the lowest BOM and not the nicer print. There are still lots of low-hanging fruit in the 3d printer world and many of them are just getting the mechanics right.
PLA Bushing
Seriously serious Z.
[Patrick] and [Matt] came to the festival with their printer to see if people would like it. They didn’t have grand dreams of selling tons of printers and making millions. They were quite aware that their price point and the small size made it not for everyone. However, their table always had a small crowd. They just really like 3D printers, and that honesty resonated. They didn’t even have a website up at the start of the convention, but by the end they had gotten so many requests they had to oblige. They expect to have 3 kit options available by the end of April. If you’re interested there’s a mailing list sign up on their website. Let’s hope we see them at MRRF again next year with another cool design to look over.
Robots and DIY electronics kits have a long history together. There probably isn’t anyone under the age of forty that hasn’t had some experience with kit-based robots like wall-hugging mouse robots, a weird walking robot on stilts, or something else from the 1987 American Science and Surplus catalog. DIY robot kits are still big business, and walking through the sales booths of any big Maker Faire will show the same ideas reinvented again and again.
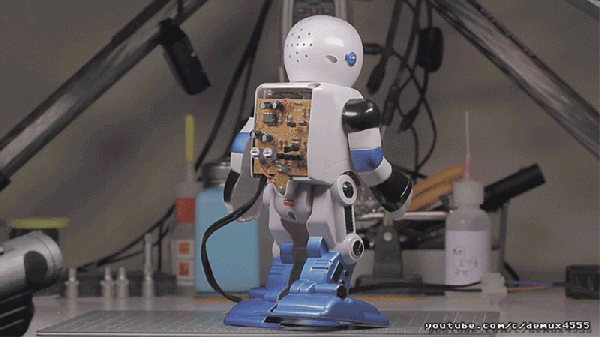
[demux] got his hands on what is possibly the worst DIY electronics kit in existence. It’s so incredibly bad that it ends up being extremely educational; pick up one of these ‘introduction to electronics’ kits, and you’ll end up learning advanced concepts like PCB rework, reverse engineering, and Mandarin.
Heathkit, the storied purveyor of high-quality DIY electronics kits that inspired a generation of enthusiasts and launched the careers of many engineers, has returned from the dead. We think. At least it seems that way from this build log by [Spritle], an early adopter of the rebooted company’s first offering. But if [Spritle]’s experience is any indication, Heathkit has a long way to go to recreating its glory days. Continue reading “Heathkit’s Triumphant Return?”→


 You can now seal the bag or box, the kit is packed. It only remains to give it a label that has all the pertinent information and is attractive to the customer. You will probably want to put your logo or web address on the label as well as any small print required, alongside the most important feature — the kit description. We’ve put a warning about small parts and curious children, you may also want to put any reglatory or compliance information here. For example in Europe you might have a CE mark and a WEEE logo. Once you have your design sorted you can run it up in your favourite label designing software – we used