Gaming on a Nintendo DS can bring back great memories of long car trips from the past. But looking back, we remember wishing to play more than the DS could ever hope to handle. [fami] looks into the SuperCard DSTWO in her recent video, a solution to our past sorrows.
Able to play anything from the very games designed for the DS to emulated PS1 games, the DSTWO is more than capable of surpassing the abilities of the DS itself. More impressively, all games are run directly from the cartridge itself rather than on the DS’s hardware. While this emulated console within a handheld is impressive, it is far from simple to get running.
The DSTWO runs with an Ingenic JZ4732 as the CPU, completely different from any native architecture of the DS. Pair this with the unhelpful SDK made for the cartridge, and the aging hardware is held together by the community development behind any improvements. This is aided by the CPU similarities of another widely modded game console, the Dingoo A320.
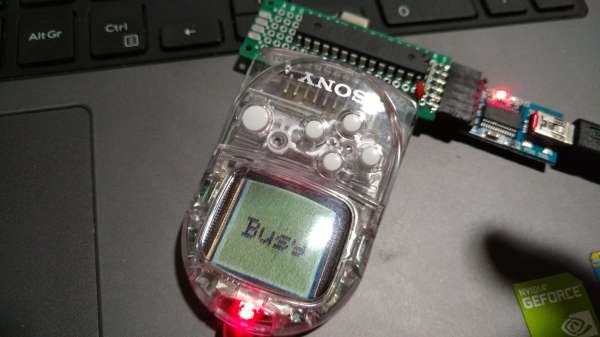
When not having a fit, and after going through hours of troubleshooting, you might find the DSTWO running a game of SimCity 2000 or even Spyro the Dragon inside a DS. Even with the difficulties of use, the fact that these games run at all is impressive. If you want to try the DSTWO emulation yourself, check out the forums.
This is far from the only example of extreme care going into emulation. Here at Hackaday, we have covered similarly impressive projects such as this completely DIY handheld made for any retro game emulation you throw at it.
Continue reading “Running An Entire PS1 Emulator In A DS Cartridge”