There are a number of famous (yet fictional) sea monsters in the lakes and oceans around the world, but in the Caspian Sea one turned out to be real. This is where the first vehicles specifically built to take advantage of the ground effect were built by the Soviet Union, and one of the first was known as the Caspian Sea Monster due to the mystery surrounding its discovery. While these unique airplane/boat hybrids were eventually abandoned after several were built for military use, the style of aircraft still has some niche uses and can even be used as a platform for autonomous drones.
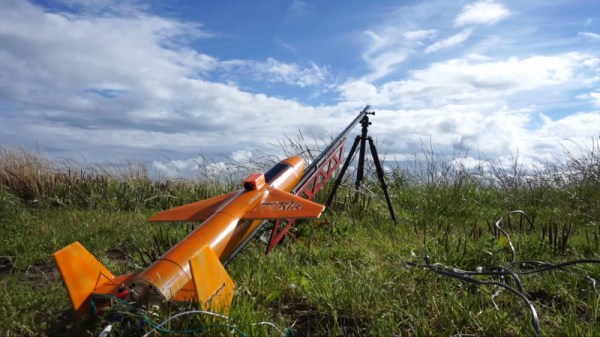
This build from [Think Flight] started off as a simple foam model of just such a ground effect vehicle (or “ekranoplan”) in his driveway. With a few test flights the model was refined enough to attach a small propeller and battery. The location of the propeller changed from rear-mounted to front-mounted and then back to rear-mounted for the final version, with each configuration having different advantages and disadvantages. The final model includes an Arudino running an autopilot program called Ardupilot, and with an air speed sensor installed the drone is able to maintain flight in the ground effect and autonomously navigate pre-programmed waypoints around a lake at high speed.
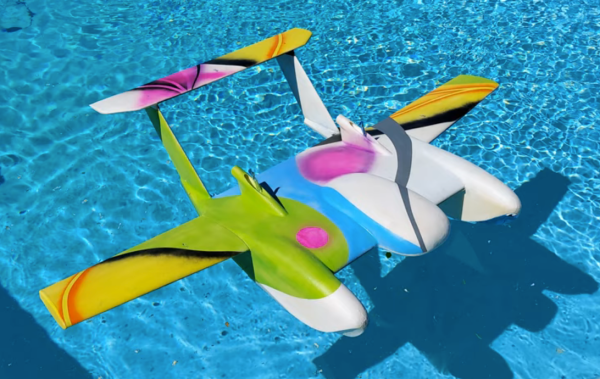
For a Cold War technology that’s been largely abandoned by militaries in favor of other modes of transportation due to its limited use case and extremely narrow flight tolerances, ground effect vehicles are relatively popular as remote controlled vehicles. This RC ekranoplan used the same Ardupilot software but paired with a LIDAR system instead of GPS to navigate its way around its environment.
Thanks to [TTN] for the tip!