New Nook Says: No Root For You!

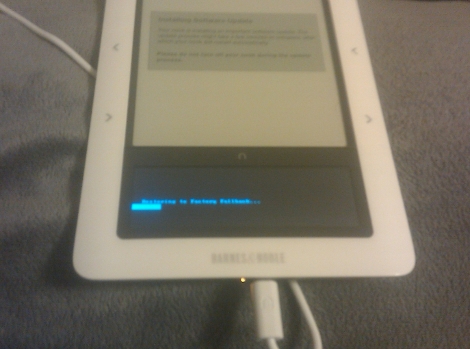
That is a blurry image of a Barnes & Noble Nook eReader stuck in an infinite reboot loop. This is the result of trying to downgrade the firmware to 1.0 in preparation to soft-root the device. So after a few failures the device will recover itself, right? It doesn’t look that way. No problem, don’t you just pop it open and re-write the OS to the SD card inside to do a hardware root? Nope, it looks like the newest hardware revision has replaced that convenient SD card with a memory chip.

For now it’s a brick, but we’re sure there will soon be a way to fix this. A bit of solder, some wires, and a reflash should work much in the same way an EEPROM recovery does. That is, if you have an original image to work with.

So for now, be careful not to attempt to root your nook if the serial number starts with 1003.

[Thanks Ken]

YM2149 Gets New Life

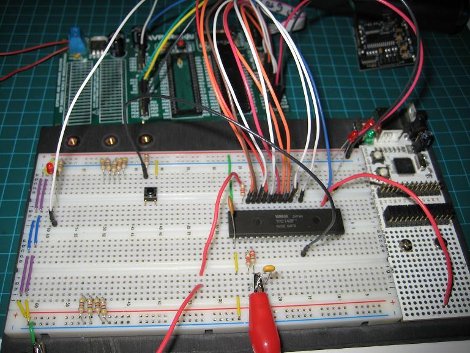
[MicroMinded] took us way back to our childhoods with his experiments and subsequent YMstream music player based on the Yamaha YM2149 sound generator used in old arcade systems, computers, and even phones (think chiptune). This reminds us of the Chipophone, only this time the sound is achieved from ICs used back in the day, rather than MCU waveforms.

There is still some work to be done to make the music player have a bit more functionality, but for now source is available if you want to make your own. Of course you might come across a small problem; finding an SSG is a tad bit more difficult than say, an Arduino. If a good resource is found, please share it in the comments!

[Thank you Andrew Kretschmer for sending in the chiptune mp3s]

Google Maps Wristlet Navigator

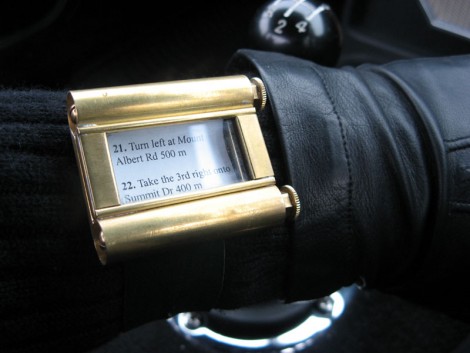
This on-wrist navigation system uses Google Maps and something called… paper. This is a throwback to scroll-based directions from the 1920’s and 30’s that [Simon] built. He soldered a couple of brass tubes to a brass back plate, then added sides and a face crystal. Now he prints out step by step direction from the popular mapping website and winds them onto scrolls. We’re not sure that we’d take the time to do this, but hey, at least the screen resolution is fantastic and you don’t have to worry about battery life.

Hacked AC And Ash Filter

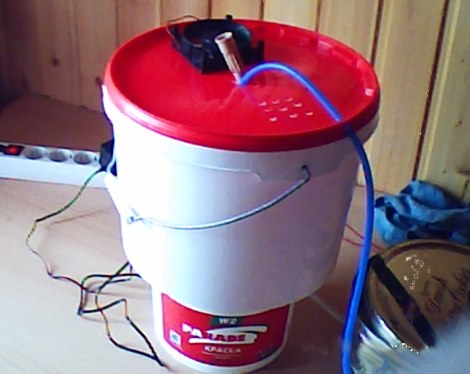
Moscow is in a bit of a hot spot right now, dealing with a heat wave and enormous wildfires. The combination of smoke, ash, and heat was driving Andrew up a wall so he built a contraption to provide some relief. It has two chambers, the bottom houses ice water, the top is an air baffle. A small DC fan pumps air into the upper chamber where it encounters the water being sprayed in from the lower reservoir. What results is a heat exchange similar to other diy AC setups we’ve seen. But Andrew also notes that after running the device for a while the smell of smoke and ash is gone. Can this setup be seen as an effective way to trap airborne smoke particles?

Portable WiFi Penetration Testing

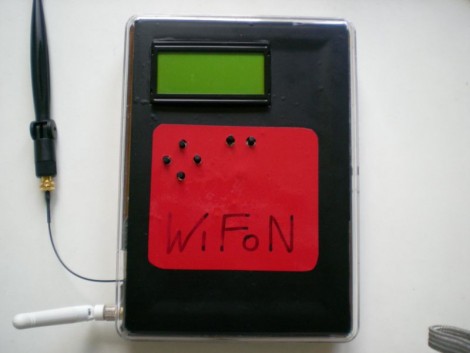
Inside this box you’ll find a La Fonera wireless access point. [Emeryth] and his band of miscreants built this portable device for WiFi security testing. The AP is running OpenWRT and has been set up to use the 16×4 character display as a terminal. An ATmega88 connects the LCD as well as six buttons to the UART of the La Fonera. From there, a set of Ruby scripts takes care of the communication protocol. As you can see after the break, this setup allows you to scan the area for WiFi, showing channel, SSID, and MAC information. Although not specifically outlined in the video we suspect there’s some more devious tricks up its sleeve too.

Continue reading “Portable WiFi Penetration Testing”

RS232 And RS485 Networking – No Code Required

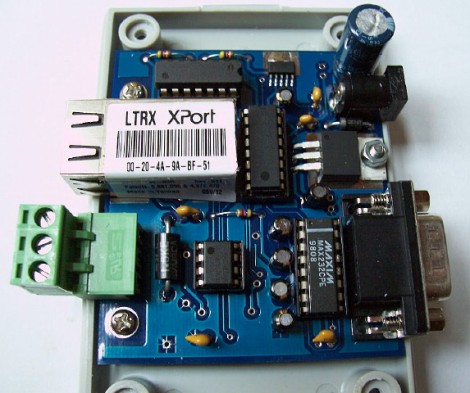
Here’s a serial to Ethernet module that you won’t have to write firmware to build. It uses a Lantronix XPORT module which takes care of all the work for you, including an embedded webserver. Both RS232 and RS485 data buses are connected to the XPORT serial input via a level converter to step the signal down to 3.3V. This solution comes at a price because of the ethernet module, but it would make a nice prototyping tool for testing projects that work on the two serial protocols.

Building A Yagi-Uda Antenna

[Tommy Gober] built this Yagi-Uda antenna that has some handy design features. The boom is a piece of conduit with holes drilled in the appropriate places. The elements are aluminum arrow shafts; a good choice because they’re straight, relatively inexpensive, and they have #8-32 screw threads in one end. He used some threaded rod to connect both sides of the reflector and director elements. The driven elements are mounted offset so that a different machine screw for each can be connected to the appropriate conductor of the coaxial cable. The standing wave ratio comes in right where it should meaning he’ll have no trouble picking up those passing satellites as well as the International Space Station.