Raspberry Pi Tracks Starter Fermentation For Optimized Sourdough

Those of you who’ve never had a real sourdough have never had real bread. Good food fights back a little when you eat it, and a proper sourdough, with its crispy crust and tangy center, certainly fits the bill. Sourdough aficionados, your humble writer included, all have recipes that we pretend are ancient family secrets while in reality we’re all just guessing. Sourdough is partly science, partly art, but mostly delicious black magic.

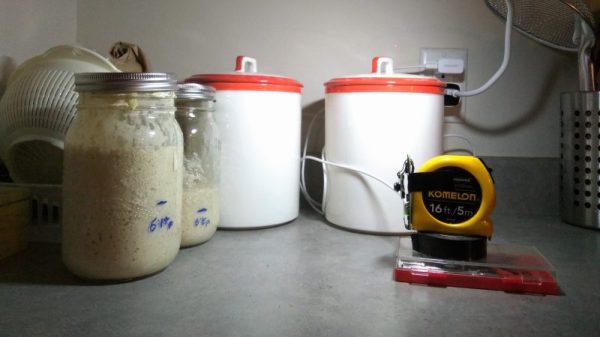
In an effort to demystify his sourdough process, [Justin Lam] has gone digital with this image processing sourdough starter monitor. Sourdough breads are leavened not by the addition of brewers yeast (Saccharomyces cerevisiae), but by the inclusion of a starter,  a vibrant ecosystem of wild yeasts that is carefully nurtured, sometimes for years. Like any other living thing, it needs to be fed, a task that should happen at the point of maximum fermentation. Rather than guess when this might be, [Justin] used a Raspberry Pi Zero and PiCam to capture a time-lapse video of the starter as the beasties within give off their CO₂, thus expanding it up inside its container. A little Python does the work of thresholding and finding the top of the starter as it rises, allowing [Justin] to plot height of the starter over time. He found that peak height, and therefore peak fermentation, occurs about six hours after feeding. He has used his data to better inform his feeding schedule and to learn how best to revive neglected starters.

Surprisingly, this isn’t the first time we’ve discussed sourdough here. It seems that someone uses Git for iterative sourdough recipe development, and we once featured a foundry made from a pyrolyzed loaf of sourdough.

Continue reading “Raspberry Pi Tracks Starter Fermentation For Optimized Sourdough”

Literary Camouflage For Your Router

What is suspicious about the books in the image above? Is it that there is no bookend? How about the radio waves pouring out of them? [Clay Weiland] does not like the way a bare router looks in the living room, but he appreciates the coverage gained by putting it in the middle of his house. He added a layer of home decorating camouflage in the form of some second-hand book covers to hide the unsightly bit of tech.

There isn’t a blog post or video about this particular build anywhere. The photos were submitted to our tip line as-is with the note that a table-saw is involved. We can safely infer that book covers are stripped of their pages and filled with wooden blanks painted white and stuck together to look like a cluster of literature. The takeaway from this example is that our tech does not have to be hidden away like a secret, or disrupt the decor, it can be placed as functionally as possible without sacrificing Feng Shui.

If hiding behind books piques your interest, try a full-fledged version, or this smooth operator.

Thank you, [George Graves], for encouraging people to use our tip line.

Smelting aluminum in a microwave oven

A Different Use For Microwave Oven: Melting Aluminum

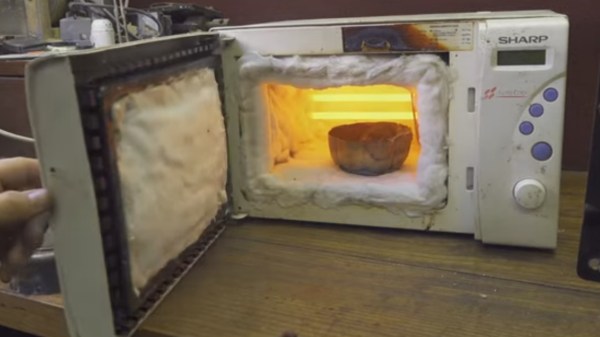
Microwave ovens are a treasure trove of useful parts: transformers, an HV capacitor, a piezo speaker, and a high torque motor, to name just a few. In a new twist, [Rulof Maker] strips all that out and uses just the metal case to make a furnace for melting aluminum, copper and bronze.

His heat source is a quartet of 110 volt, 450 watt quartz heating elements which he mounts inside in the back. To reduce heat loss, he lines the walls with ceramic fiber insulation. Unfortunately, that includes covering the inside of the window, so there’s no pressing your nose against the glass while you watch the aluminum pieces turn to liquid. If you’re going to try making one of these yourself then you may want to consider adding a fuse.

It does the job though. In around nine minutes he melts enough scrap aluminum in a stainless steel bowl to pour into a mold for a test piece. But don’t take our word for it, see for yourself in the video below.

If want more information on what useful parts are inside then check out this primer. Or you can leave the parts in and use the oven as is for melting lead, but keep a fire extinguisher handy.

Continue reading “A Different Use For Microwave Oven: Melting Aluminum”

Pool Ball Return System Chalked Up To Ingenuity

Do you play pool? If so, you probably take the automatic ball return systems in bar and billiard hall tables for granted. [Roger Makes] was tired of walking around his home table to collect the balls every time he wanted to play, so he designed a time-saving ball return system.

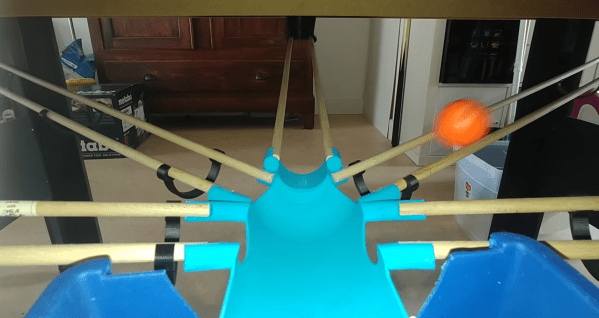
Instead of falling into the little netted baskets that came with the table, the balls now drop into 3D-printed pockets and ride along dowel rod rails into a central collection box, which is suspended by straps beneath the rack-em-up end of the table. The rails themselves are fortified with ABS ribs that keep the balls from falling through.

Pool is all about geometry, and this really hit home when [Roger] was trying to merge the funnel part of the pocket with the exit chute in the design phase. He covered all the angles with a modular design that lets the chute rotate freely, which takes a lot of stress away from the dowel rods. We’ve got the video cued up after the break, so don’t bother with getting out your film canister full of quarters.

We can’t wait to see what [Roger Makes] next. Maybe it’ll be something like this OpenCV score-keeping system.

Continue reading “Pool Ball Return System Chalked Up To Ingenuity”

Improving Indoor Navigation Of Robots With IR

If the booths at CES are to be believed, the future is full of home robots: everything from humanoid robots on wheels to Alexas duct taped to a Roomba. Back in reality, home robots really aren’t a thing yet. There’s an obvious reason for this: getting around a house is hard. A robot might actually need legs to get up and down stairs, and GPS simply doesn’t exist indoors, at least to the accuracy needed. How on Earth does a robot even navigate indoors?

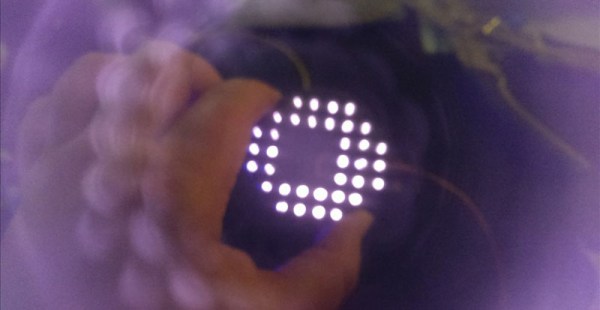
This project for the Hackaday Prize solves the problem of indoor navigation, and it does it in an amazingly clever way. This is using QR codes for navigation, but not just any QR codes. They’re QR codes read by an infrared camera, and painted on the walls and ceilings with a special IR sensitive paint that’s invisible to the human eye. It’s navigation for robotic vision, and it’s a fantastic idea.

The basic idea behind this project is to use an IR camera — or basically any webcam with the IR blocking filter removed — and a massive amount of IR LEDs to illuminate any target. So far, the proof of concept works. A computer can easily read QR codes, and if paint is invisible to the human eye but visible to an IR camera, the entire project is merely a matter of implementation.

There have been a number of projects that try to add indoor navigation to robots. Some of them use LIDAR, some use computer vision and SLAM. These are computationally expensive. Some even use wireless beacons to navigate indoors like the SubPos Ranger from the 2016 Hackaday Prize. Using IR and QR codes is just so simple and hacker-friendly, and we think it’s fantastic.

After The Sun Set On San Mateo, LED Takes Over Hackaday’s BAMF Meetup

After this Spring’s Bay Area Maker Faire closed down for Saturday night and kicked everybody out, the fun moved on to O’Neill’s Irish Pub where Hackaday and Tindie held our fifth annual meetup for fellow Maker Faire attendees. How do we find like-minded hackers in a crowded bar? It’s easy: look for tables lit by LEDs and say hello. It was impossible to see everything people had brought, but here are a few interesting samples.

Continue reading “After The Sun Set On San Mateo, LED Takes Over Hackaday’s BAMF Meetup”

ESP8266 Home Computer Hides Unexpected Gems

With a BASIC interpreter and free run throughout their hardware, home computers like the ZX Spectrum and Commodore 64 used to be a pervasive way to light that hacker fire. With the advent of cheap single board computers like the Raspberry Pi, devices purpose built to emulate these classic systems have become fairly commonplace. [uli] built a device in this vein called the BASIC Engine which is driven by a microcontroller and a handful of hardware peripherals. Like other examples it can be attached to a keyboard, programmed in a BASIC, play video and sound, etc. But digging into the BASIC Engine reveals that it’s similarity to other devices is only skin deep.

The current version of the BASIC Engine (“rev2”) lives in a Raspberry Pi 3 case for convenience. It has RCA connectors for NTSC or PAL video output and mono audio, plus a bank of headers to tap into GPIOs, connectors for a keyboard, and more. [uli] wanted to aim for extreme low cost so a relatively beefy board like a Raspberry Pi didn’t fit the bill, and we expect it was an enjoyable challenge. Instead its interpreter runs atop an ESP8266 but with the networking stack removed. [uli] was disheartened by how bloated even a “Hello world” program was and ripped it out, discovering that hidden beneath was a very powerful and disproportionately inexpensive general purpose microcontroller. The video is driven by a VS23S010, sold as a 1 Mbit parallel SRAM with a neat trick; it also includes a composite video controller!

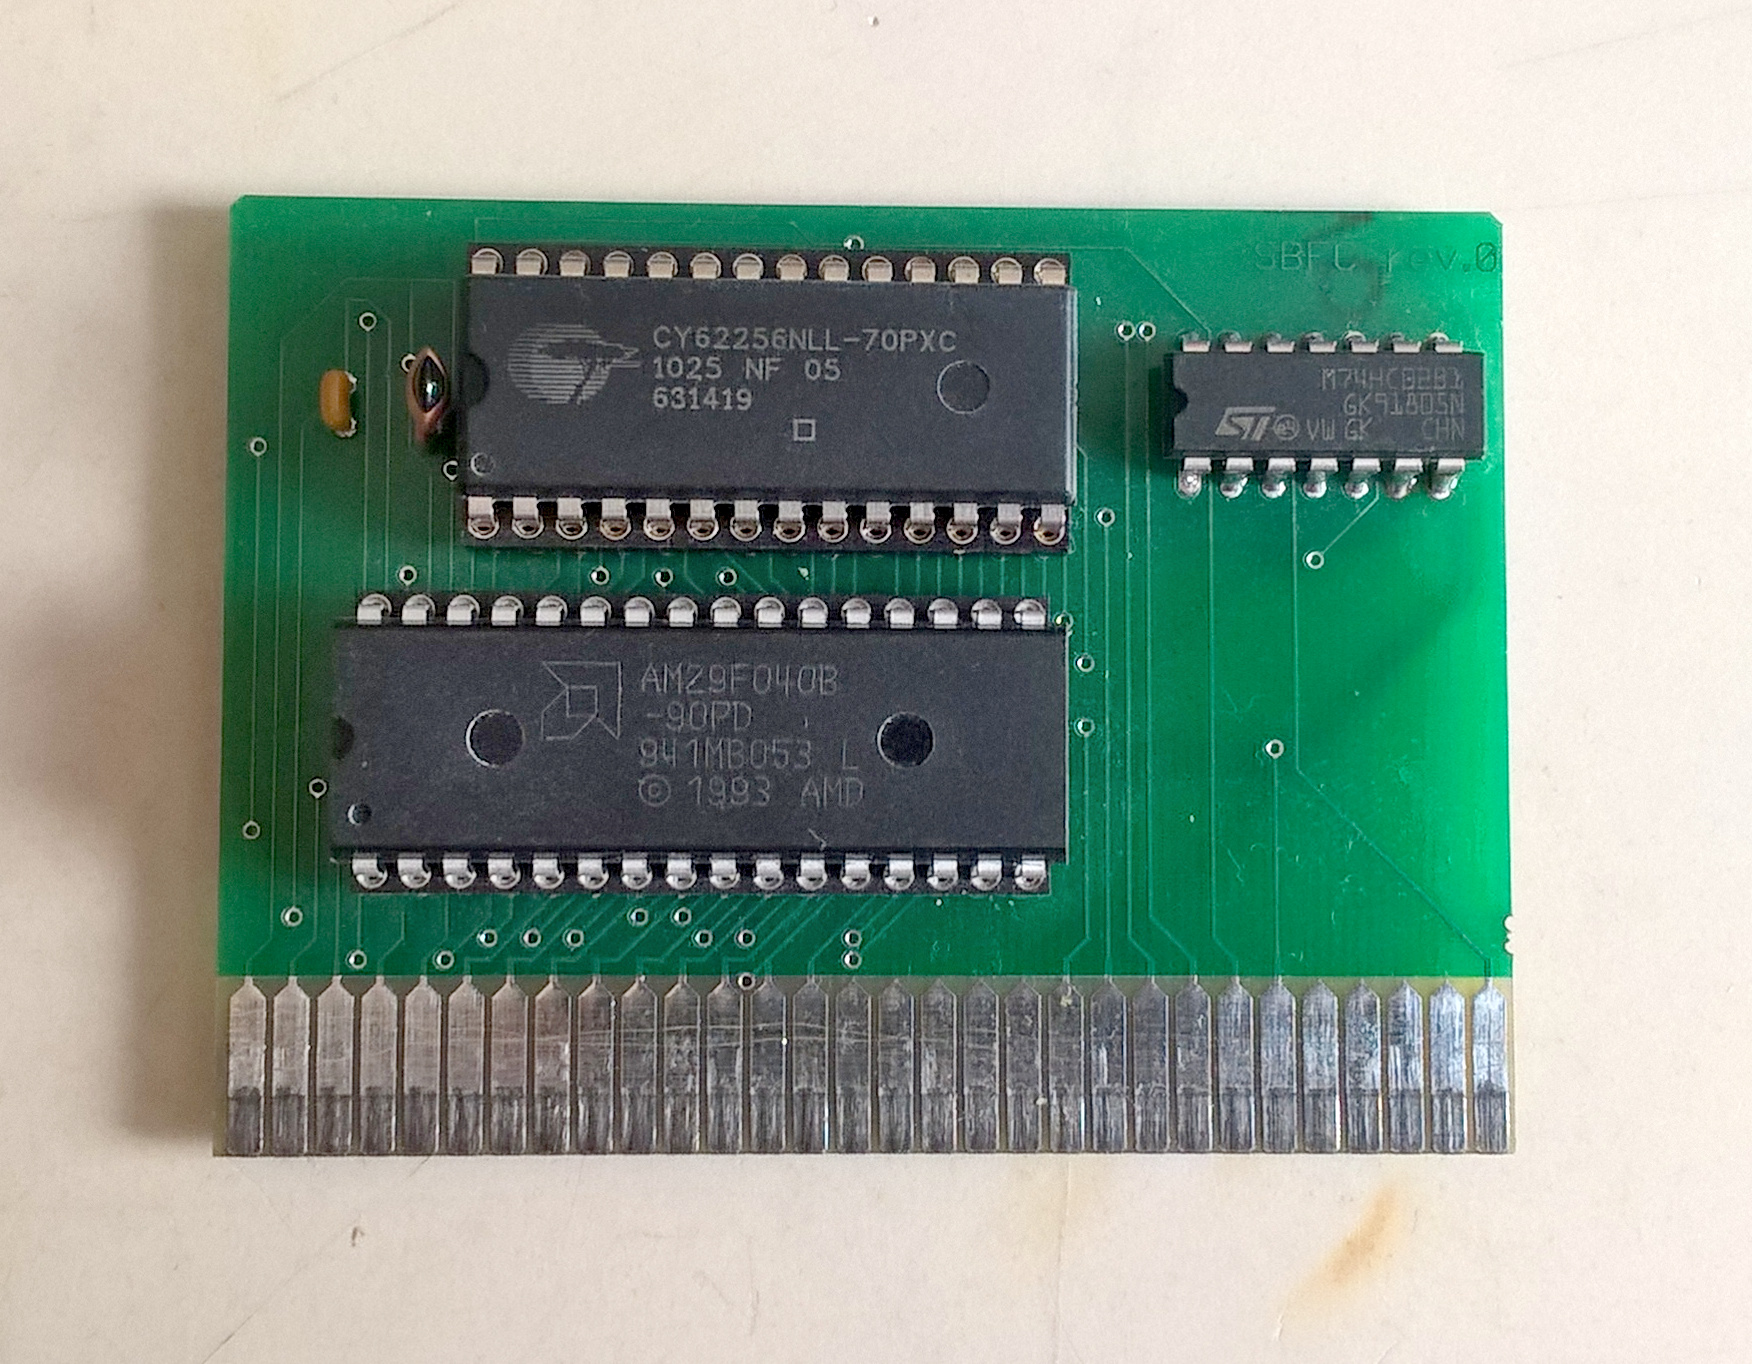
The real treat here is [uli]’s history writeup of how the BASIC Engine came to be. We’d recommend brewing a cup of coffee and sitting down for a full read-through. The first version was inspired by the PlayPower project, which was repurposing clones of Nintendo’s Famicom (NES to Americans) game console to make low cost home computers, complete with keyboard and gamepad input. [uli] started out by building a custom cartridge for a particular Famicom clone that ran a BASIC interpreter but after showing it to disinterested adults the project was left fallow. Years later, [uli] was encouraged to pick up the project again, leading down a twisted rabbit hole to where we are today.

If you want to build a BASIC Engine for yourself, Gerbers and build instructions are available on the pages linked above.

Thanks for the tip [antibyte]!