Move Aside Mercury: Measuring Temperature Accurately With An RTD

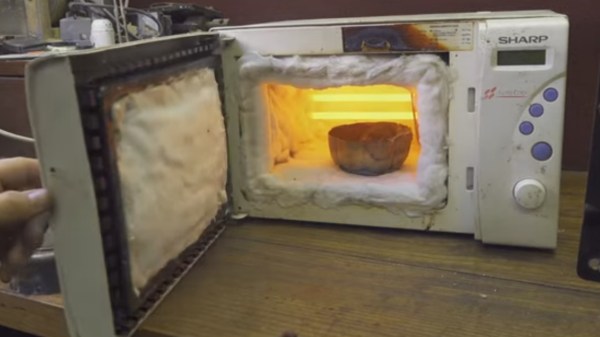
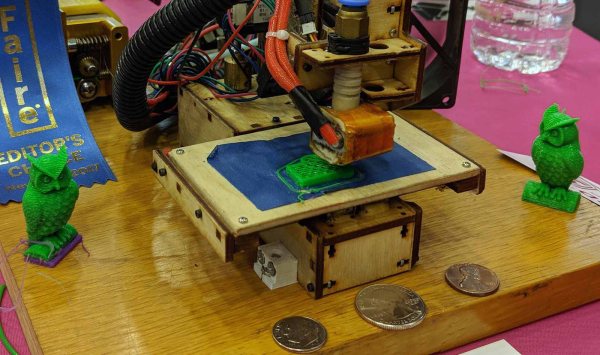
Temperature is one of the most frequently measured physical quantities, and features prominently in many of our projects, from weather stations to 3D printers. Most commonly we’ll see thermistors, thermocouples, infrared sensors, or a dedicated IC used to measure temperature. It’s even possible to use only an ordinary diode, leading to some interesting techniques.

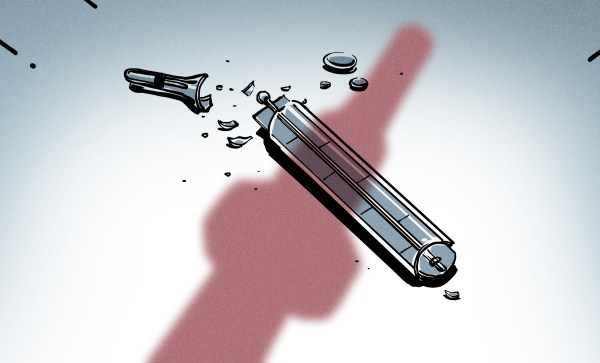
Often we only need to know the temperature within a degree Celsius or two, and any of these tools are fine. Until fairly recently, when we needed to know the temperature precisely, reliably, and over a wide range we used mercury thermometers. The devices themselves were marvels of instrumentation, but mercury is a hazardous substance, and since 2011 NIST will no longer calibrate mercury thermometers.

A typical Pt100 RTD probe

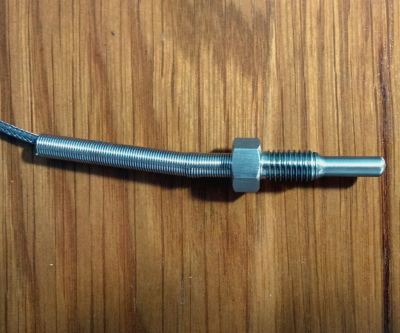
Luckily, resistance temperature detectors (RTDs) are an excellent alternative. These usually consist of very thin wires of pure platinum, and are identified by their resistance at 0 °C. For example, a Pt100 RTD has a resistance of 100 Ω at 0 °C.

An accuracy of +/- 0.15 °C at 0 °C is typical, but accuracies down to +/- 0.03 °C are available. The functional temperature range is typically quite high, with -70 °C to 200 °C being common, with some specialized probes working well over 900 °C.

It’s not uncommon for the lead wires on these probes to be a meter or more in length, and this can be a significant source of error. To account for this, you will see that RTD probes are sold in two, three, and four wire configurations. Two-wire configurations do not account for lead wire resistance, three-wire probes account for lead resistance but assume all lead wires have the same resistance, and four-wire configurations are most effective at eliminating this error.

In this article we’ll be using a 3-wire probe as it’s a good balance between cost, space, and accuracy. I found this detailed treatment of the differences between probe types useful in making this decision.

Continue reading “Move Aside Mercury: Measuring Temperature Accurately With An RTD”

Tiny Printers Get Color Mixing

Last weekend was the inaugural East Coast RepRap Festival in beautiful Bel Air, Maryland. Like it’s related con, the Midwest RepRap Festival, ERRF is held in the middle of nowhere, surrounded by farms, and is filled with only people who want to be there. It is the anti-Maker Faire; only the people who have cool stuff to show off, awesome prints, and the latest technology come to these RepRap Fests. This was the first ERRF, and we’re looking forward to next year, where it will surely be bigger and better.

One of the stand-out presenters at ERRF didn’t have a big printer. It didn’t have normal stepper motors. There weren’t Benchies or Marvins or whatever the standard test print is these days. [James] is showing off tiny printers. Half-scale printers. What’s half the size of a NEMA 17 stepper motor? A NEMA 8, apparently, something that isn’t actually a NEMA spec, and the two companies that make NEMA 8s have different bolt hole patterns. This is fun.

If these printers look familiar, you’re right. A few years ago at the New York Maker Faire, we checked out these tiny little printers, and they do, surprisingly, print. There are a lot of tricks to make a half-size printer, but the most impressive by far is the tiny control board. This tiny little board is just 2.5 by 1.5 inches — much smaller than the standard RAMPS or RAMBO you’d expect on a DIY printer. On the board are five stepper drivers, support for two heaters, headers for OLEDs and Graphic LCDs, and a switching regulator. It’s a feat of microelectronics that’s impressive and necessary for a half-size printer.

Since we last saw these tiny printers, [James] has been hard at work expanding what is possible with tiny printers. The most impressive feat from this year’s ERRF was a color-mixing printer built around the same electronics as the tiny printers. The setup uses normal-size stepper motors (can’t blame him) and a diamond-style hotend to theoretically print in three colors. If you’ve ever wanted a tiny printer, this is how you do it, and I assure you, they’re very, very cute.

Sunny Custom Keyboard Illuminates The Past

Ever wonder why keyboard number pads and telephone dials have reversed layouts? Theories abound, but the most plausible one is that, shrug, it just happened that way. And now we’re stuck with it.

Well, that answer’s not good enough for [Jesse], so he punched up his own keyboard design that combines the golden years of function-rich Sun and IBM keyboards with Ma Bell’s DTMF number arrangement. That’s right, Sundial has 24 function keys total, and the number pad matches Ma Bell’s all the way down to the asterisk/zero/octothorpe pattern on the bottom row. How do we know what the unlabeled ones are, you ask? It’s all mapped out in this layout editor. We love that it has all the key lock indicator lights, because that practice should’ve never faded out in the first place.

Though inspired by this beautiful unicorn of an Arduino keyboard we covered a few months ago, the Sundial uses a Teensy 2.0 to translate [Jesse]’s Cherry MX clone-driven wishes into software commands. It’s also painstakingly hand-wired, so here’s the build log for you to drool over. Just cover up your keyboard first.

Raspberry Pi Tracks Starter Fermentation For Optimized Sourdough

Those of you who’ve never had a real sourdough have never had real bread. Good food fights back a little when you eat it, and a proper sourdough, with its crispy crust and tangy center, certainly fits the bill. Sourdough aficionados, your humble writer included, all have recipes that we pretend are ancient family secrets while in reality we’re all just guessing. Sourdough is partly science, partly art, but mostly delicious black magic.

In an effort to demystify his sourdough process, [Justin Lam] has gone digital with this image processing sourdough starter monitor. Sourdough breads are leavened not by the addition of brewers yeast (Saccharomyces cerevisiae), but by the inclusion of a starter,  a vibrant ecosystem of wild yeasts that is carefully nurtured, sometimes for years. Like any other living thing, it needs to be fed, a task that should happen at the point of maximum fermentation. Rather than guess when this might be, [Justin] used a Raspberry Pi Zero and PiCam to capture a time-lapse video of the starter as the beasties within give off their CO₂, thus expanding it up inside its container. A little Python does the work of thresholding and finding the top of the starter as it rises, allowing [Justin] to plot height of the starter over time. He found that peak height, and therefore peak fermentation, occurs about six hours after feeding. He has used his data to better inform his feeding schedule and to learn how best to revive neglected starters.

Surprisingly, this isn’t the first time we’ve discussed sourdough here. It seems that someone uses Git for iterative sourdough recipe development, and we once featured a foundry made from a pyrolyzed loaf of sourdough.

Continue reading “Raspberry Pi Tracks Starter Fermentation For Optimized Sourdough”

Literary Camouflage For Your Router

What is suspicious about the books in the image above? Is it that there is no bookend? How about the radio waves pouring out of them? [Clay Weiland] does not like the way a bare router looks in the living room, but he appreciates the coverage gained by putting it in the middle of his house. He added a layer of home decorating camouflage in the form of some second-hand book covers to hide the unsightly bit of tech.

There isn’t a blog post or video about this particular build anywhere. The photos were submitted to our tip line as-is with the note that a table-saw is involved. We can safely infer that book covers are stripped of their pages and filled with wooden blanks painted white and stuck together to look like a cluster of literature. The takeaway from this example is that our tech does not have to be hidden away like a secret, or disrupt the decor, it can be placed as functionally as possible without sacrificing Feng Shui.

If hiding behind books piques your interest, try a full-fledged version, or this smooth operator.

Thank you, [George Graves], for encouraging people to use our tip line.

Smelting aluminum in a microwave oven

A Different Use For Microwave Oven: Melting Aluminum

Microwave ovens are a treasure trove of useful parts: transformers, an HV capacitor, a piezo speaker, and a high torque motor, to name just a few. In a new twist, [Rulof Maker] strips all that out and uses just the metal case to make a furnace for melting aluminum, copper and bronze.

His heat source is a quartet of 110 volt, 450 watt quartz heating elements which he mounts inside in the back. To reduce heat loss, he lines the walls with ceramic fiber insulation. Unfortunately, that includes covering the inside of the window, so there’s no pressing your nose against the glass while you watch the aluminum pieces turn to liquid. If you’re going to try making one of these yourself then you may want to consider adding a fuse.

It does the job though. In around nine minutes he melts enough scrap aluminum in a stainless steel bowl to pour into a mold for a test piece. But don’t take our word for it, see for yourself in the video below.

If want more information on what useful parts are inside then check out this primer. Or you can leave the parts in and use the oven as is for melting lead, but keep a fire extinguisher handy.

Continue reading “A Different Use For Microwave Oven: Melting Aluminum”

Pool Ball Return System Chalked Up To Ingenuity

Do you play pool? If so, you probably take the automatic ball return systems in bar and billiard hall tables for granted. [Roger Makes] was tired of walking around his home table to collect the balls every time he wanted to play, so he designed a time-saving ball return system.

Instead of falling into the little netted baskets that came with the table, the balls now drop into 3D-printed pockets and ride along dowel rod rails into a central collection box, which is suspended by straps beneath the rack-em-up end of the table. The rails themselves are fortified with ABS ribs that keep the balls from falling through.

Pool is all about geometry, and this really hit home when [Roger] was trying to merge the funnel part of the pocket with the exit chute in the design phase. He covered all the angles with a modular design that lets the chute rotate freely, which takes a lot of stress away from the dowel rods. We’ve got the video cued up after the break, so don’t bother with getting out your film canister full of quarters.

We can’t wait to see what [Roger Makes] next. Maybe it’ll be something like this OpenCV score-keeping system.

Continue reading “Pool Ball Return System Chalked Up To Ingenuity”