A LED Cube Designed For Easy Assembly

LED cubes are mesmerizing and fun, but they’re usually a pain to build. Not so with [burkethos]’s cleanly designed cube. 

Many cubes are put together in an elaborate sculptural style. Traditionally the leads of the LEDs are artistically bent and then hours are spent laboring over the future rainbow Borg cube. This build is more reminiscent of a motherboard or back plane design. The LEDs are surface mount units re-flowed onto a rake shaped PCB. At the base of each “rake” there’s a right angle male header. This is then soldered to base board which creates a reliable mechanical bond.

There are some downsides to this approach. For example, the PCBs occlude the LEDs at some viewing angles. However, this can be mitigated with careful placement in the room, or in one variation, mounting the cube at a different orientation so the rakes are horizontal rather than vertical.

Regardless, we appreciate this new take on an old project and can definitely see it having a more universal appeal than the kits that require a couple weeks of afternoons to finish.


The Boxy All-In-One Nintendo 64 Your 1990s Self Always Wanted

In 1997, chances are that if you didn’t have a Nintendo 64 already, you wanted one. (Never mind that the games cost the GDP of a small country.) It gave you both the supreme game designing talent of Shigeru Miyamoto and graphics that left the Sony behind. The trouble, though, was that like all consoles, the N64 required a large TV set and a load of wires. There was never a compact all-in-one version that integrated console, display, and speakers in the same package, and that was something [Mason Stooksbury] evidently considered to be a shame. A couple of decades late, he’s created the all-in-one Nintendo 64 appliance that the games giant never made in the ’90s, and we’re lucky enough to be able to take a look at it.

The starting point for the build is entirely in-period, the shell of a late-1990s Compaq CRT monitor. In the front goes a laptop display panel with a monitor conversion board, leaving plenty of space behind for a pair of full-size speakers. On top of the speakers sits a bare N64, with the controller ports brought out to the front panel below the screen. It’s not all retro though, there is also an HDMI converter and an HDMI output to drive a modern TV if desired. The N64 itself has an interesting backstory, it was his original console from back in the day that died following a lightning strike, and he brought it back to life decades later after some research revealed that the N64 PSU has a fuse.

Would an all in one ’64 have sold like hot cakes in ’97? Probably, and we’d be featuring all sorts of hacks on them today. As it is, portable N64s seem to feature most often here.

See How Wildly Different Air Conditioners Can Be (On The Inside)

Air conditioners are easy to take for granted. From refrigerators to climate control, most of us would miss them dearly if they disappeared. That’s part of what draws [Josh Levine]’s interest in air conditioners, and he has provided an interesting tour of several different units and how different they can be, despite all working in basically the same way.

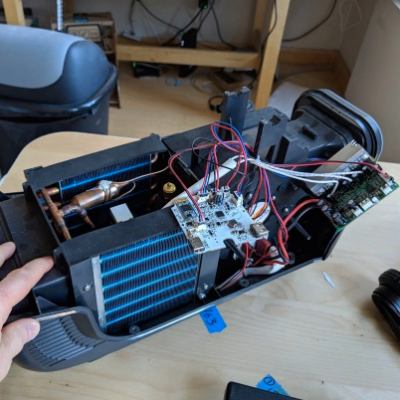
That white PCB is crucial (for running the bluetooth speaker and LED flashlight, that is.)

One way that air conditioners try to stand out is by being quiet, and the bulk of noise comes from the fans and the compressor. One unit (the Haier Serenity) aimed to be the quietest unit possible, but while this effort had mixed results at best it is still interesting to see [Josh] give a tour of the different ways they tried to reduce noise (YouTube, embedded below). Noise-limiting elements include the unusual step of using separate motors for the indoor and outdoor fans, and even little counterweights to ensure they are perfectly balanced, just like wheel weights on automobile tires.

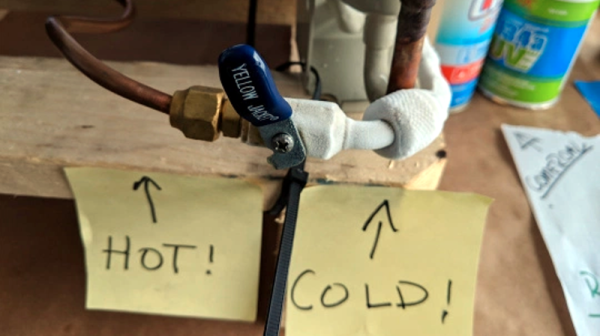
Another notable air conditioner is the Zero Breeze, a portable unit that was the product of a Kickstarter campaign. Features included (either bizarrely or predictably, you be the judge) a bluetooth speaker and an LED flashlight. [Josh] more than half suspected the product would never actually ship, but was pleasantly surprised. Not only did it deliver, it turned out to be a pretty nice design with only a couple of mildly head scratching moments (YouTube, also embedded below).

There are a few more to check out in the roundup on [Josh]’s web site, which he also compares and contrasts with his own DIY unit which we featured in the past.

Continue reading “See How Wildly Different Air Conditioners Can Be (On The Inside)”

The Home-Made Drill Press Of Your Dreams

We are lucky to live in an age when tools have almost never been so affordable, when if we’d like a drill press on our benches we can pick one up for not a lot from our nearest discount store. If the cheapest tools aren’t very good quality then even the better ones aren’t that much more expensive. It’s evident that [Workshop DIY] has the resources to buy a decent drill press if he wanted one, but we’re fortunate that instead he’s taken the time to build one of his own from scratch (Russian language audio, Anglophones will have to enable YouTube subtitle translation).

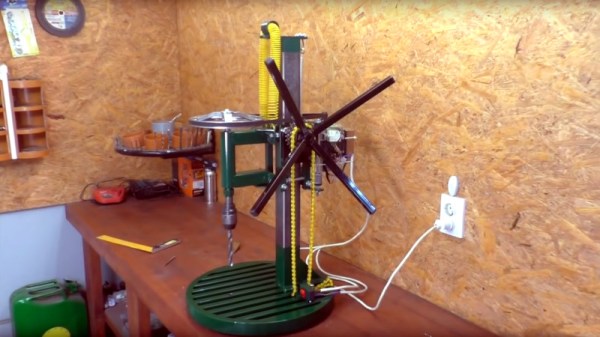
The press itself is made entirely from box section steel tube, with what looks like 25mm square used for the base and 50mm for the vertical shaft. Instead of a rack and pinion to raise and lower the tool it has a slider that runs on a set of bearings and is lifted with a bicycle chain. The chuck itself is mounted to a shaft that runs through another set of bearings to the large pulley and motor from a washing machine. The result is a beautifully made drill press that seems to work very effectively. It may lack an adjustable table or selectable speeds, but we certainly couldn’t build it better than he has. Take a look, the video is below the break.

It shouldn’t be surprising what can be made in a well-appointed metalworking shop, perhaps we have been blinded by the convenience of readily available tools. If you’d like to see more, take a look at this DIY engine crane.

Continue reading “The Home-Made Drill Press Of Your Dreams”

.NET To FPGA With Hastlayer

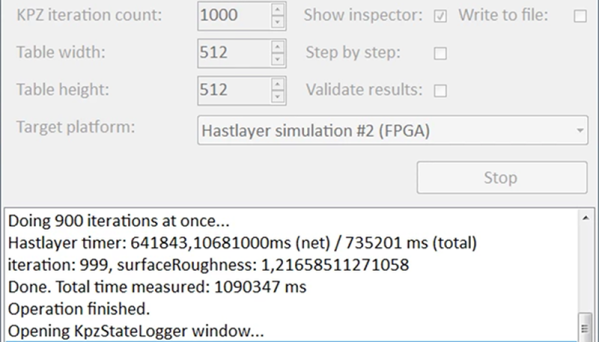
There are lots of ways to use FPGAs. One way is to convert compute-bound software into hardware. This can increase speed and — in some cases — reduce power consumption. Typically, you’ll do this by writing in a subset of C, but Hastlayer can convert .NET assemblies into FPGA configurations with some limitations.

The Hungarian company behind Hastlayer claims they’ll eventually have to charge money for something but for now, the tool is free and they are promising to always have some free option. The interesting thing is that the .NET assemblies are essentially object code so you aren’t compiling source but rather an intermediate language that you can generate with many different language tools.

Continue reading “.NET To FPGA With Hastlayer”

3D Print Your Way To A Glass Cockpit Simulator

Today’s commercial aircraft are packed to the elevators with sensors, computers, and miles and miles of wiring. Inside the cockpit you’re more than likely to see banks of LCDs and push buttons than analog gauges. So what’s that mean for the intrepid home simulator builder? Modern problems require modern solutions, and this 3D printed simulator is about as modern as it gets.

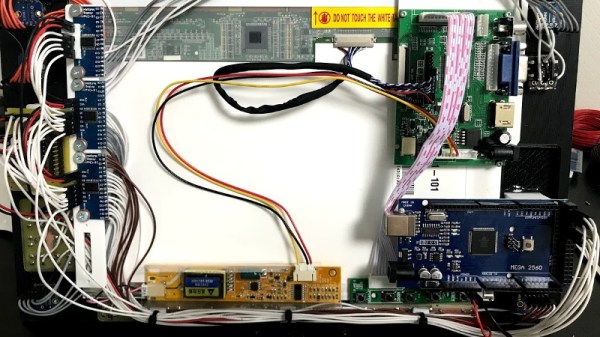
Published to Thingiverse by the aptly named [FlightSimMaker], this project consists of a dizzying number of 3D-printed components that combine into a full-featured desktop simulator for the Garmin G1000 avionics system. Everything from the parking brake lever to the push buttons in the display bezels was designed and printed: over 200 individual parts in all. Everything in this X-Plane 11 compatible simulator is controlled by an Arduino Mega 2560 with the SimVim firmware.

To help with connecting dozens of buttons, toggle switches, and rotary encoders to the Arduino, [FlightSimMaker] uses five CD74HC4067 16-channel multiplexers. The display is a 12.1 inch 1024 x 768 LCD panel with integrated driver, and comes in at the second most expensive part of the build behind the rotary encoders. All told, the estimated cost per display is around $250 USD.

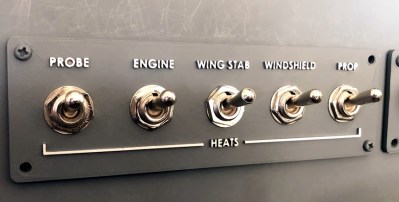
Even if you aren’t looking to build yourself a high-tech flight simulator, there’s plenty of ideas and tips here that could be useful for building front panels. We particularly like the technique used for doing 3D-printed lettering: the part is printed in white, spray painted a darker color, and then the paint is sanded off the faces of the letters to reveal the plastic. Even with a standard 0.4 mm nozzle, this results in clean high-contrast labels on the panel with minimal fuss.

Of course, while impressive, these panels are just the beginning. There’s still plenty more work to do if you want to build an immersive simulation experience. Including, in the most extreme cases, buying a Boeing 737 cockpit.

What Does An Electronics Tinkerer’s Workbench Need?

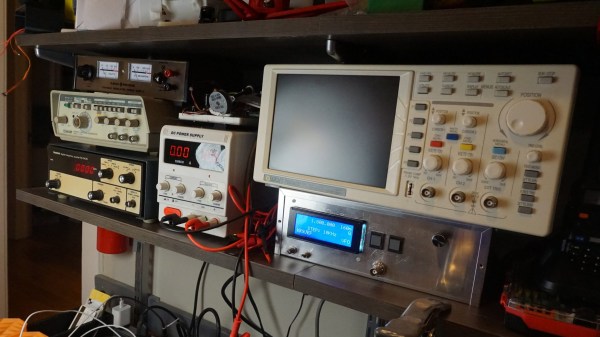
Ever been in a situation where you’re not sure where to begin building your own electronics workbench or improve your existing one? [Jeff Glass] writes in with a blog post as detailed as it is beautifully long, chronicling each and every part of his own home lab in order to give us some ideas on how to get one started.

Despite [Jeff] using his own workbench tools accrued over 10 years of working in the field as prime example, his guide takes into account that you don’t need the latest and most expensive in order to get working. Affordable examples of the tools presented are suggested, along with plenty of links to follow and what to look for in each one of them. He even goes on and aside to note the lack of affordable versions of bench-top multimeters, seeing how the portable counterparts are so cheap and plentiful in contrast.

However, contrary to [Jeff]’s claims, we would argue that there are things you could do without, such as the oscilloscope. And you could use a regular soldering iron instead of a soldering station if you are in a pinch. It just depends on the type of work you’re looking to do, and simpler tools can work just fine, that’s what they’re there for after all. That’s not to say his advice is all bad though, just that every job has different requirements, and he notes just that in the final notes as something to keep in mind when building your own lab.

Lastly, we appreciate having a section dedicated to shop safety and the inclusion of soldering fume extractors in the recommendations. We’ve talked about the importance of fire safety when working with these tools at home before, and how soldering is not the only thing that can produce toxic fumes in your shop. With no shortage of great tips on how to build your own fume extractors, we hope everybody’s out there hacking safely.