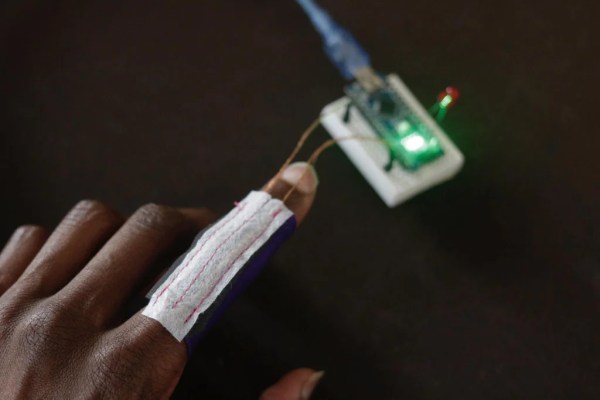
So often, we use control devices for electronics that involve our fingers directly grasping, touching, or moving another object or surface. It’s less common for us to use interfaces that detect the motion of our bodies directly. Flex sensors are one way to do that, and it’s exactly what [WillpowerStudios] aims to do with Finger Bend.
The construction of the sensor is simple, using piezoresistive fabric which changes its resistance when deformed. By sewing this into a sheath that can be placed on the finger, and wiring it up with conductive threads, it can be used to detect the flexion of the wearer’s digits by sampling the resistance with an analog to digital converter on any garden variety microcontroller. Expanding the technique to a full hand is as simple as creating a Finger Bend per digit and wiring up each one to its own ADC channel. If you want to get really fancy, you could even scan through them at speed with a multiplexer.
It’s similar to the technology used in Nintendo’s infamous Power Glove, and while it’s never caught on in the mainstream, it may have applications yet. Video after the break
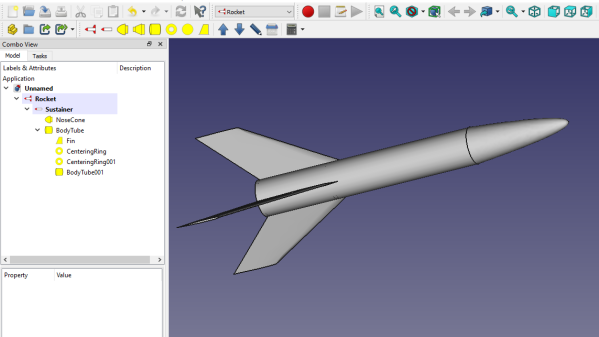
Here’s how FreeCAD works: the program’s design space is separated into different “workbenches”, each of which is intended for a particular set of operations, and a piece of work can be moved between them as needed. There is a sketching workbench, a part design workbench, and now a Rocket workbench has been added to the healthy ecosystem of FreeCAD add-ons. There’s even a series of video tutorials; ain’t open source grand?
This sort of development and utility is exactly the kind of thing our own Elliot Williams was describing when he made the point that one of open source’s greatest strengths is in the little things, like the FreeCAD ecosystem letting people scratch strange and specific itches, and the ability to share those solutions with others.
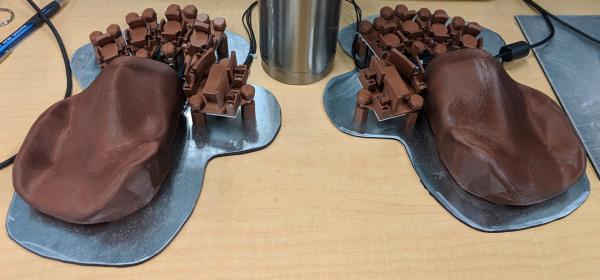
What’s the coolest-looking way to ease the repetitive stress of typing without quitting altogether? Move nothing but your fingers, and move them as little as possible without any stretching or reaching. We’ve been fans of the weirdly wonderful DataHand keyboard since we first laid eyes on one, but [Ben Gruver] has actually been using these out-of-production keyboards for years as a daily driver. And what do we do when we love something scarce? Make our own, improved version like [Ben] has done, with the lalboard.
Something that won’t be changing is the fantastic optical key switch design that uses an IR LED and phototransistor to capture key presses, and tiny square magnets to return the key to the home position and deliver what we’re quite sure is a satisfying clack.
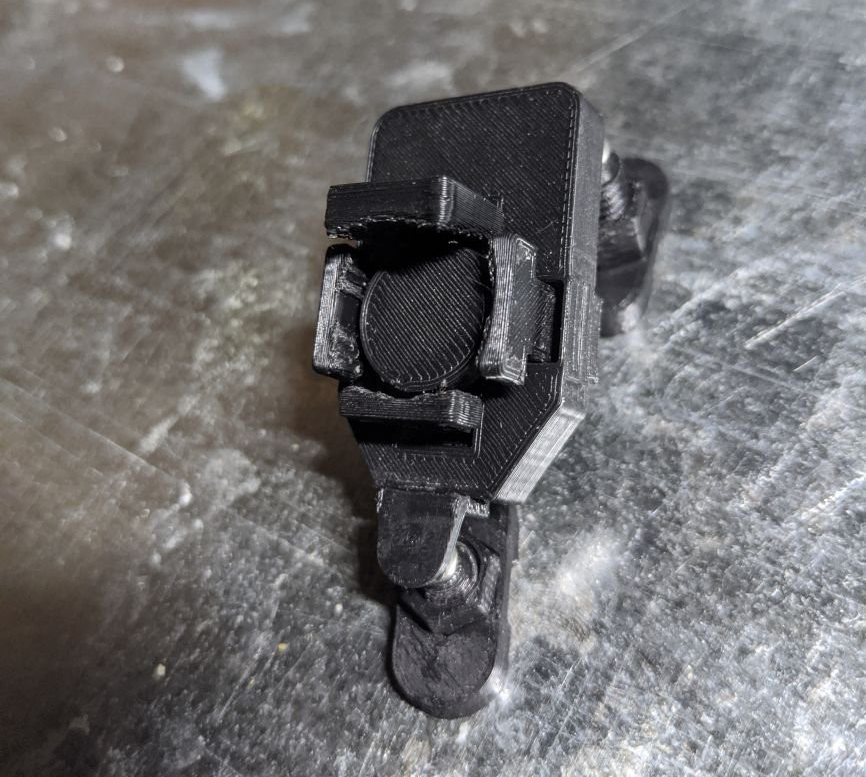
The absolute coolest part of this keyboard is that it’s so adjustable. Every key cluster can be adjusted in 6 directions, which includes the ability to dial in different heights for each finger if that’s what works best. Once that’s all figured out, then it’s time to print some perfect permanent standoffs. Want to make one of these sci-fi clackers for yourself? [Ben] has the BOM, some printing instructions and tips, and a guide to making the copper tape PCBs over on GitHub. Check it out in action after the break as [Ben] rewrites Kafka’s Metamorphosis at 120 WPM.
Interested in learning more about the original DataHand keyboard? Here’s our take.
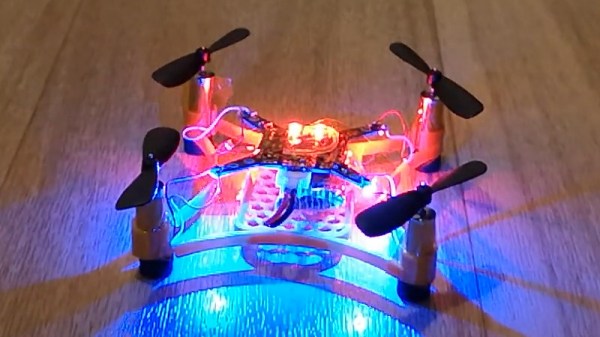
Quadcopters are fantastical things, and now come in a huge variety of flavours, from lithe featherweight racers to industrial-grade filming rigs worth tens of thousands of dollars. The Beatle-1 from [masterdezign] comes in at the smaller scale, and its body was created entirely in code.
To create the Beatle-1, [masterdezign] used OpenSCAD, a 3D modelling program that uses code rather than visual tools for producing geometry. Thus, with a series of Boolean operations, extrusions and rotations, a basic lightweight quadcopter frame is created in a handful of lines of text. Then, it’s just a simple job of 3D printing the parts, wiring up four Olimex F1607 motors and hooking up a flight controller and the little drone is ready for takeoff.
The first issue that needed sorting out was the broken case. This Amiga must have had one wild ride, as there were several nasty cracks in the front panel and whole chunks had been broken off. We’ve seen [Drygol] repair broken computer cases before, but it seems like each time he comes up with some new tricks to bring these massacred pieces of plastic back to like-new condition. In this case plastic welding is used to hold the parts together and fill in the gaps, and then brass mesh is added to the backside for strength. The joints are then sanded, filled in with polyester putty, and finally sprayed with custom color matched paint. While he was in the area, he also filled in a hole the previous owner had made for a toggle switch.
Before
After
Then [Drygol] moved onto the internals. Some of the traces on the PCB had been corroded by a popped battery, a socket needed to be replaced, and as you might expect for a machine of this vintage, all of the electrolytic capacitors were suspect and needed to go. Finally, as the system didn’t have a power supply, he wired in a picoPSU. That got the 34 year old computer back up and running, and at this point, the machine was almost like new again. So naturally, it was time to start with the upgrades and modifications.
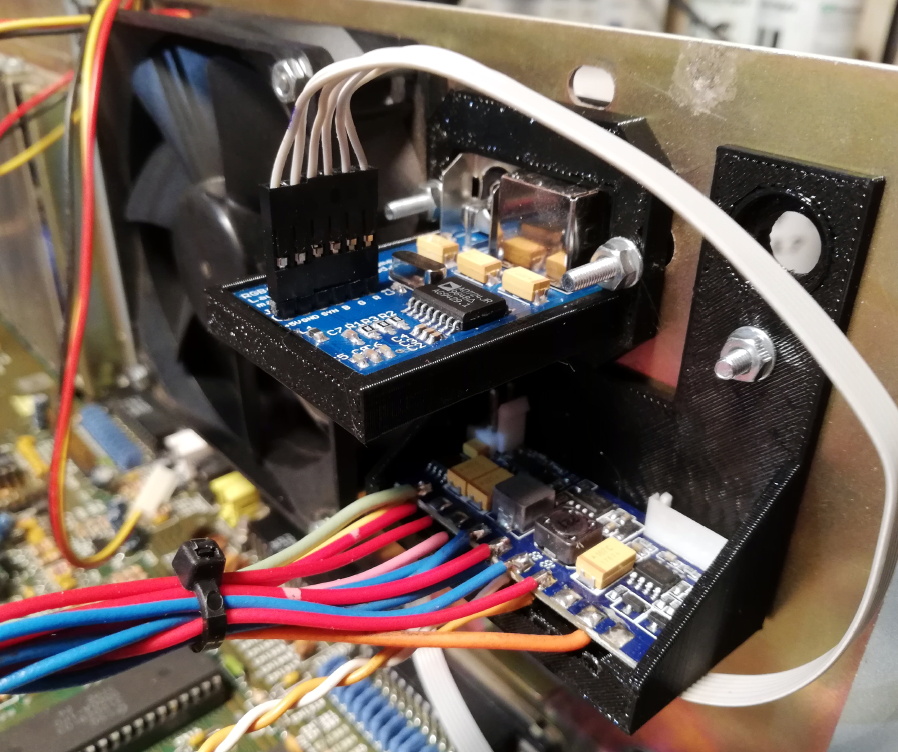
Case fan, video adapter, and picoPSU.
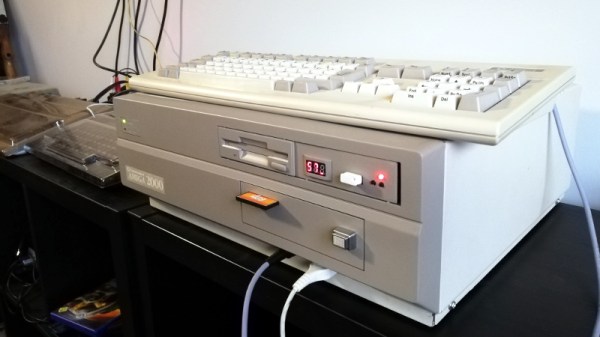
[Drygol] added an IDE interface and connected a CompactFlash adapter as the computer’s primary drive. For the secondary, he installed a GoTek floppy drive emulator that lets you replace a mountain of physical disks with a USB flash drive full of images. Between the two, all of the computer’s storage needs are met with nary a moving part.
The emulator was given its own 3D printed front panel to fit with the Amiga’s visual style, and he also printed out a holder for the RGB4ALL S-Video/Composite adapter installed on the rear of the machine. To help keep all this new gear cool, he finished things off with a new case fan.
Rejoice! Gone are the long chains of if…else statements, because switch statements will soon be here — sort of. What the Python gods are actually giving us are match statements.match statements are awfully similar to switch statements, but have a few really cool and unique features, which I’ll attempt to illustrate below.
Hackaday editors Elliot Williams and Mike Szczys celebrate the cleverest projects from the week that was. We tried to catch a few fools on Thursday with our Lightmode™ and NFT articles — make sure you go back and read those for a good chuckle if you haven’t already.
While those fall under not a hack, many other features this week are world-class hacks, such as the 555 timer built from 1.5-dozen vacuum tubes, and the mechanical word-clock that’s 64 magnetic actuators built around PCB coils by Hackaday’s own [Mortiz v. Sivers].
A treat for the ears, [Linus Akesson] aka [lft] shows off a Commodore64 that seriously sounds as big as a cathedral organ. And a masterpiece of OpenCV and Blender, you can’t miss the project by [Matthew Earl] that overlays video of the Mars landing on still satellite photos… perfection!
Take a look at the links below if you want to follow along, and as always, tell us what you think about this episode in the comments!