Pour One Out For This Bottle-Playing Robot

If you have an iota of musicality, you’ve no doubt noticed that you can play music using glass bottles, especially if you have several of different sizes and fill them with varying levels of water. But what if you wanted to accompany yourself on the bottles? Well, then you’d need to build a bottle-playing robot.

First, [Jens Maker Adventures] wrote a song and condensed it down to eight notes. With a whole lot of tinkling with a butter knife against their collection of wine and other bottles, [Jens] was able to figure out the lowest note for a given bottle by filing it with water, and the highest note by emptying it out.

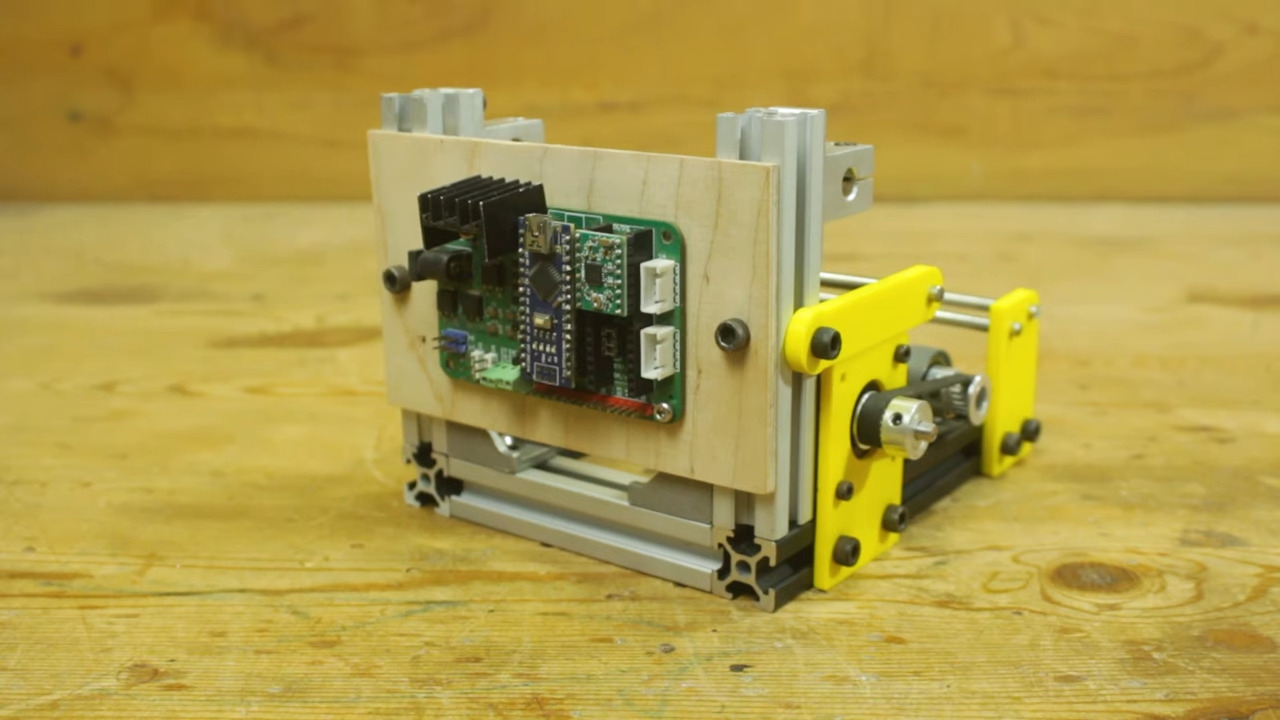
With the bottle notes selected, the original plan was to strike the bottles with sticks. As it turned out, 9g servos weren’t up to the task, so he went with solenoids instead. Using Boxes.py, he was able to parameterize a just-right bottle holder to allow for arranging the bottles in a circle and striking them from the inside, all while hiding the Arduino and the solenoid driver board. Be sure to check it out after the break.

Don’t have a bunch of bottles lying around? You can use an Arduino to play the glasses.

Continue reading “Pour One Out For This Bottle-Playing Robot”

The Best-Sounding Walnut You’ll Hear Today

Do you ever find yourself eating walnuts and think, this would make a great enclosure for something like a Bluetooth speaker? That seems to be exactly what happened to [Penguin DIY].

In the mesmerizing video after the break, you’ll see [Penguin DIY] do what seems to be impossible. They start with a tiny 5 V power bank module which is still not small enough to fit, so they remove all the components and dead-bug them back together.

This is really just the beginning. There of course has to be a female USB of some type, so [Penguin DIY] Dremels out the perfect little slot for it.

They did manage to stack and fit a MH-MH18 Bluetooth audio module and an HXJ8002 mini audio amplifier module in the walnut, but of course, it took a lot of fiddly wiring to extend the LEDs and wire them up.

Then in the other half of the shell went the 4Ω 2 W mini speaker. [Penguin DIY] of course drilled a ton of little holes in the shell for the sound to come through. Also on this side are three tiny switches for play/pause and previous and next track, and the latter two can be long pressed to control the volume. Definitely check this out after the break.

Do the notifications of your Bluetooth speaker annoy you? There’s a hack for that.

Continue reading “The Best-Sounding Walnut You’ll Hear Today”

2023 Halloween Hackfest: Spooky Noise Maker Is Self-Contained

We just love it when y’all build off of each other’s projects. This spooky Halloween noise maker from [C.M. Herron] is no exception. But while the projects we’ve seen lately rely on external computers and/or guitar pedals to create the effects part of the build, this one has everything running on a Raspberry Pi that sits inside the box.

Readers of a certain vintage will recognize this as an 8-track storage box, on top of which are several noise-making objects that creak and ting and reverberate nicely. A USB microphone picks up the sounds, and by using a regular microphone instead of a piezo, [C.M.] can introduce varying levels of feedback to make the sounds even spookier.

So, how did [C.M.] make this work on a Pi 4? To put it simply, they’ve got the Reaper DAW and Windows Valhalla plugins running on top of WINE, which running on top of Box64, which is running on top of the Bullseye Pi OS. [C.M.] sure learned a lot from this build, and hopes to inspire others to build their own spooky noise boxen. Plus, they’ve already thought of ways to improve it for next year. Be sure to check it out in action after the break.

Continue reading “2023 Halloween Hackfest: Spooky Noise Maker Is Self-Contained”

2023 Halloween Hackfest: Converted Proton Pack Lights Up The Night

It’s really quite unfortunate that Hackaday/Supplyframe employees and their families are not allowed to place in the 2023 Halloween Hackfest, because our own [Tom Nardi] has thrown down a costume gauntlet with his kids’ proton pack conversion.

Starting with an inert off-the-shelf toy from 2021, [Tom] set out to make the thing more awesome in every way possible. For one thing, it’s blue, and outside of the short-lived animated series The Real Ghostbusters, who ever heard of a blue proton pack? So one major change was to paint it matte black and age it with the old silver rub ‘n buff technique. And of course, add all the necessary stickers.

[Tom] added plenty of blinkenlights, all running off of an Arduino Nano clone and a pair of 18650s. He got lucky with the whole power cell thing, because an 8 x 5050 RGB LED stick fits there perfectly and looks great behind a PETG diffusing lens. He also drilled out and lit up the cyclotron, because what’s a proton pack without that? There’s even a 7-segment LED voltmeter so Dad can check the power level throughout the night.

Finally, he had to do a bit of engineering to make the thing actually wearable by his daughter. A frame made of square aluminium tubing adds strength, and a new pair of padded straps make it comfortable. Be sure to check it out in action after the break.

What’s a Ghostbusters costume without a PKE meterContinue reading “2023 Halloween Hackfest: Converted Proton Pack Lights Up The Night”

2023 Halloween Hackfest: Quoth The Raven, “Caww!”

Sometimes, projects start in somewhat unlikely places. This one began when [Istvan Raduly] scored a fake raven at a neighbor’s garage sale and decided to turn it into a thunder-and-lightning decoration that would frighten even the bravest trick-or-treater.

Get close enough to this raven and you’ll set off the PIR sensor, which triggers lighting and sound effects, including some spooky glowing and blinking red eyes, general cawing, and of course, thunder. The light comes from a whopping 10-watt, 12-volt power LED. This bird’s brain is an Arduino Nano, which is protected from the 12V supply with a boost converter. As you might expect, the sounds are on an SD card and played through a DF Player Mini.

Spookiness aside, our favorite part might be the absolutely lovely job that [Istvan] did decorating the raven’s base. Hiding electronics and hot glue is one thing, but this is above and beyond. Be sure to check it out after the break, both in the safety of the house, and outside in the scary darkness.

Continue reading “2023 Halloween Hackfest: Quoth The Raven, “Caww!””

Building Penny’s Computer Watch From Inspector Gadget

When you help your bumbling Uncle Gadget with all kinds of missions, you definitely need a watch that can do it all. Penny’s video watch from Inspector Gadget has a ton of features including video communication with Brain and Chief Quimby, a laser, a magnet, a flashlight, a sonar signal, and much more.

To round out her Penny costume, [Becky Stern] has created a 3D printed version of Penny’s incredibly smart watch. It listens for Penny’s iconic phrase — come in, Brain! — and then loads a new picture of Brain on the rounded rectangle TFT display. Inside the watch is an Arduino Nicla Voice, which has to be one of the tinier machine learning-capable boards out there.

[Becky] created the watch case in Tinkercad and modified a watch band from Printables to fit her wrist. With such a small enclosure to work with, [Becky] ended up using that really flexible 30 AWG silicone-jacketed wire for all the fiddly connections between the Arduino and the screen.

After getting it all wired up to test, she found that the screen was broken, either from pressing it into the enclosure, or having a too-close encounter with a helping hands. Let that be a lesson to you, and check out the build video after the break.

More interested in Uncle Gadget’s goodies? Check out these go-go-Gadget shoes and this propeller backpack for skiers.

Continue reading “Building Penny’s Computer Watch From Inspector Gadget

William Blake Was Etching Copper In 1790

You may know William Blake as a poet, or even as #38 in the BBC’s 2002 poll of the 100 Greatest Britons. But did you know that Blake was also an artist and print maker who made illuminated (flourished) books?

Blake sought to marry his art with his poetry and unleash it on the world. To do so, he created an innovative printing process, which is recreated by [Michael Phillips] in the video after the break. Much like etching a PCB, Blake started with a copper sheet, writing and drawing his works backwards with stopping varnish, an acid-resistant varnish that sticks around after a nitric acid bath. The result was a raised design that could then be used for printing.

Cleaning up the ink smudges before printing.

Blake was a master of color, using few pigments plus linseed or nut oil to create pastes of many different hues. Rather than use a brayer, Blake dabbed ink gently around the plate, careful not to splash ink or get any in the etched-away areas. As this was bound to happen anyway, Blake would then spend more time wiping out the etched areas than he did applying the ink.

Another of Blake’s innovations was the printing process itself. Whereas traditionally, illuminated texts must be printed in two different workshops, one for the text and the other for the illustrations, Blake’s method of etching both in the same plate of copper made it possible to print using his giant handmade press.

Want to avoid censorship and print your own ‘zines? Why not build a proofing press?.

Continue reading “William Blake Was Etching Copper In 1790”