Rolling two six-sided dice (2d6) gives results from 2 to 12 with a bell curve distribution. Seven being the most common result, two and twelve being the least common. But what if one could do this with a single die?
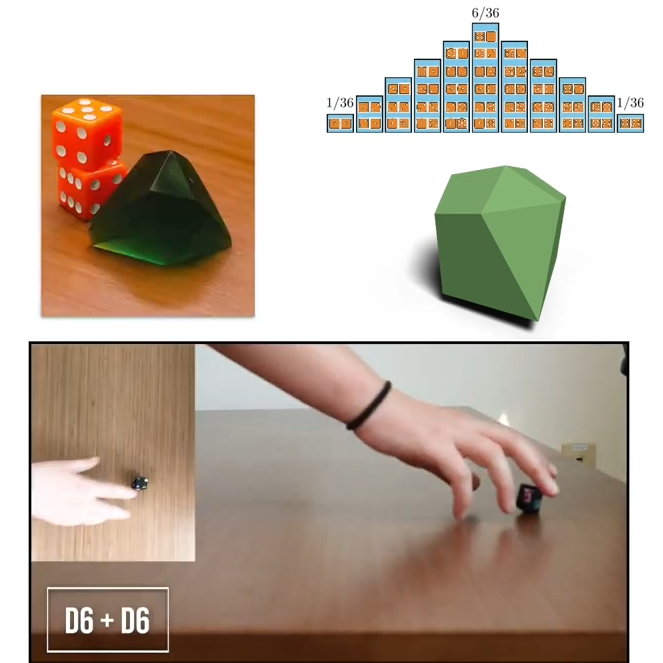
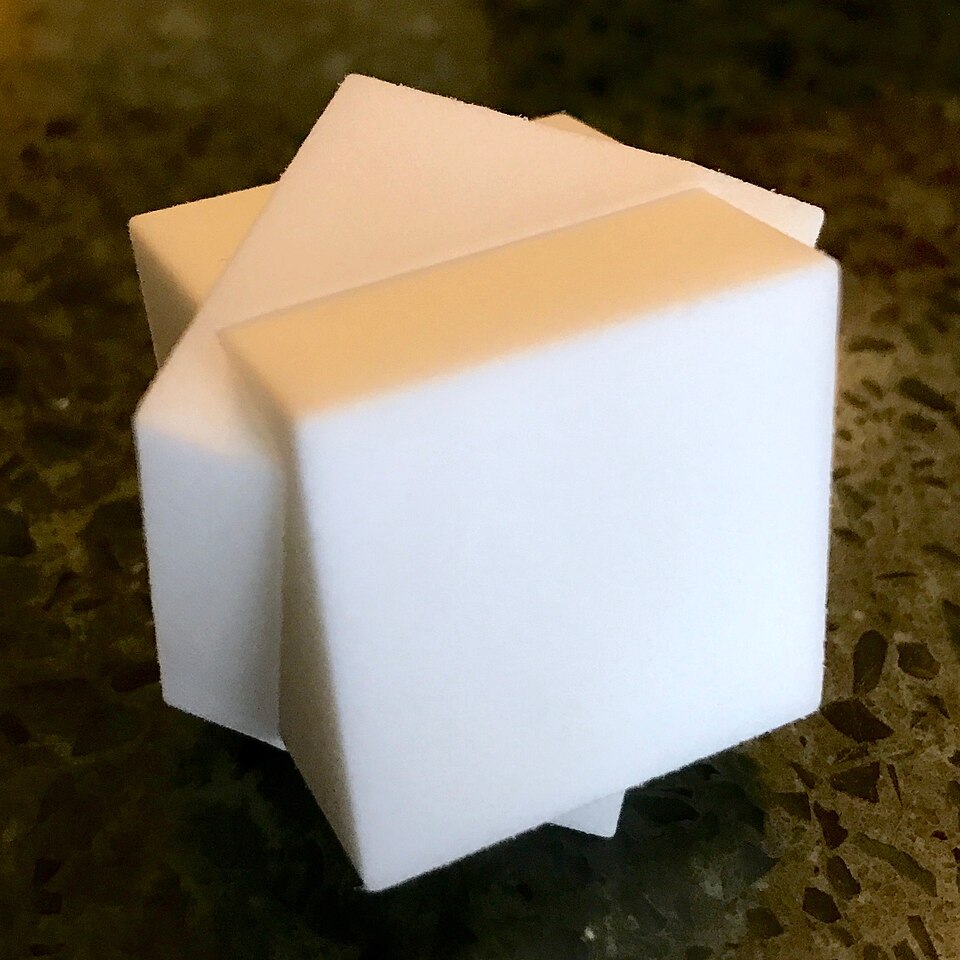
As part of research Putting Rigid Bodies to Rest, researchers show that a single eleven-sided asymmetric shape can deliver the same results. That is to say, it rolls numbers 2 to 12 in the same distribution as 2d6. It’s actually just one of the oddball dice [Hossein Baktash] and his group designed so if you find yourself intrigued, be sure to check out the 3D models and maybe print your own!
The research behind this is a novel method of figuring out what stable resting states exist for a given rigid body, without resorting to simulations. The method is differentiable, meaning it can be used not just to analyze shapes, but also to design shapes with specific properties.
For example, with a typical three-sided die each die face has an equal chance of coming up. But [Hossein] shows (at 8:05 in the video, embedded below) that it’s possible to design a three-sided die where the faces instead have a 25%-50%-25% distribution.
How well do they perform in practice? [Hossein] has done some physical testing showing results seem to match theory, at least when rolled on a hard surface. But we don’t think anyone has loaded these into an automated dice tester, yet.
Continue reading “The Eleven-Faced Die That Emulates Two Six-sided Dice”