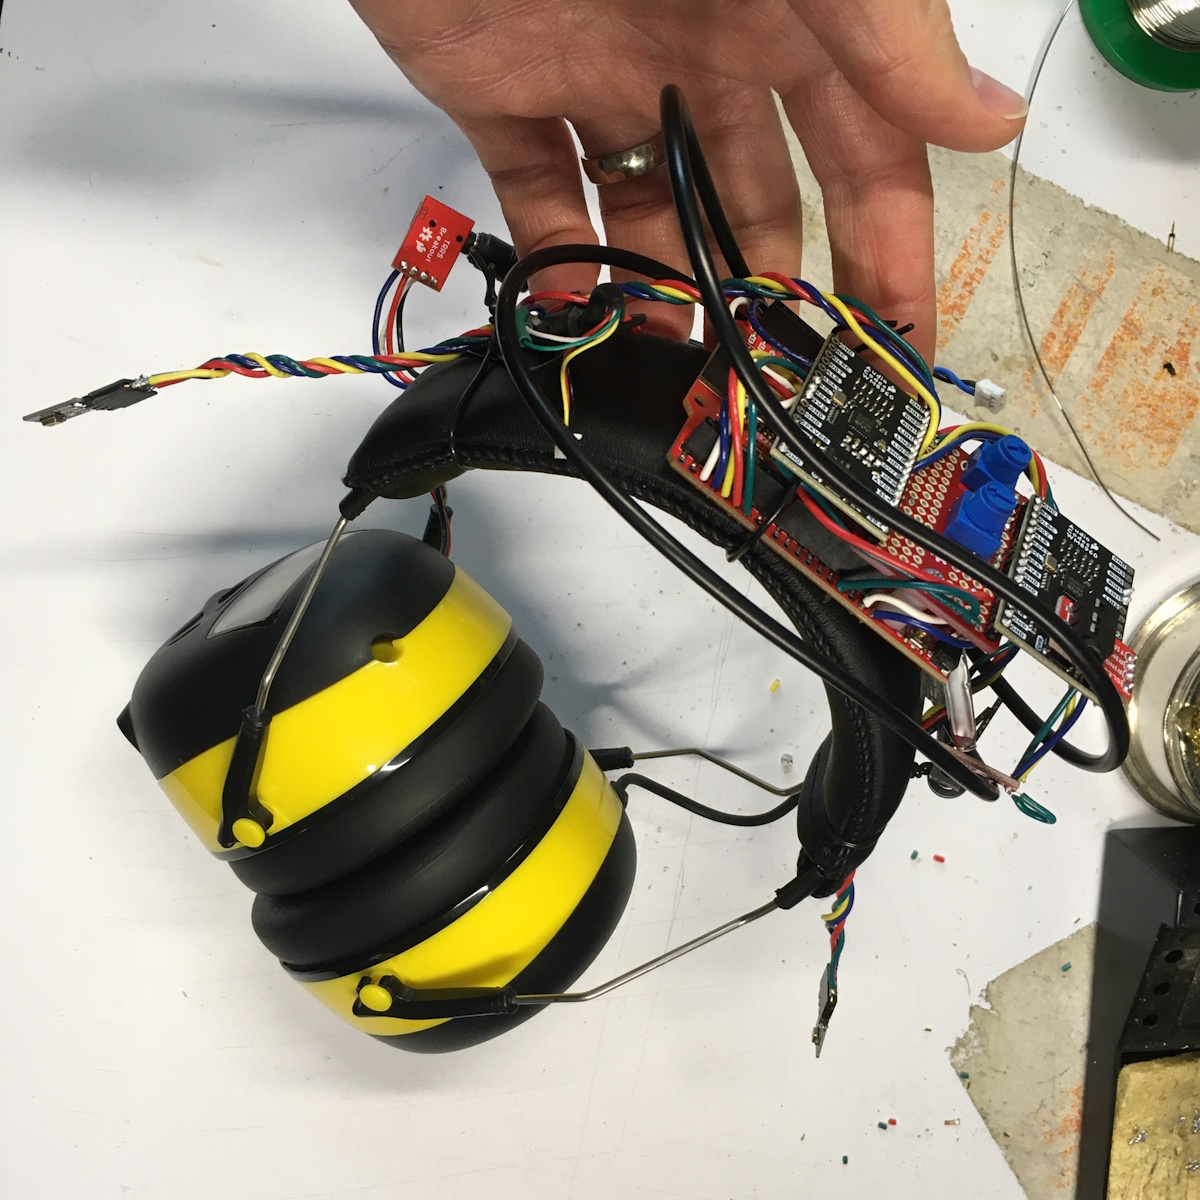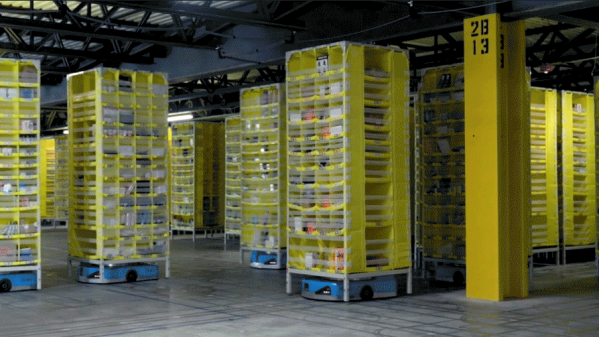
Amazon has been using robots to manage and automate their warehouses for years. Here’s a short feature on their current robot, Hercules. This is absolutely Amazon tooting their own horn, but if you have been curious about what exactly such robots do, and how exactly they help a busy warehouse work better, it’s a good summary with some technical details.
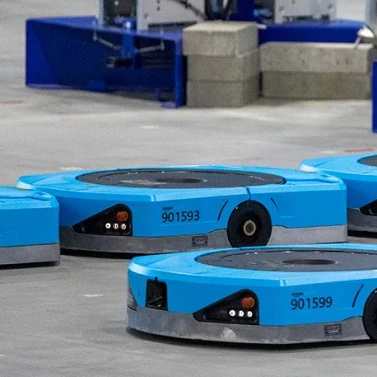
The main idea is that goods are stored on four-sided shelves called pods. Hercules can scoot underneath to lift and move these pods a little like a robotic forklift, except much smaller and more nimble. Interestingly, the robots avoid rotating shelves as much as possible and are designed to facilitate this. To change direction, Hercules sets the pod down, turns, then picks the pod back up.
The overall system is centralized, but Hercules itself navigates autonomously thanks to a depth-sensing camera and a grid of navigation markers present on the floor throughout the facility. Hercules also can wirelessly sense and communicate with nearby human-worn vests and other robots outside its line of sight.
Essentially, instead of human workers walking up and down aisles of shelves to pick products, the product shelves come to the humans. This means the organization and layout of the shelves themselves can be dynamic, higher density, and optimized for efficient robotic access. Shelves do not need to be in fixed rows or aisles, conform to a human-readable categorical layout, nor do they necessarily need walking space between them.
Sometimes robots really are the right tool for the job, and our favorite product-retrieval robot remains [Cliff Stoll]’s crawlspace warehouse bot, a diminutive device made to access boxes of product — in [Cliff]’s case, Klein bottles — stored in an otherwise quite claustrophobic crawlspace.