One of the more recent trendy builds we’ve seen is the slow-motion movie player. We love them — displaying one frame for a couple of hours to perhaps a full day is like an ever-changing, slowly morphing work of art. Given that most of them use monochrome e-paper displays, they’re especially suited for old black-and-white films, which somehow makes them even more classy and artsy.
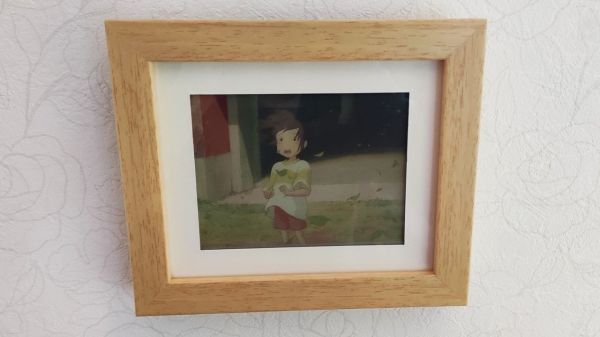
But not every film works on a monochrome display. That’s where this full-color ultra-slow motion movie player by [likeablob] shines. OK, full color might be pushing it a bit; the build centers around a 5.65″ seven-color EPD module. But from what we can see, the display does a pretty good job at rendering frames from films like Spirited Away and The Matrix. Of course there is the problem of the long refresh time of the display, which can be more than 30 seconds, but with a frame rate of one every two hours, that’s not a huge problem. Power management, however, can be an issue, but [likeablob] leveraged the low-power co-processor on an ESP32 to handle the refresh tasks. The result is an estimated full year of battery life for the display.
We’ve seen that same Waveshare display used in a similar player before, and while some will no doubt object to the muted color rendering, we think it could work well with a lot of movies. And we still love the monochrome players we’ve seen, too.