It’s probably a dream common to many groups of friends among the Hackaday readership: go away together to a sunny island some time in the summer, take a load of beer and maybe a BBQ, and build something. Some of us get close to it at hacker camps such as Toorcamp or EMF, but few do it as well as [KristianKalm] and his friends. Their time on an island resulted in a boat, and what a boat it is!
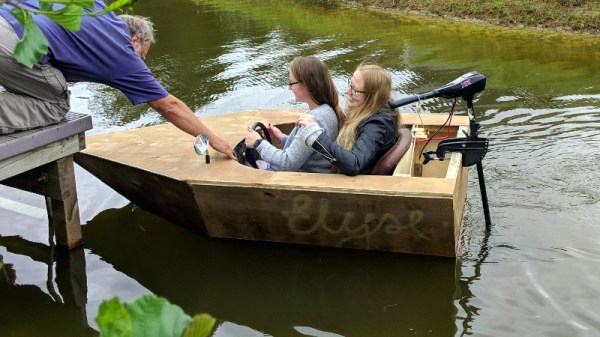
To be fair, this is not a craft you’d sail the high seas in, its unique hull design rendered in single-skin plywood might have some stability issues and probably would have difficulty maintaining structural integrity in a high sea. But it’s perfect for their summer time backwater, with its electric outboard, steering wheel, and seat from a Russian saloon car.
The plans are fairly simple, cut from two sheets of ply it has an angular pointed front, sloping sides, and a fairly narrow bottom. Our experience with river boats would have led to a wider flat-bottomed hull, but this one looks stable enough for their purposes. Everything is held together with PVA glue and extra pieces of wood over the joints, something that amazingly keeps the water at bay. It is fairly obviously a rather basic and ever some might say rather ugly boat, but we’d guess there are few readers who wouldn’t want to give it a spin as part of a summer holiday.
If this has caught your fancy, don’t panic, the Northern Hemisphere still has some summer left, and all you need to do is find a plastic barrel!
Thanks [Keith Olson] for the tip!